Click to enlarge
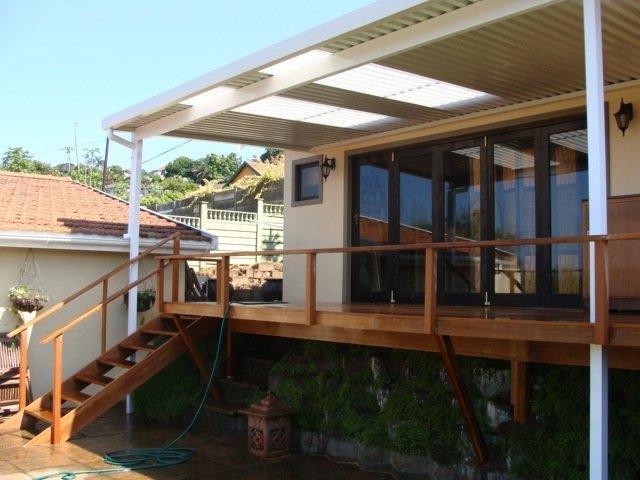
I haven’t written or posted an article on wooden decking in Durban here for a while. The main reason is that we have been extremely busy building wooden sundecks in Durban. It is quite odd to be this busy in the middle of winter. Normally people want their sundecks built-in summer and winter is traditionally quiet in this industry for both builders and suppliers. I can only think it is because we have had quite a mild winter in Durban and as a result people have been installing sundecks rather than fire places. This coupled with the fact that we lowered our prices in about April 2013 after implementing a few cost saving techniques and securing our timber at very reasonable rates without affecting the quality. I hope this continues into the summer and carries us right up to the end of the year with flat-out building jobs.
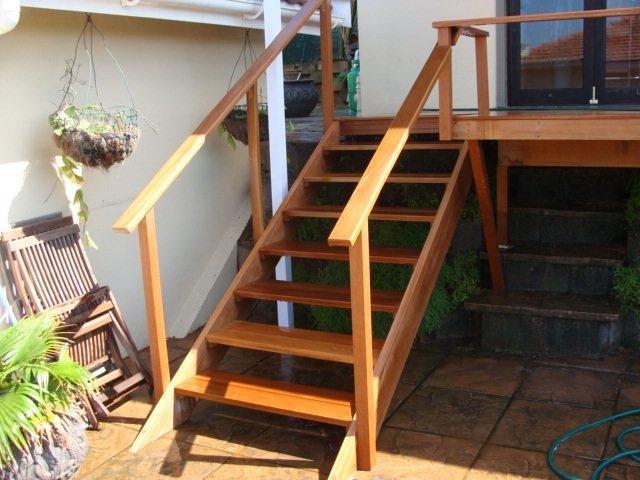
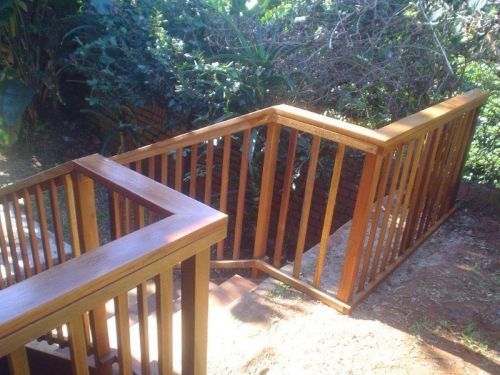
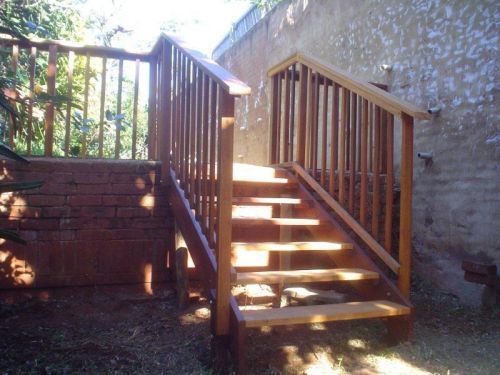
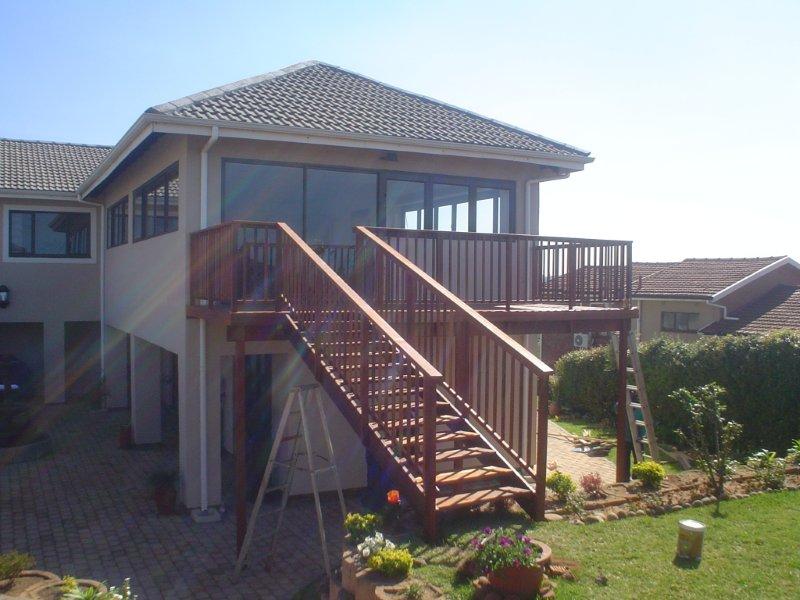
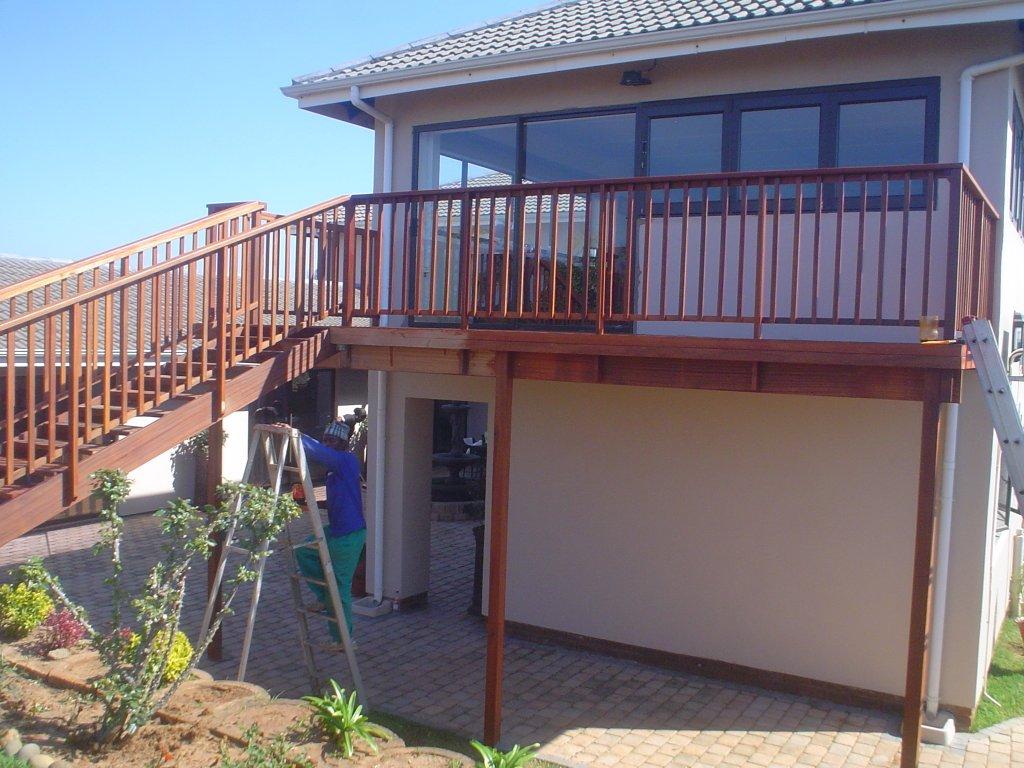
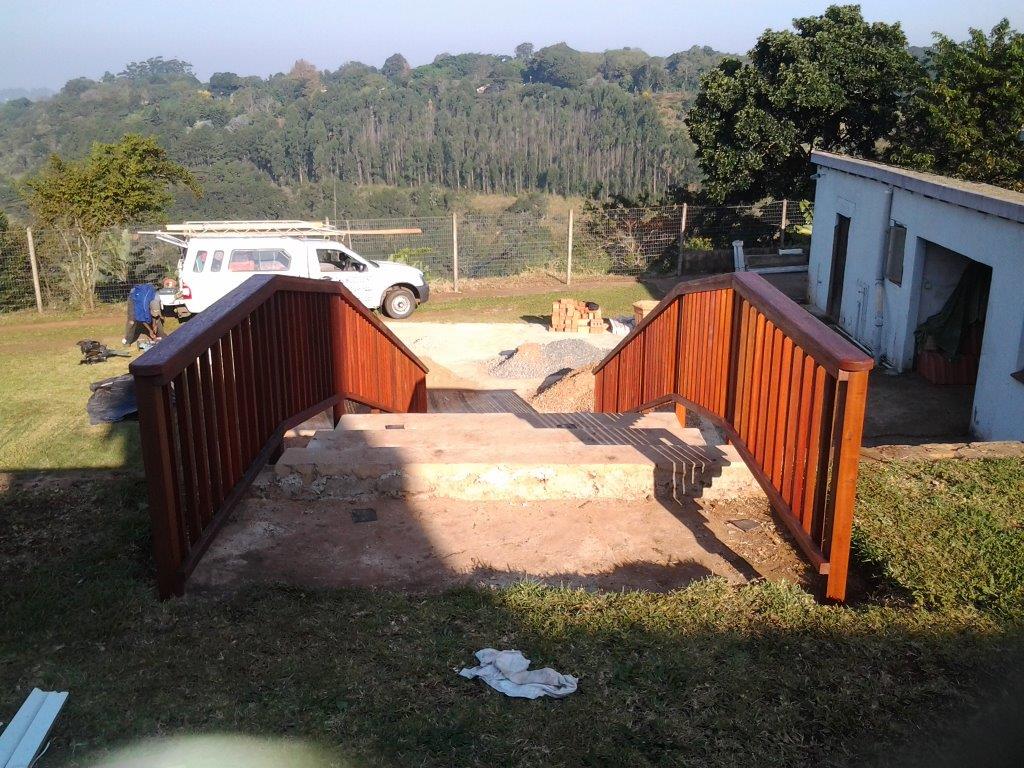
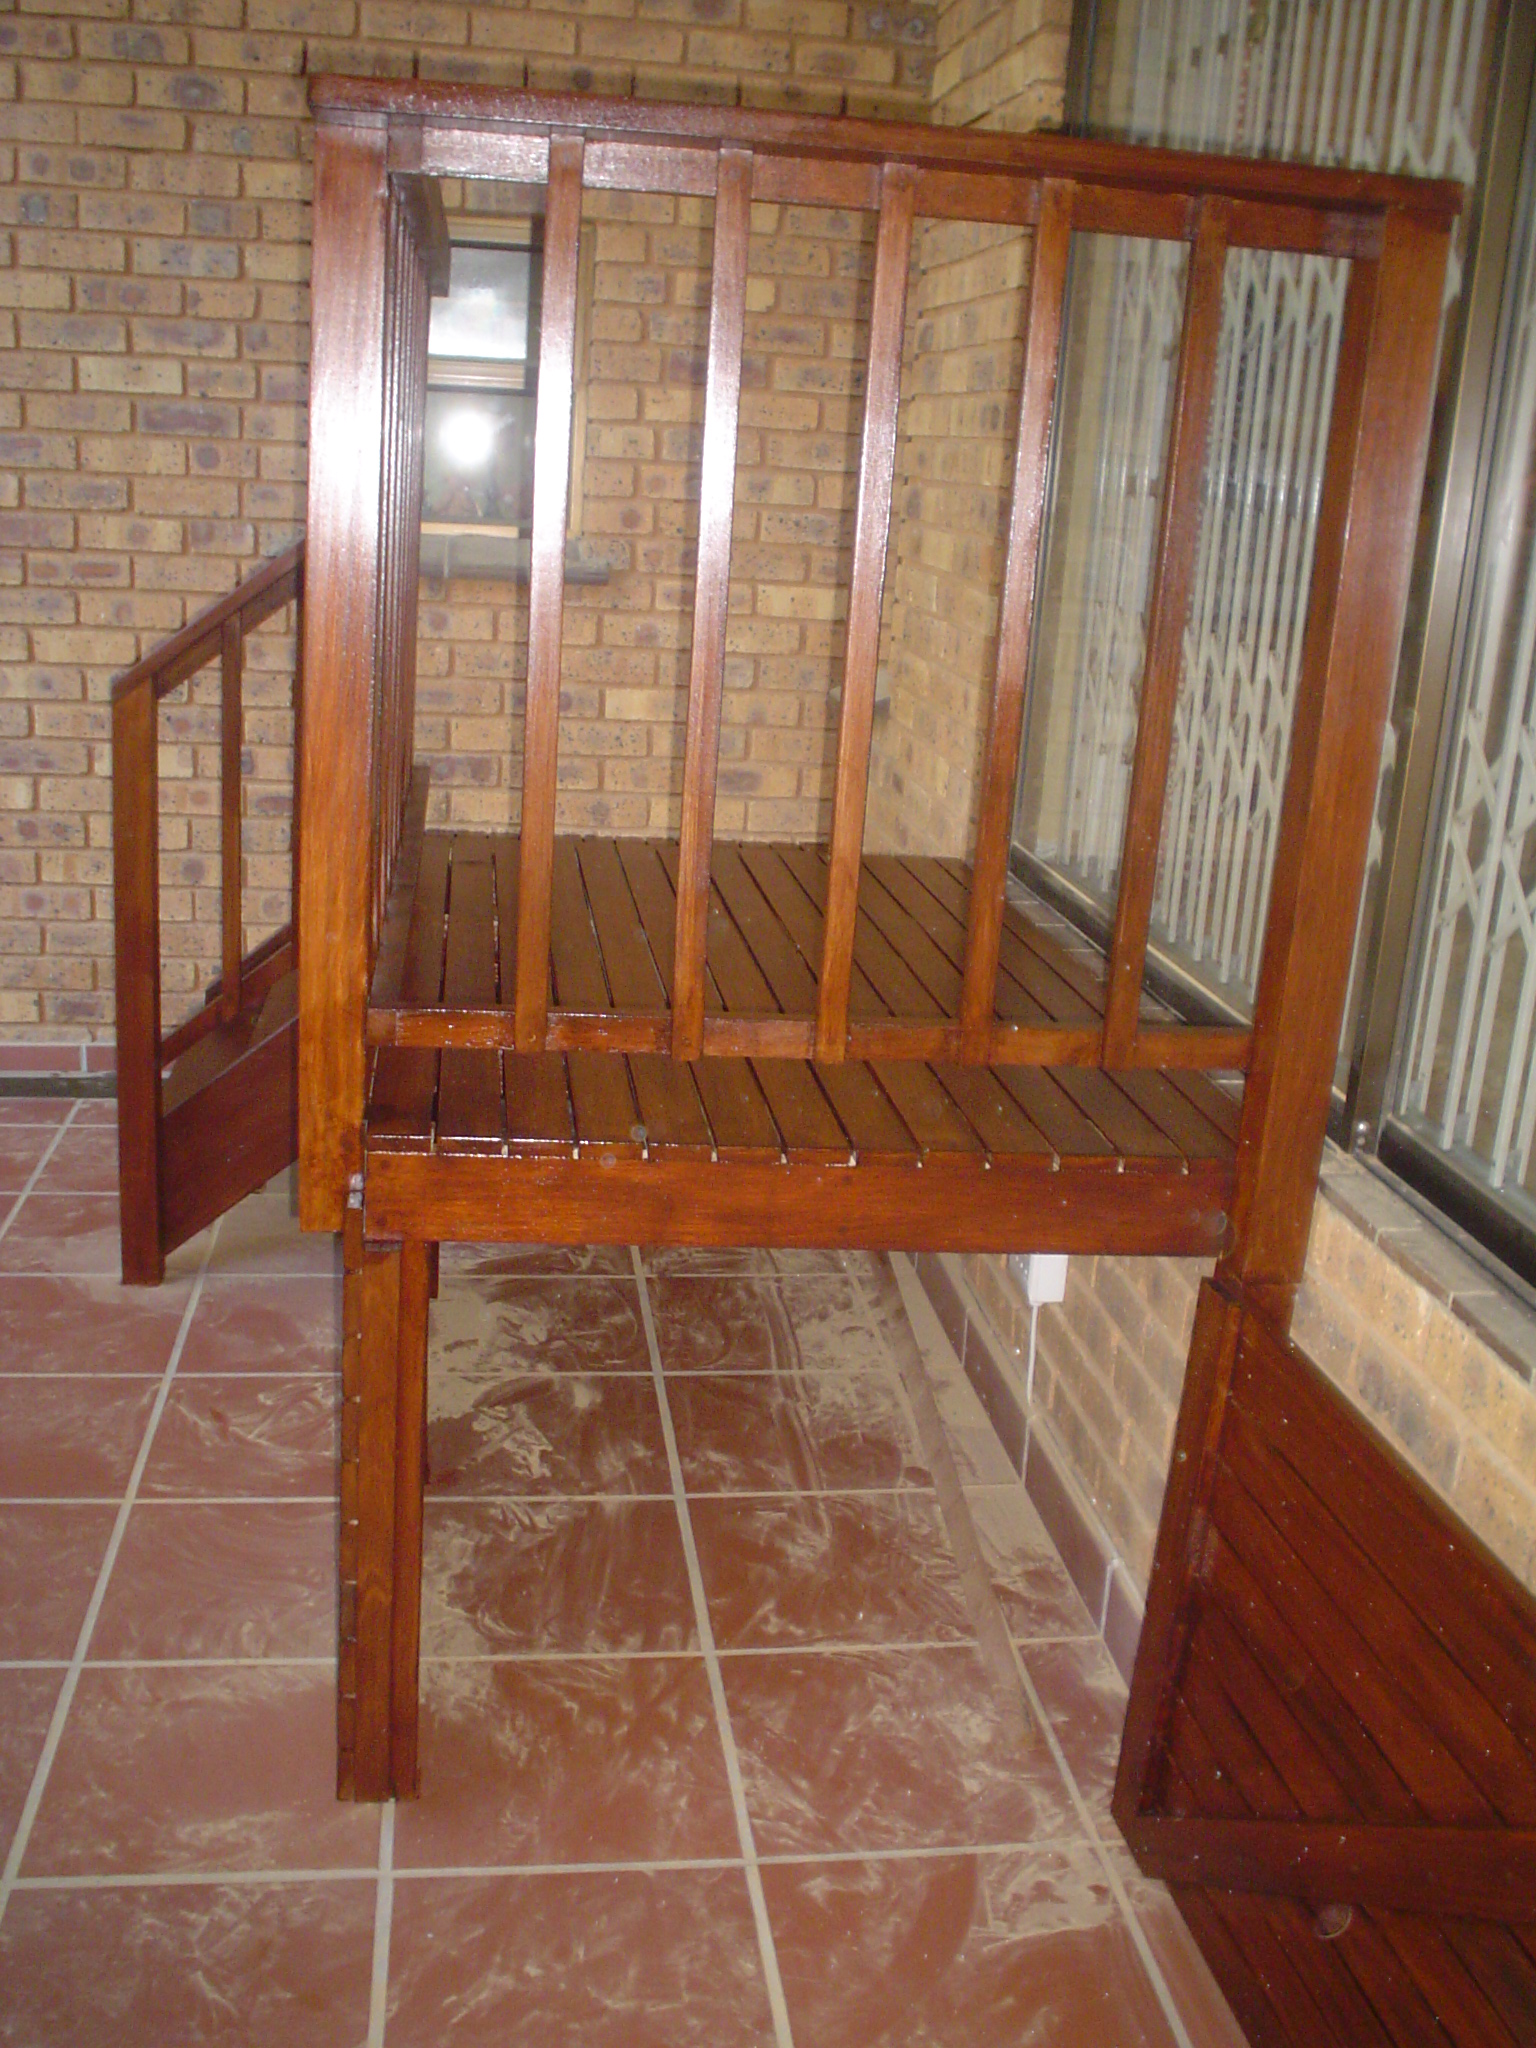
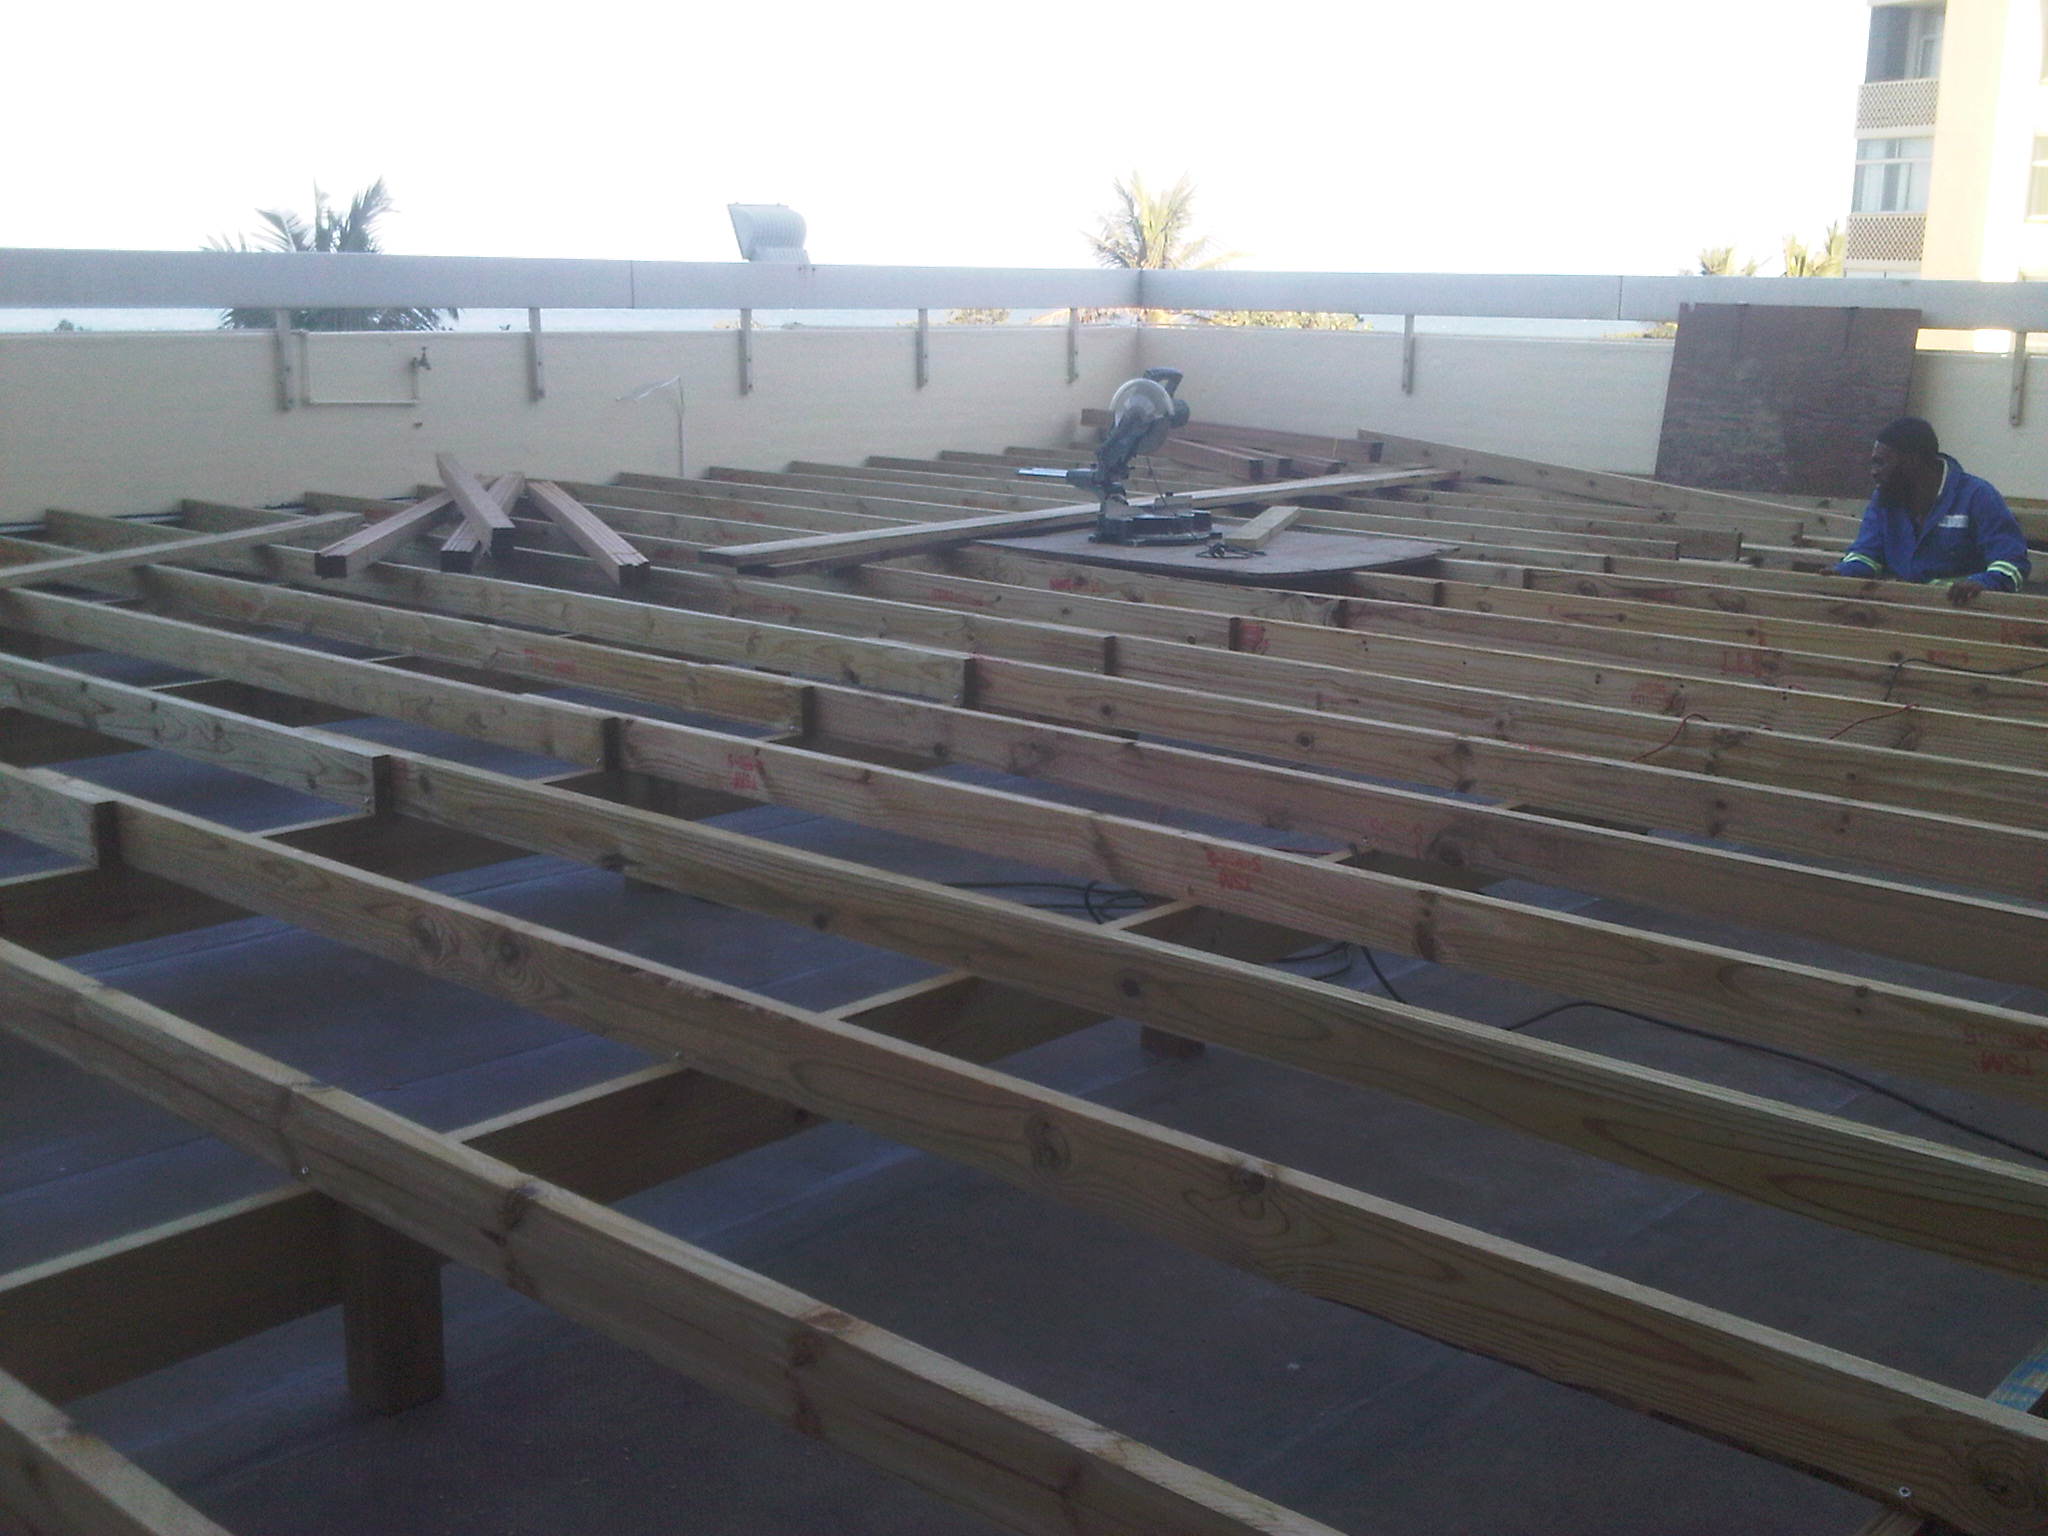
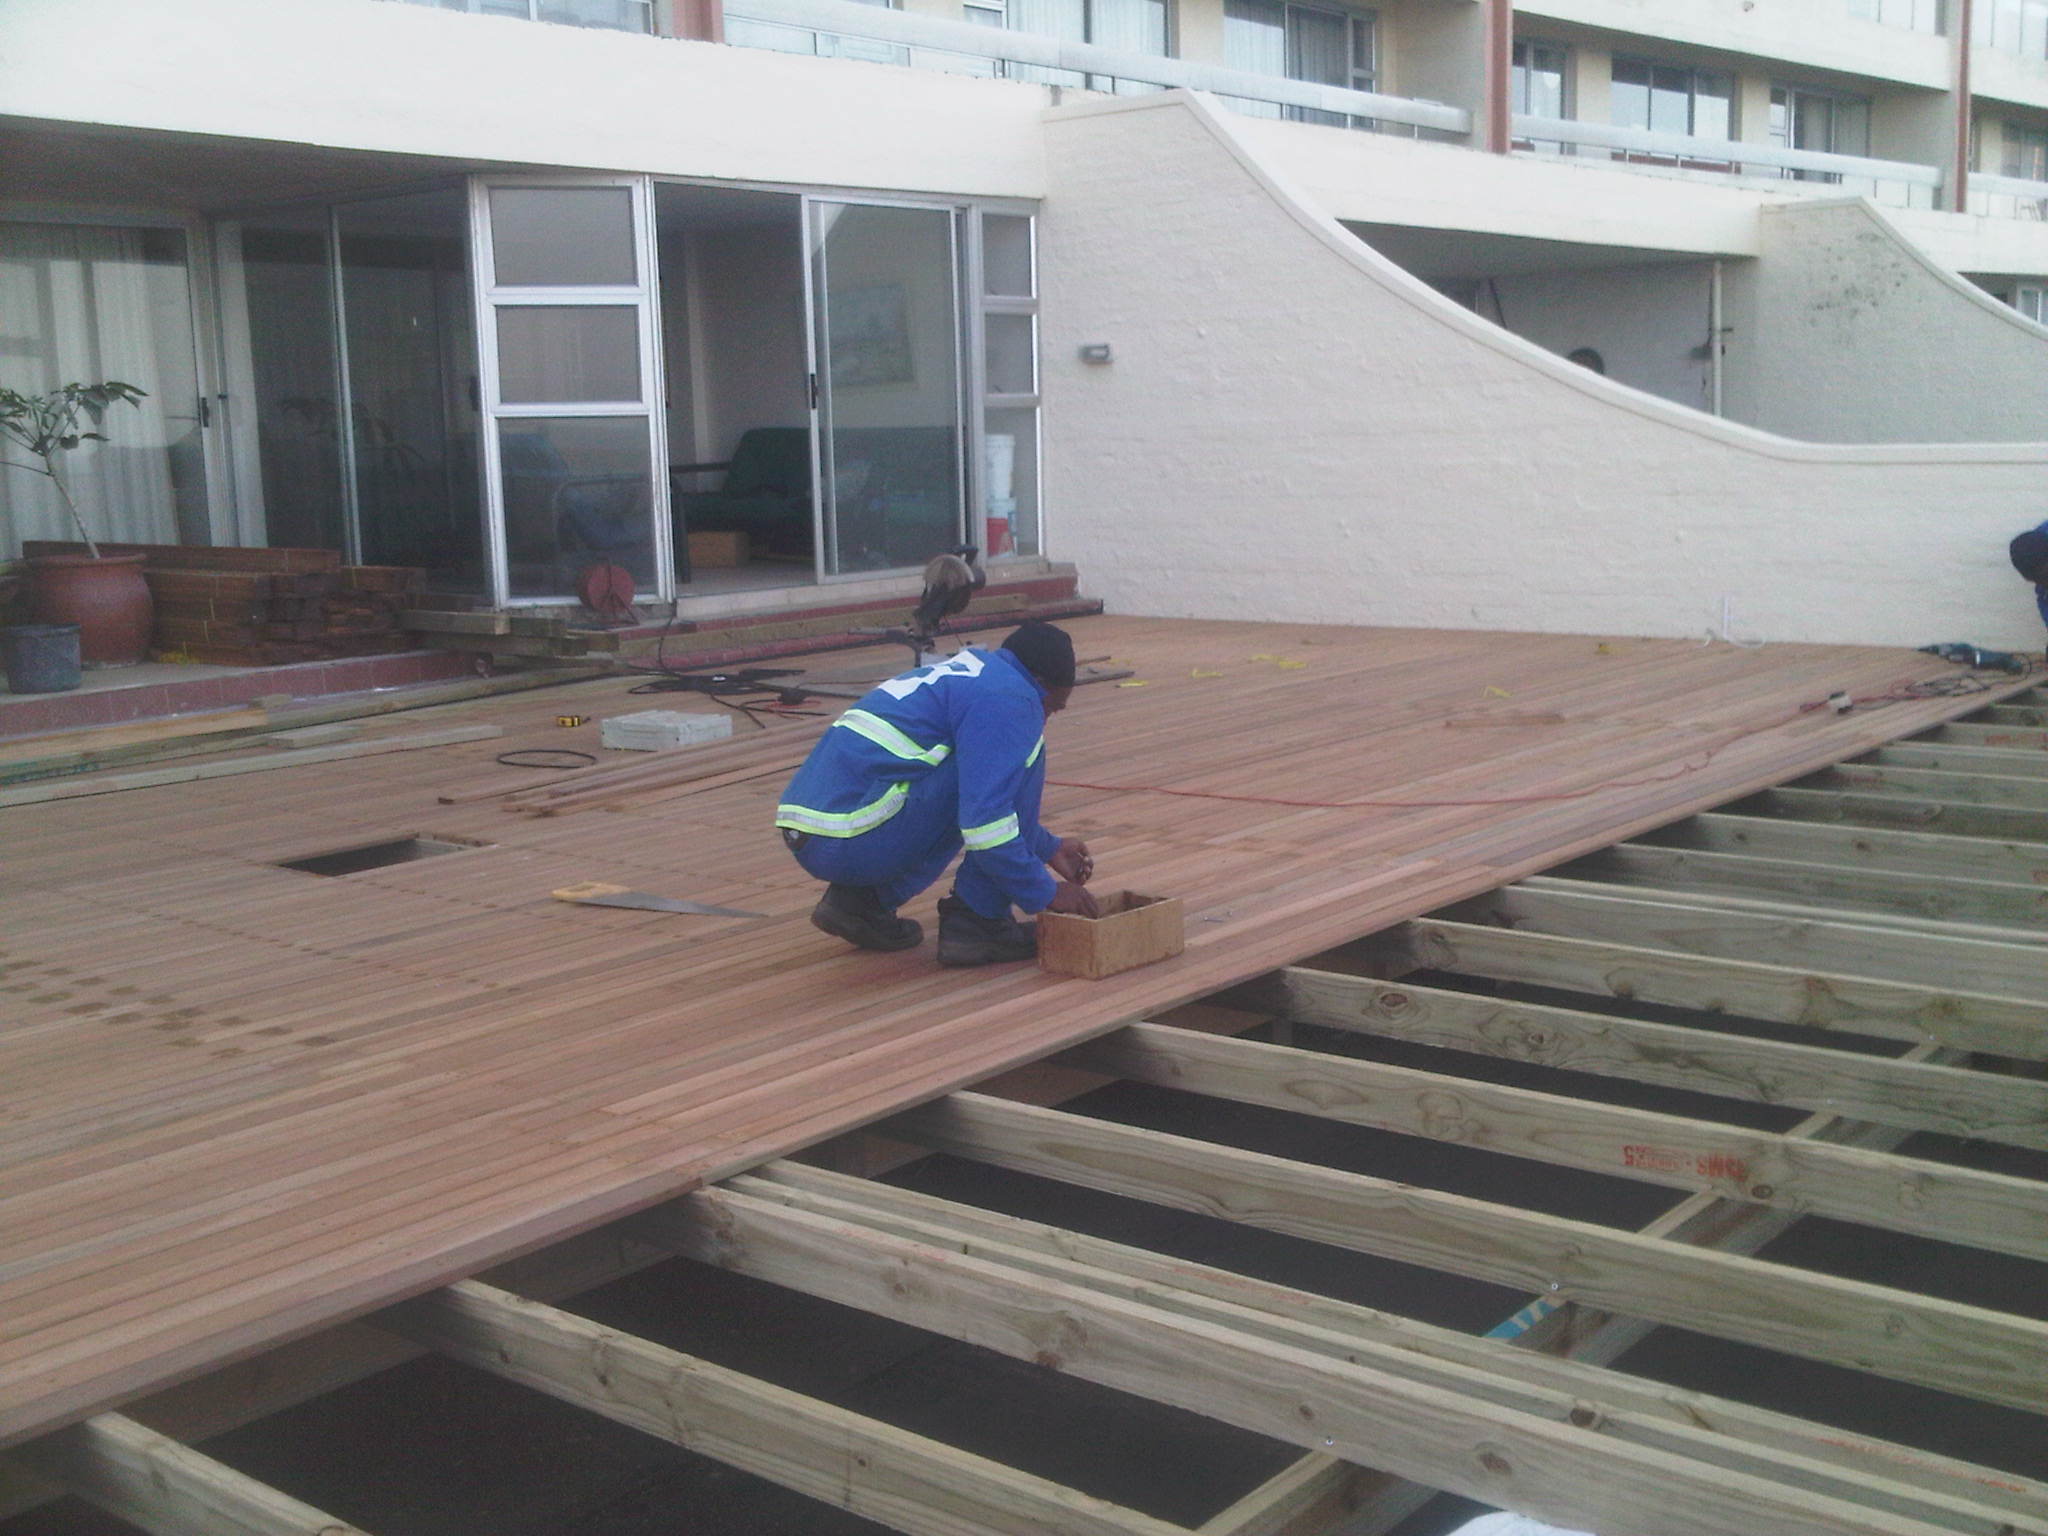
We were awarded a 90m² wooden sundeck in Toti recently. It was to be installed on top of an existing concrete slab that doubled up as the roof of the parking area beneath. The concrete had just been waterproofed using Torch On so we could not secure our batons, or joists to the surface by drilling. We brought the level of the deck up so that the existing balustrade would be 1m above the surface of the deck. The existing concrete slab was about 1.4m below the top of the balustrade so we had about 400mm to raise it which allowed us enough space to build a super structure with 38 x 152 beams and 38 x 114 joists with a 19mm deckboard on top. This allowed us to keep the beams and joists off the surface and we installed 76 x 76 square posts to the beams to support it. Because we were using 38 x 152 beams we had to install posts more often as opposed to the 38 x 228 beams where the posts can be installed less frequently. The posts sat on top of some 3mm closed cell insertion rubber cut to 100mm x 100mm squares to stop the posts from cutting into the waterproofing over time. This system allowed us to suspend the superstructure as a sort of floating structure without having to secure anything to the concrete surface so that we didn’t need to damage the waterproofing. Again we used an H3 CCA Treated Pine substructure and balau deckboards.
Click to enlarge
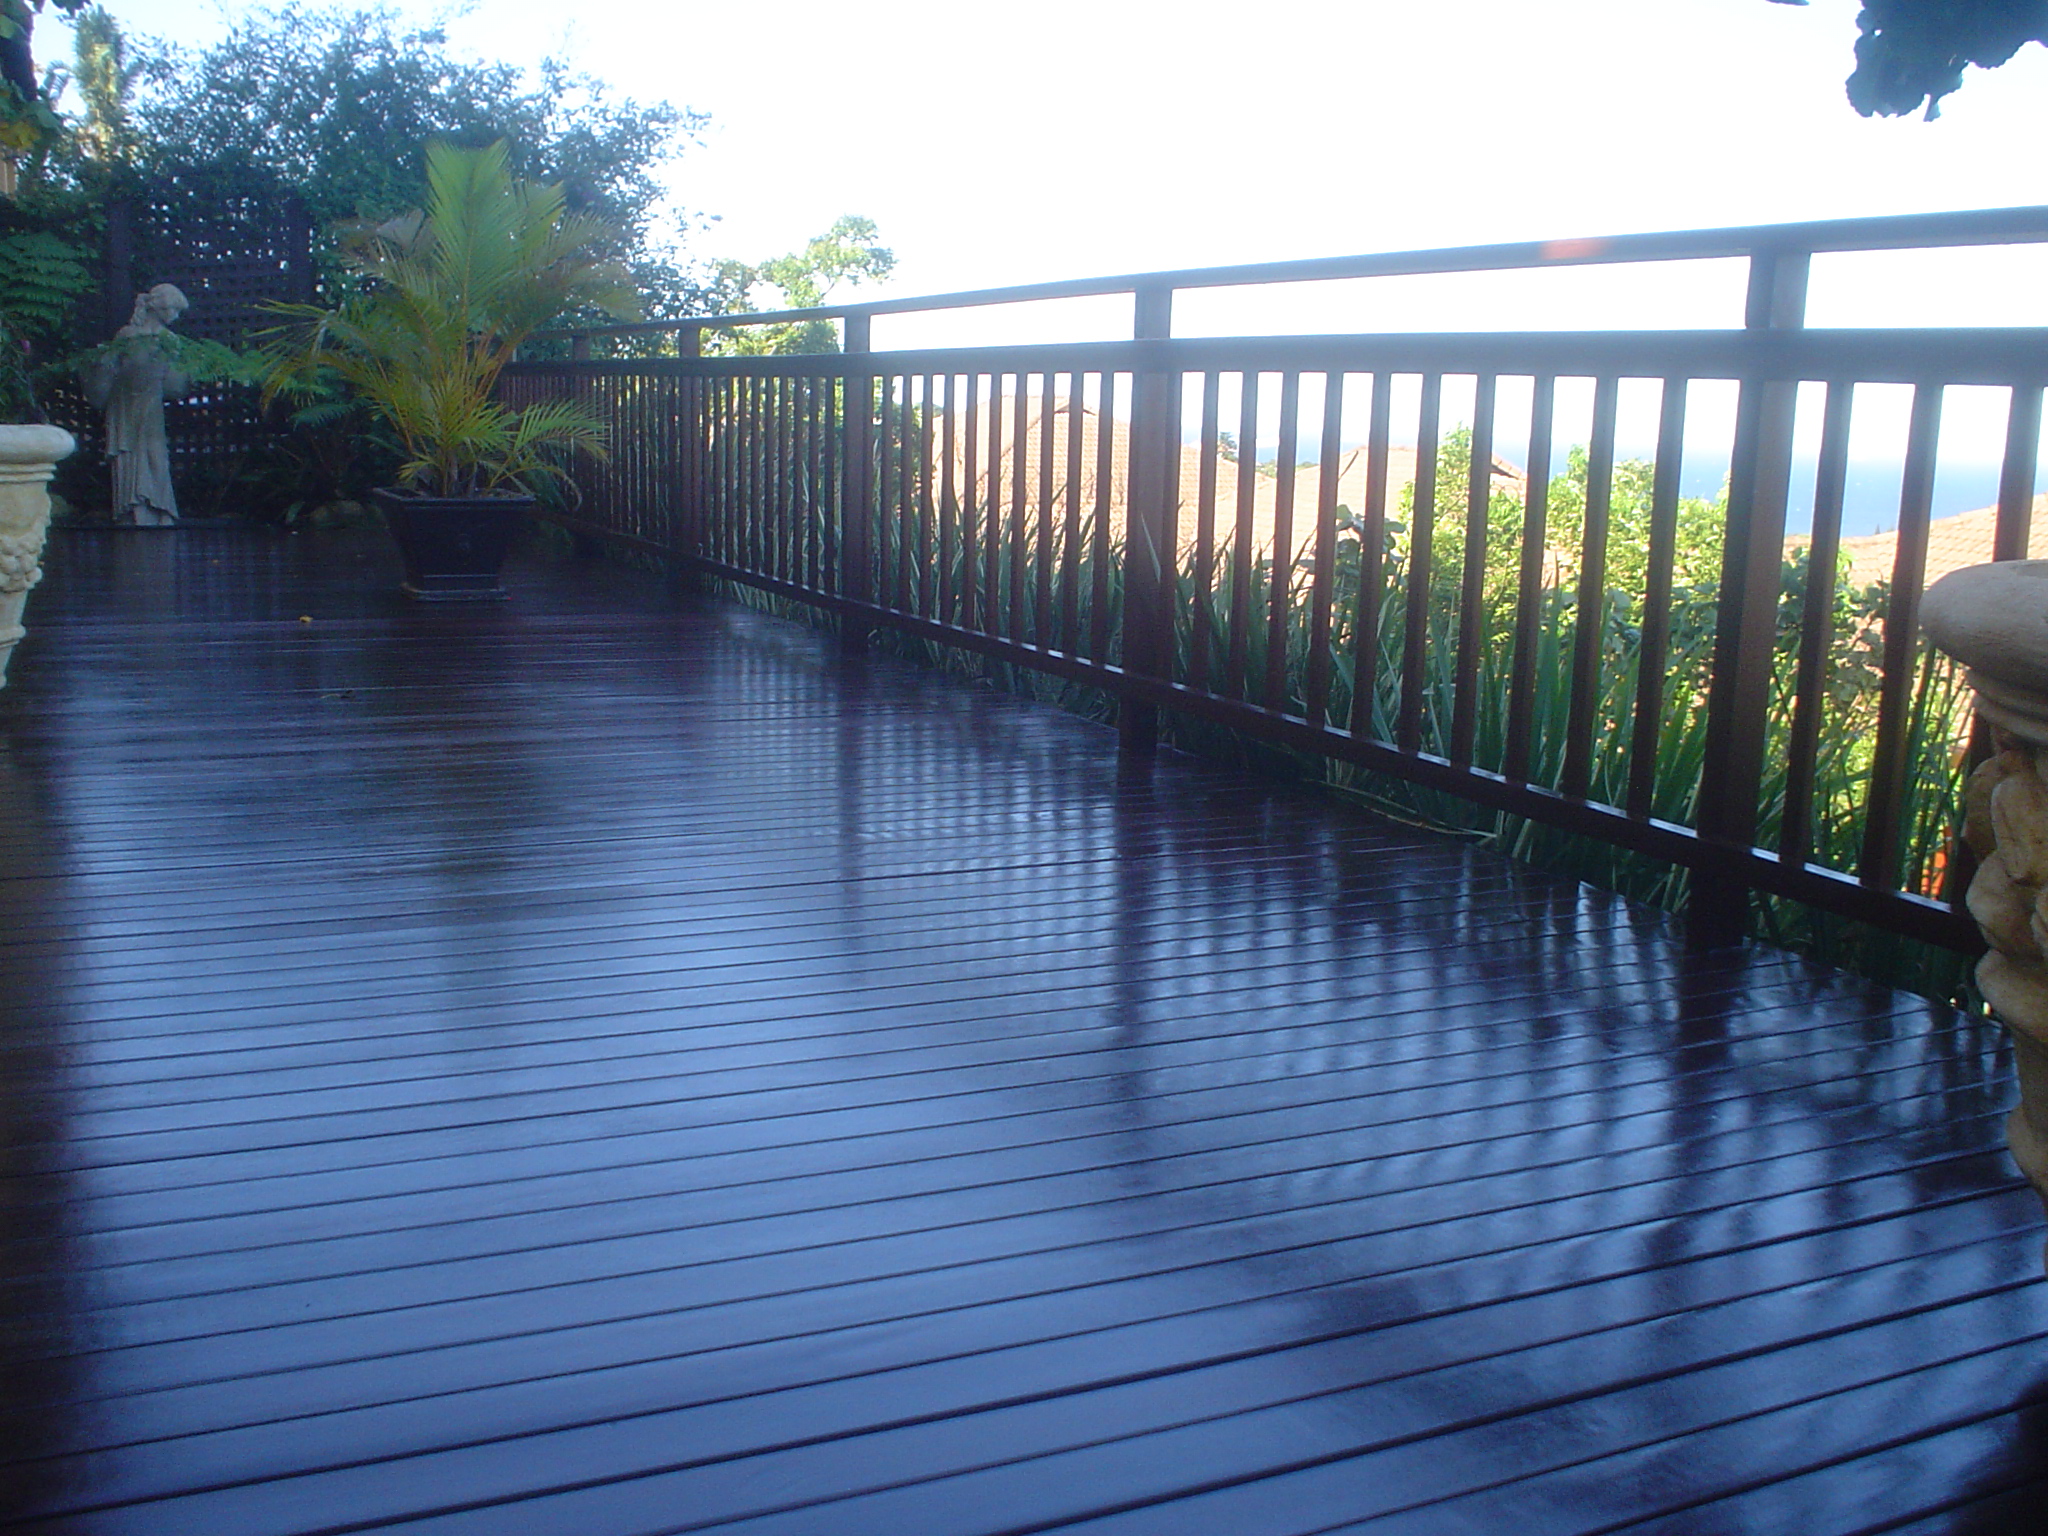
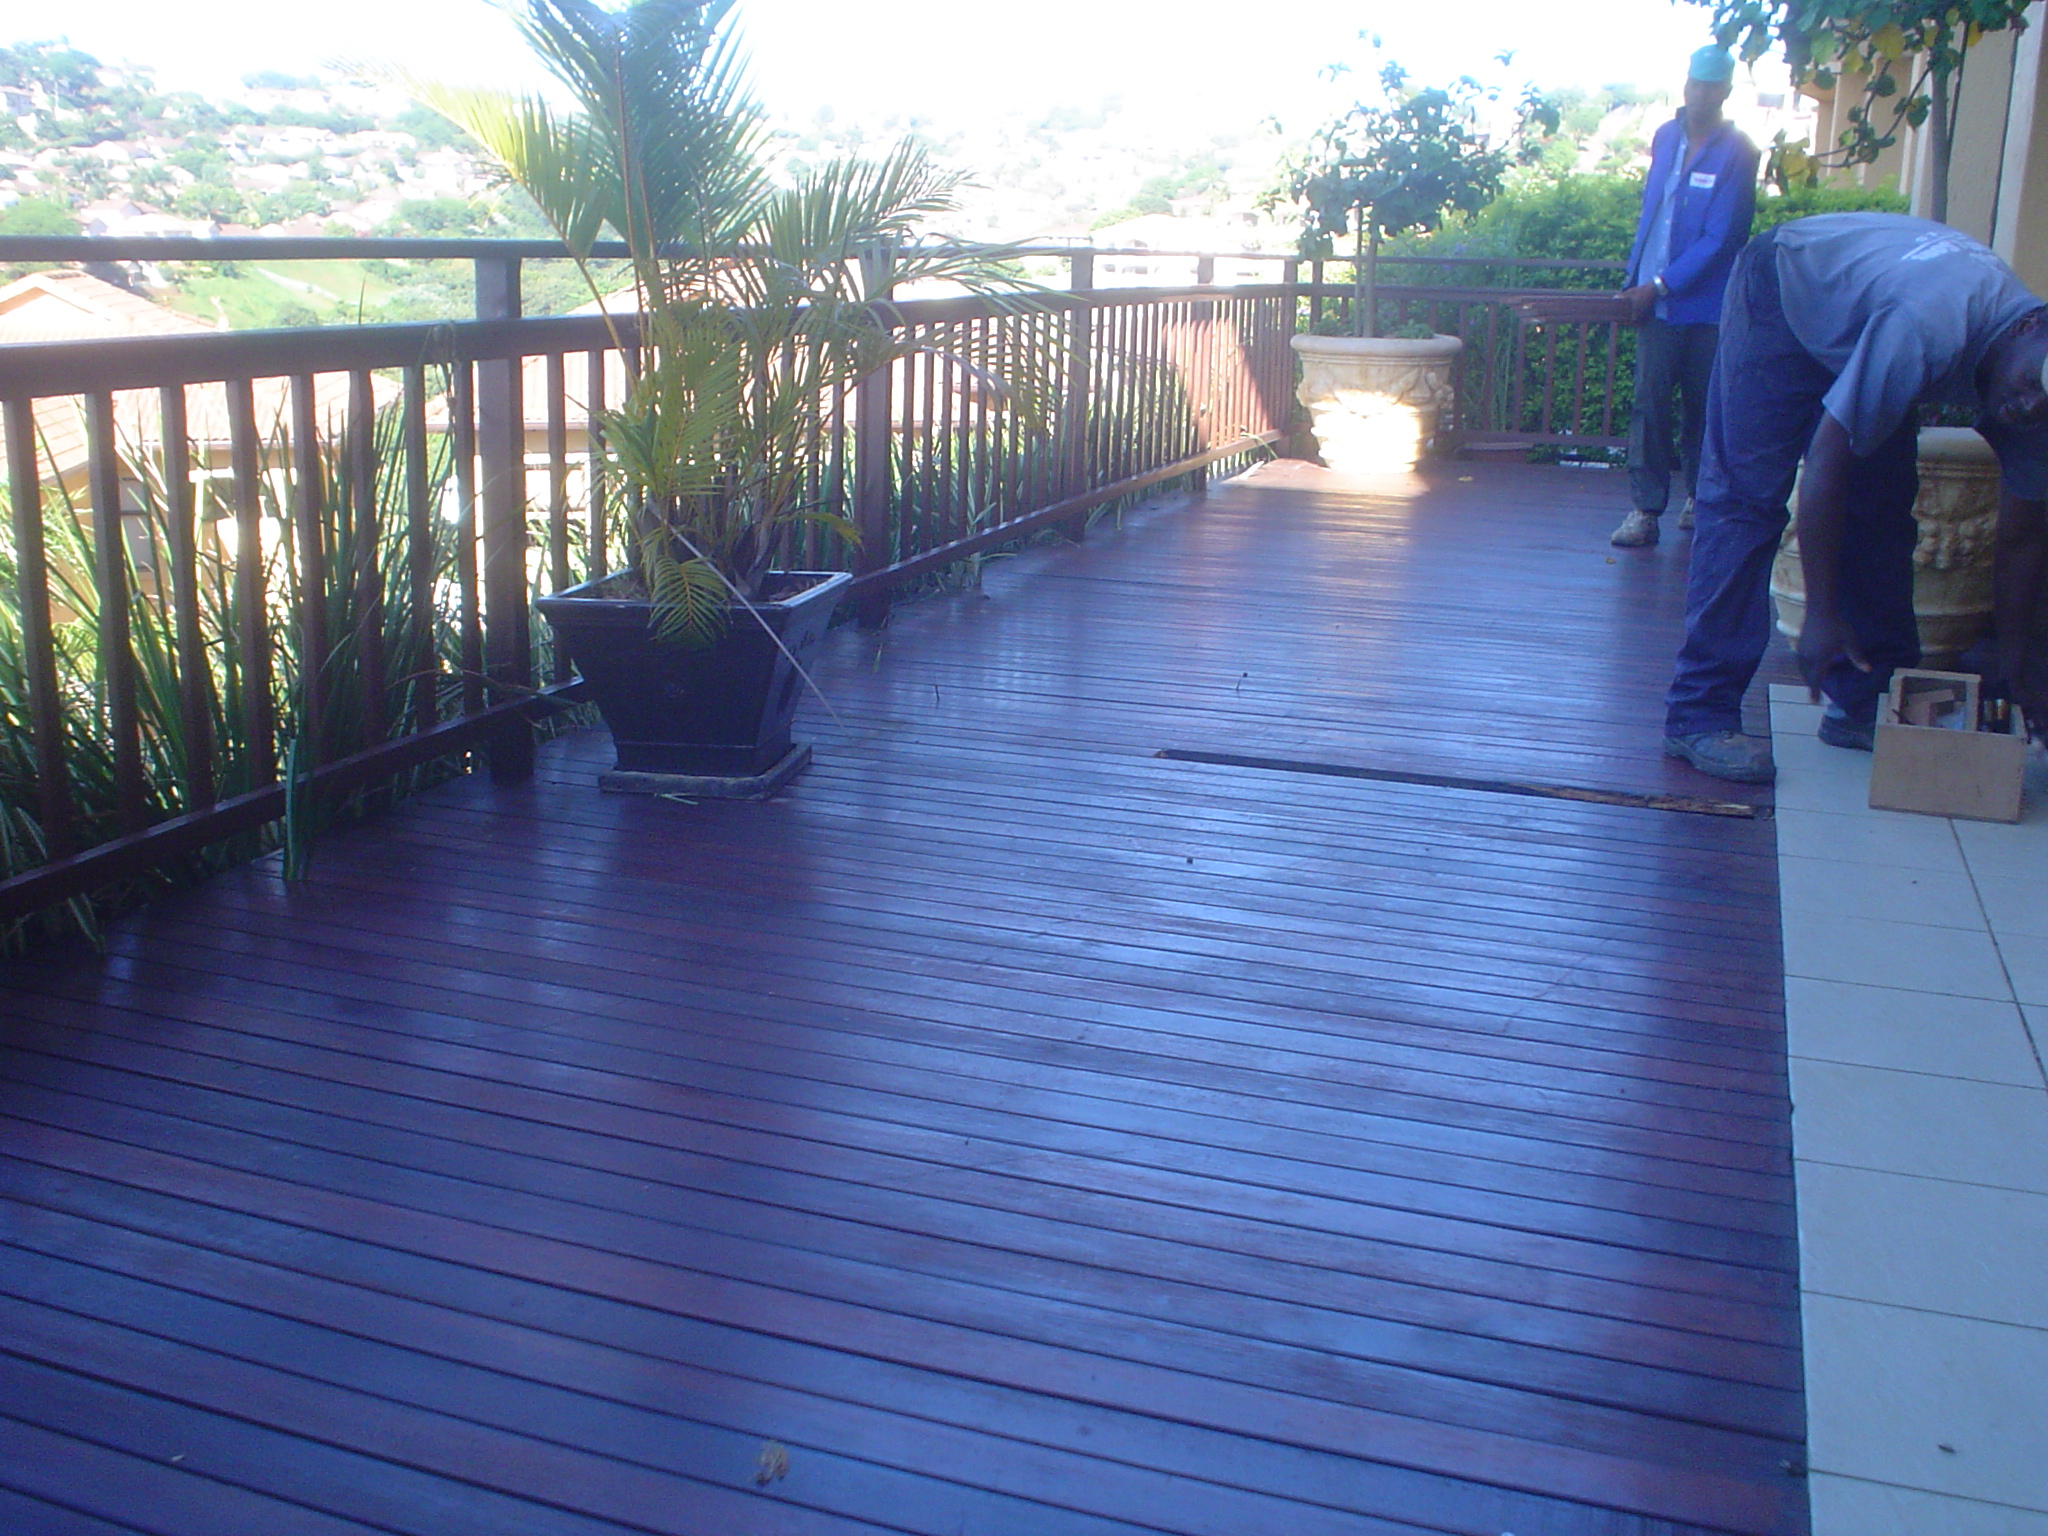
This time around we spaced our joists perfectly so that we only had to waste a small amount of deckboards as off cuts. We did this by slotting an extra deckboard in where we had to, to prevent having an off cut of 400mm or so. We calculated that we would have about R5, 000-00 worth of 400mm off cuts if we had cut these. So it made sense to rather spend the money on a few extra joists than the off cuts.
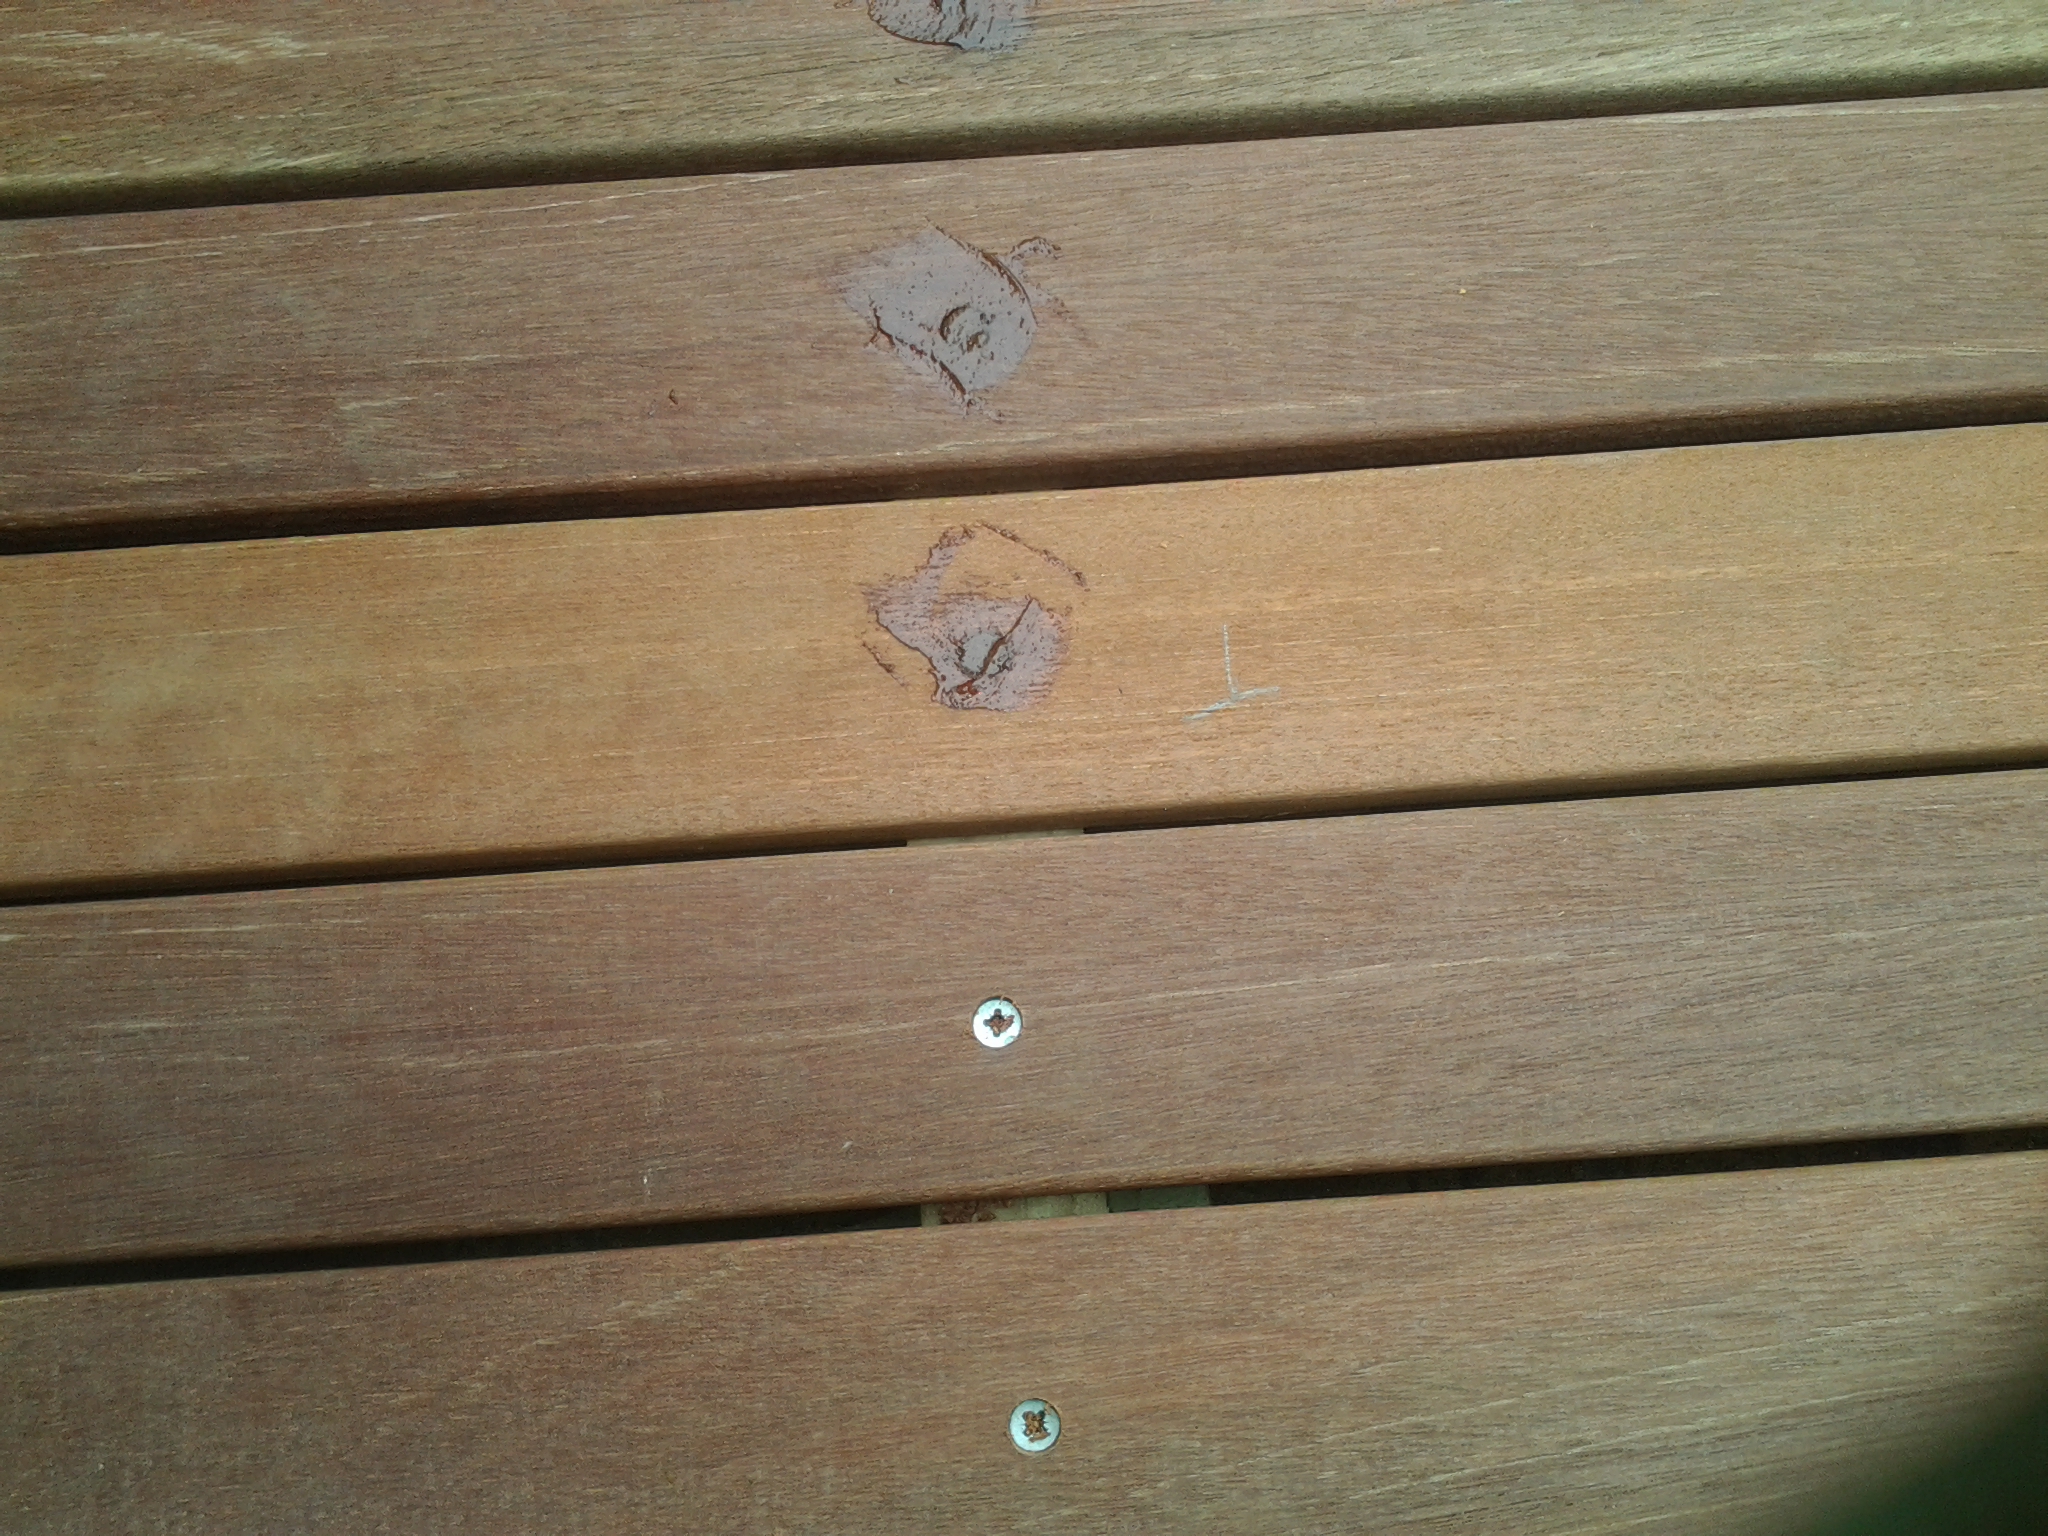
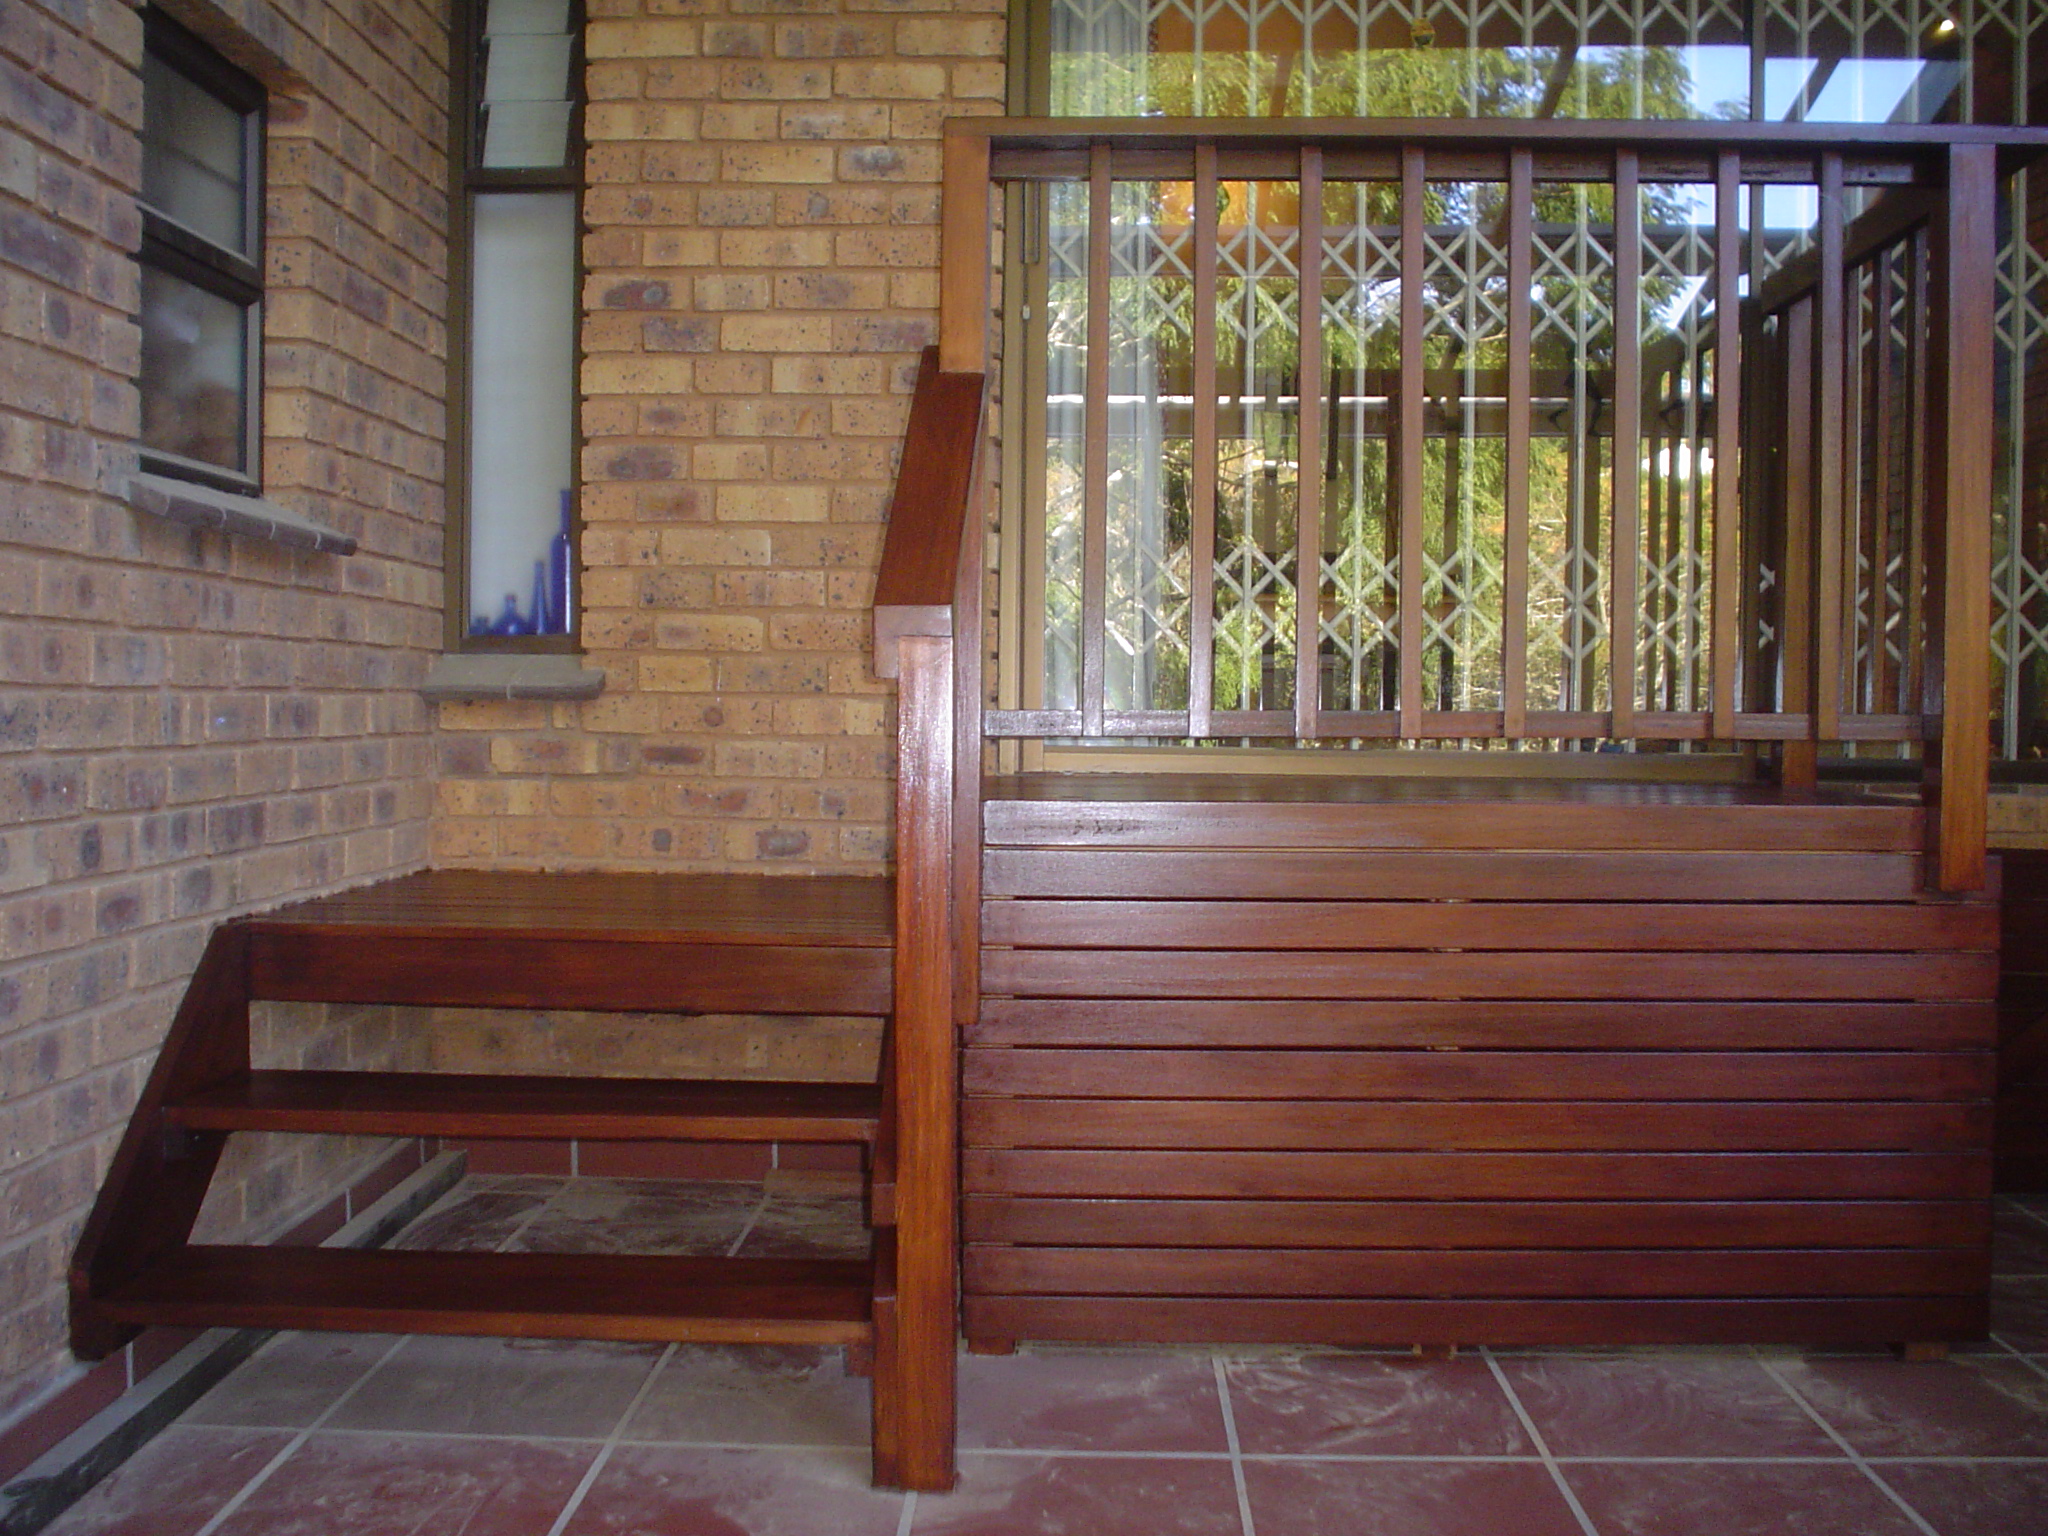
We sprayed this deck with sealer rather than using a brush. We brushed the edges as it can often make a mess against the wall spraying it on and then sprayed the entire surface. Because we are using oil based sealer there is no chance of runs or streaks so it is quite safe to spray it on and we saved at least a day or two. Our biggest time consumer on this job was getting our timber up to the first floor. The service lift was big enough to take our deckboards from corner to corner, but was out-of-order on the day, so we carried them up two flights of stairs. The longer pieces had to be hauled 6m up the side of the building using ropes attached to each side of the timber. In hindsight we should have hauled the deckboards up that way too.

Click to enlarge
For a free no obligation quote or just to ask some advice on building your wooden deck, please contact me using the form below or you can call us on 082 496 5444.


Related articles
- Wooden sundeck constructed in Toti Durban (thewoodjoint.co.za)
- Wooden balau deck built in The Bluff – February 2012 (thewoodjoint.co.za)