Click to enlarge
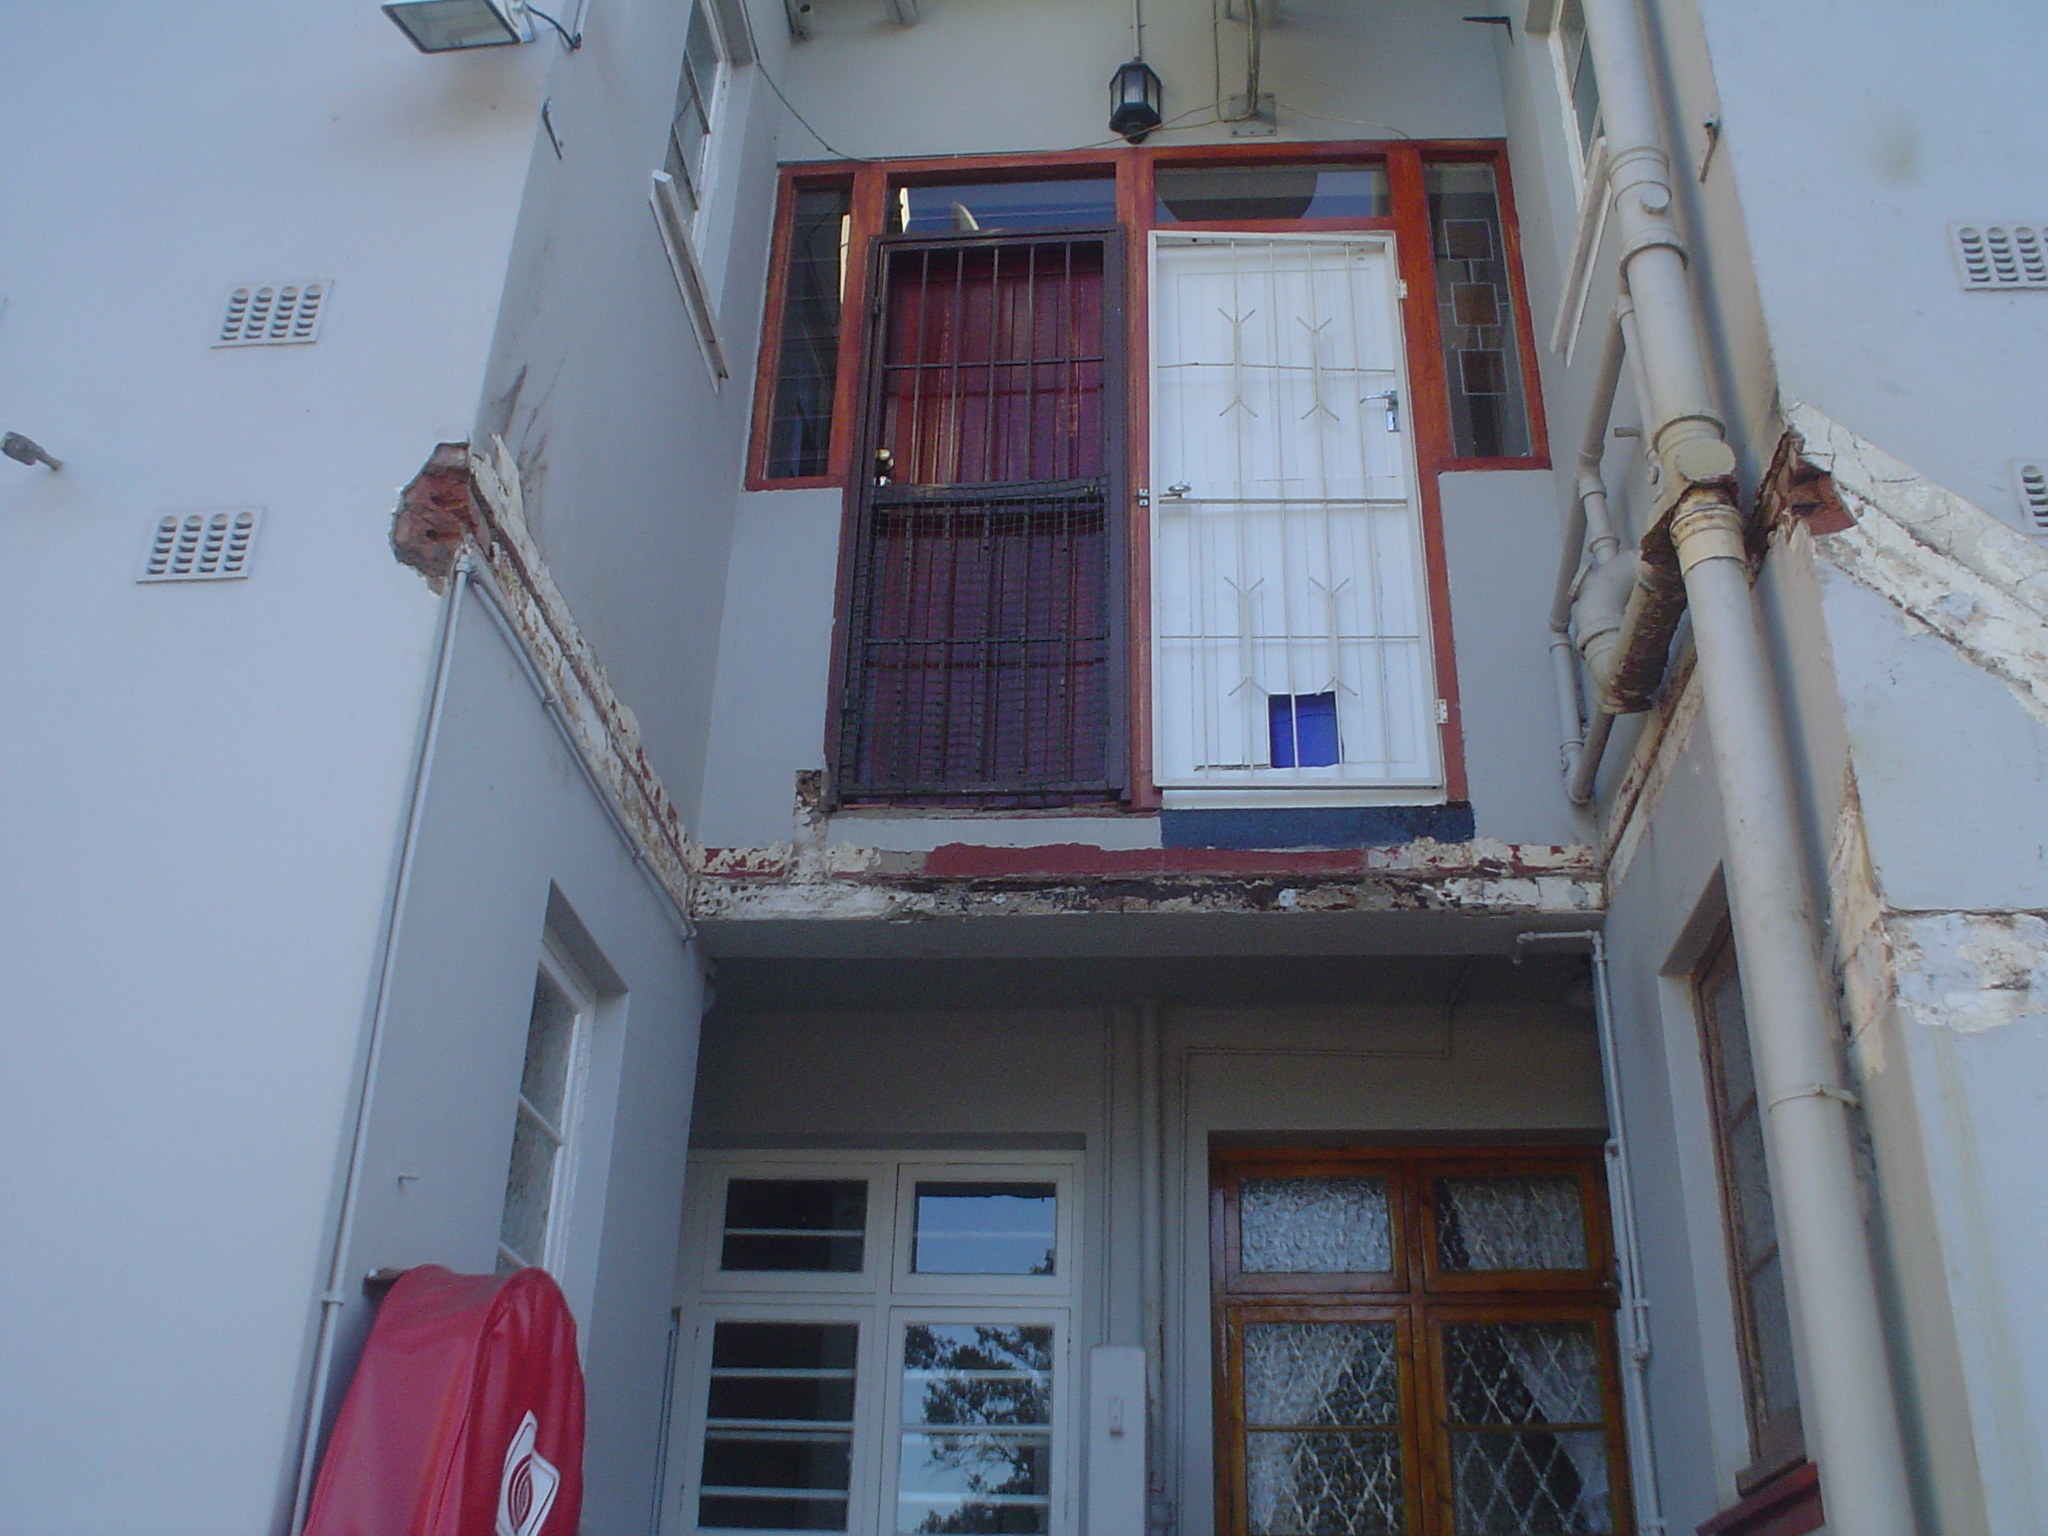
This wooden stair case build by The Wood Joint in Durban was a tricky one. The client was a committee member on the body corporate for a small block of flats in Durban. There were about 4 units in the block and the existing steel fire escape had rusted to a point where it was unsafe. So first we had to remove the steel structure. With a little help from my friends, we came in and chemical anchored stainless eyes into the wall on both sides above the steel platform you see in the pics. From there we rigged up some climbing equipment to be safe and started cutting sections out of the steel structure and lowering them slowly to the ground. We had to cut small sections as the steel was 10mm thick and we didn’t want to damage the walls, windows or doors on the way down. We managed to get most of it down in one day with a small piece remaining for day two. We battled slightly in getting the main support off as the sewage pipes had been installed after the steel so we had to cut the steel out around the pipes so as not to damage the pipes. In removing it we inadvertently damaged a corner of the wall as the rawl bolts there were quite large, rusted and pretty much part of the building by now. We patched that using structural grout which was hard and strong enough to support our main beam to.
Click to enlarge
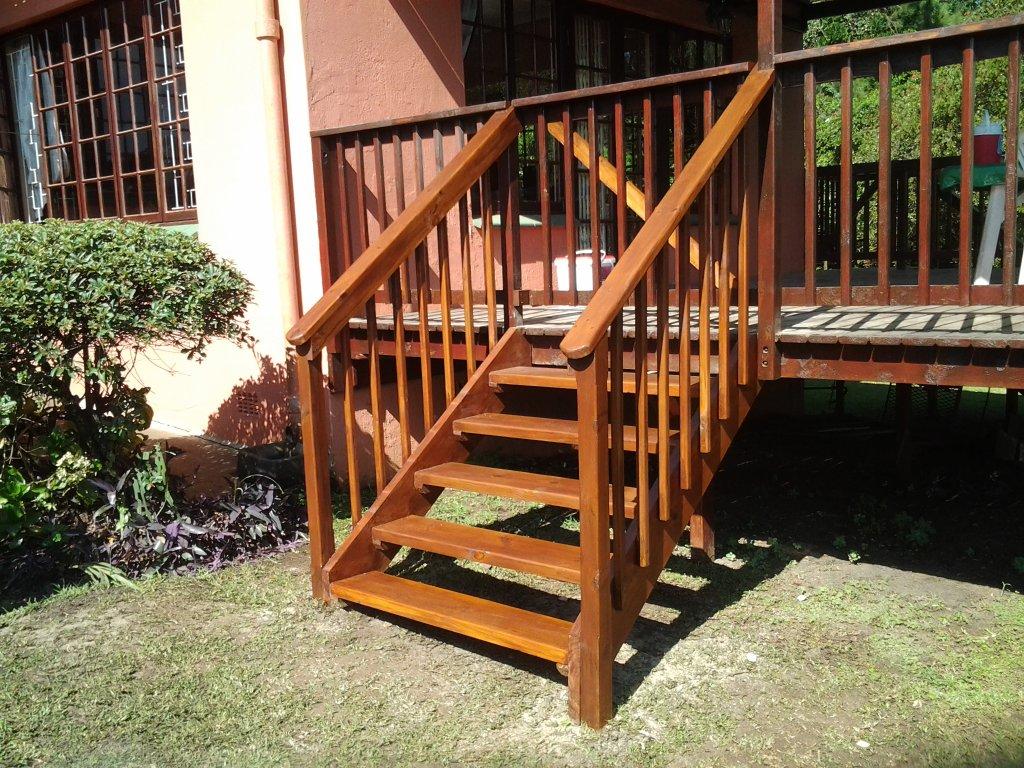
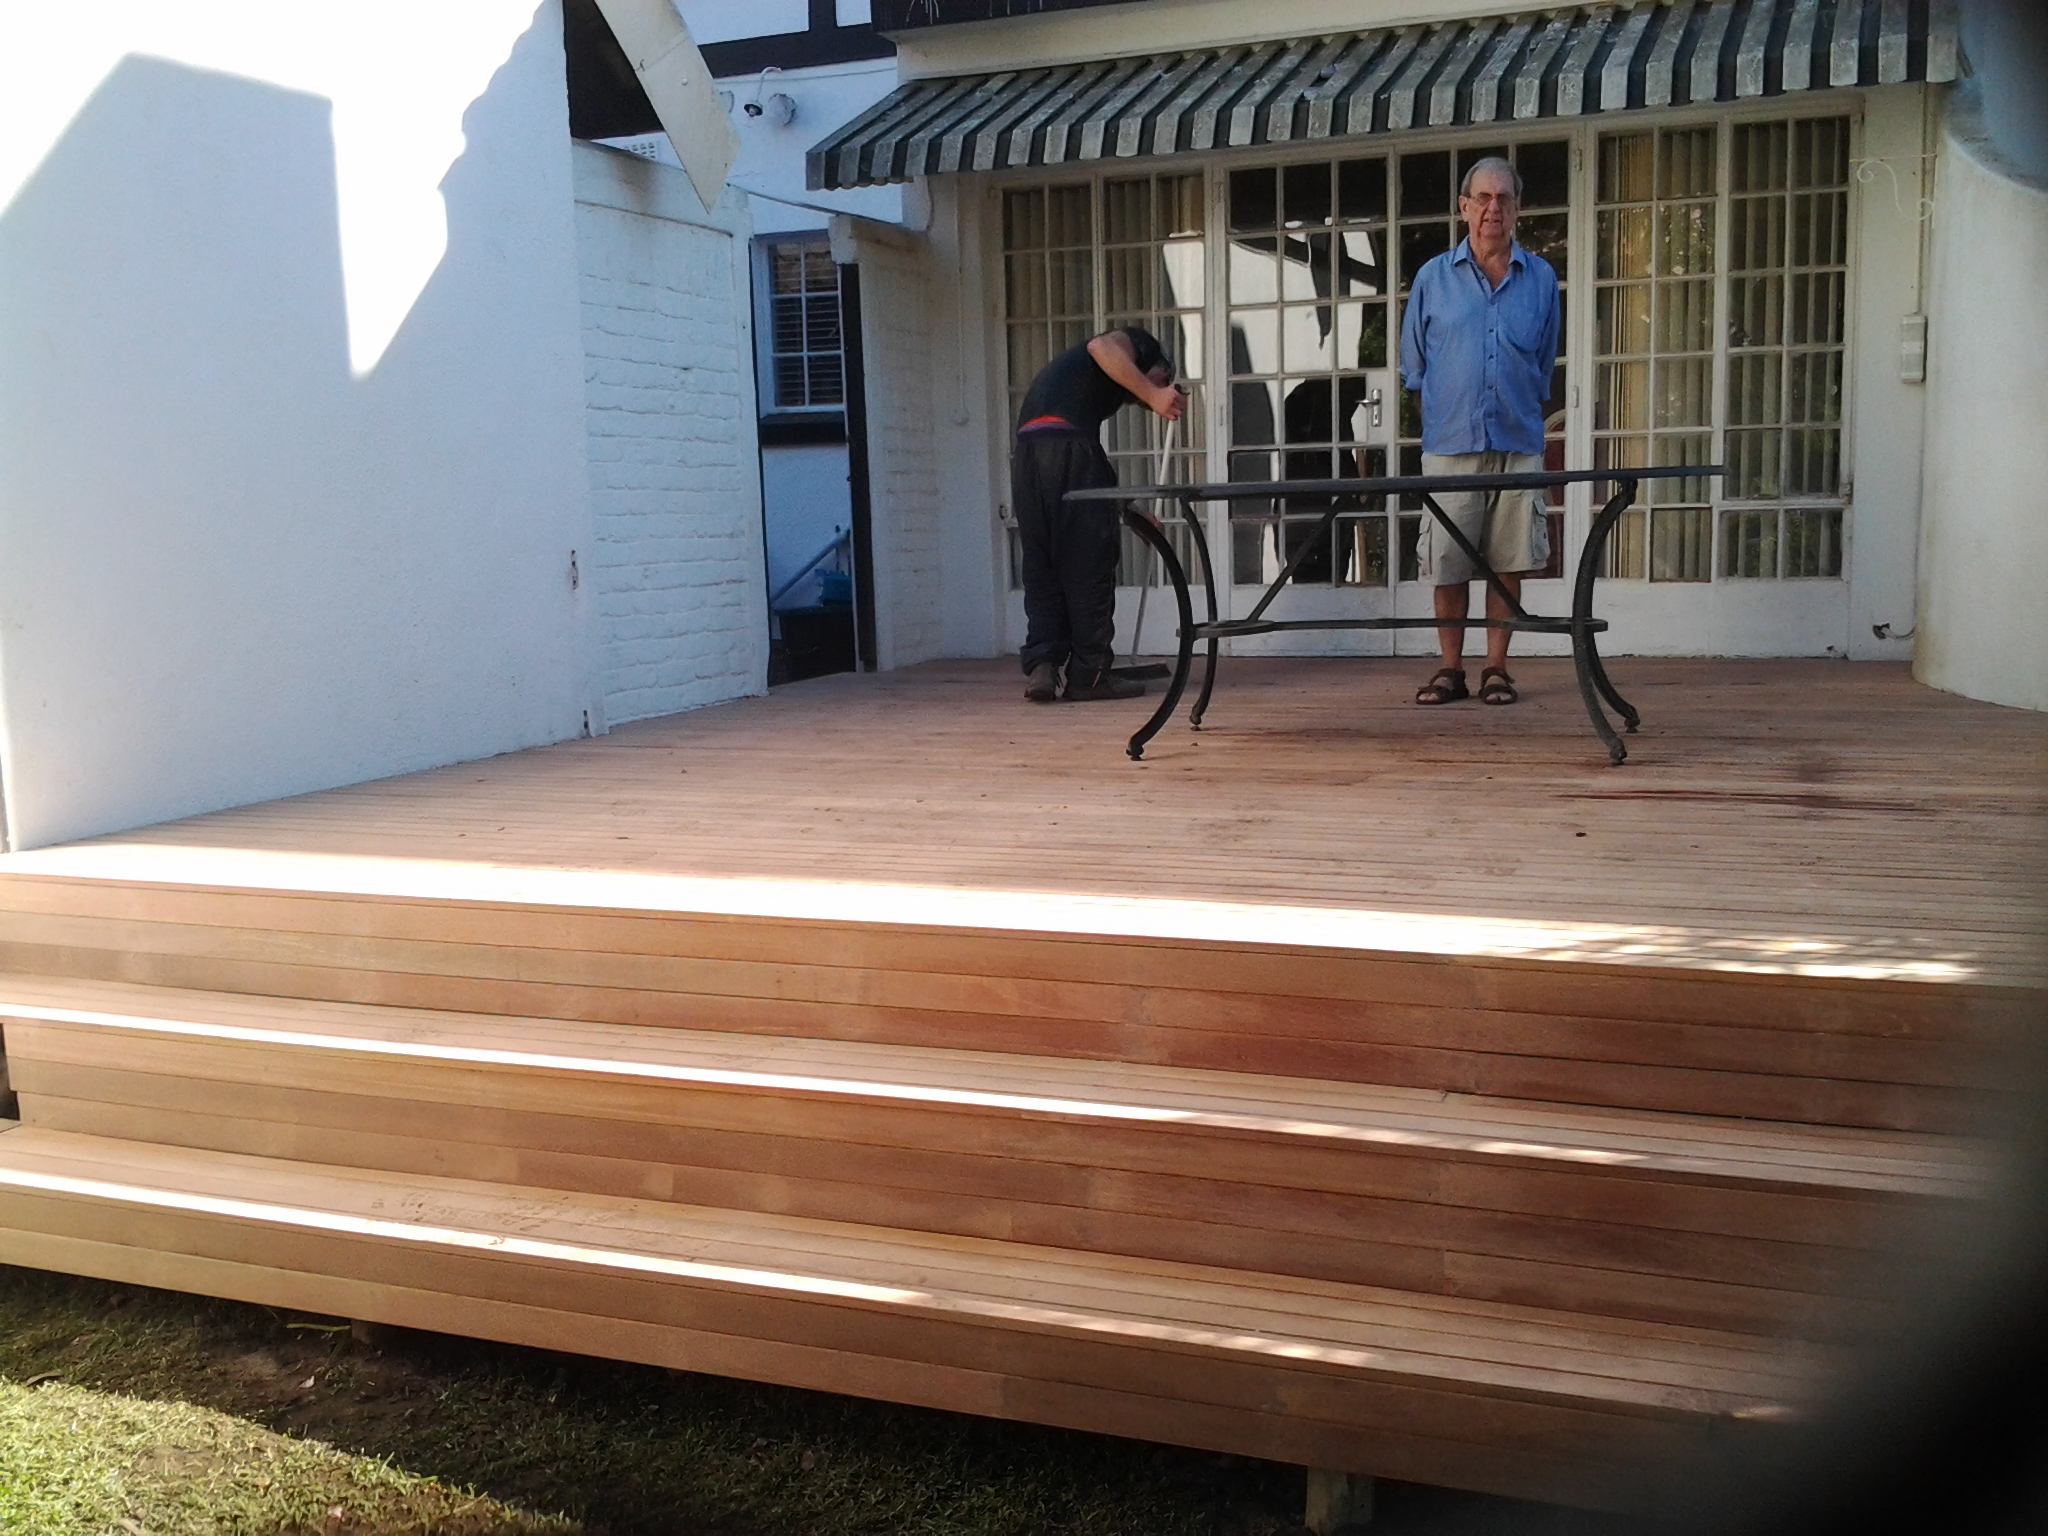
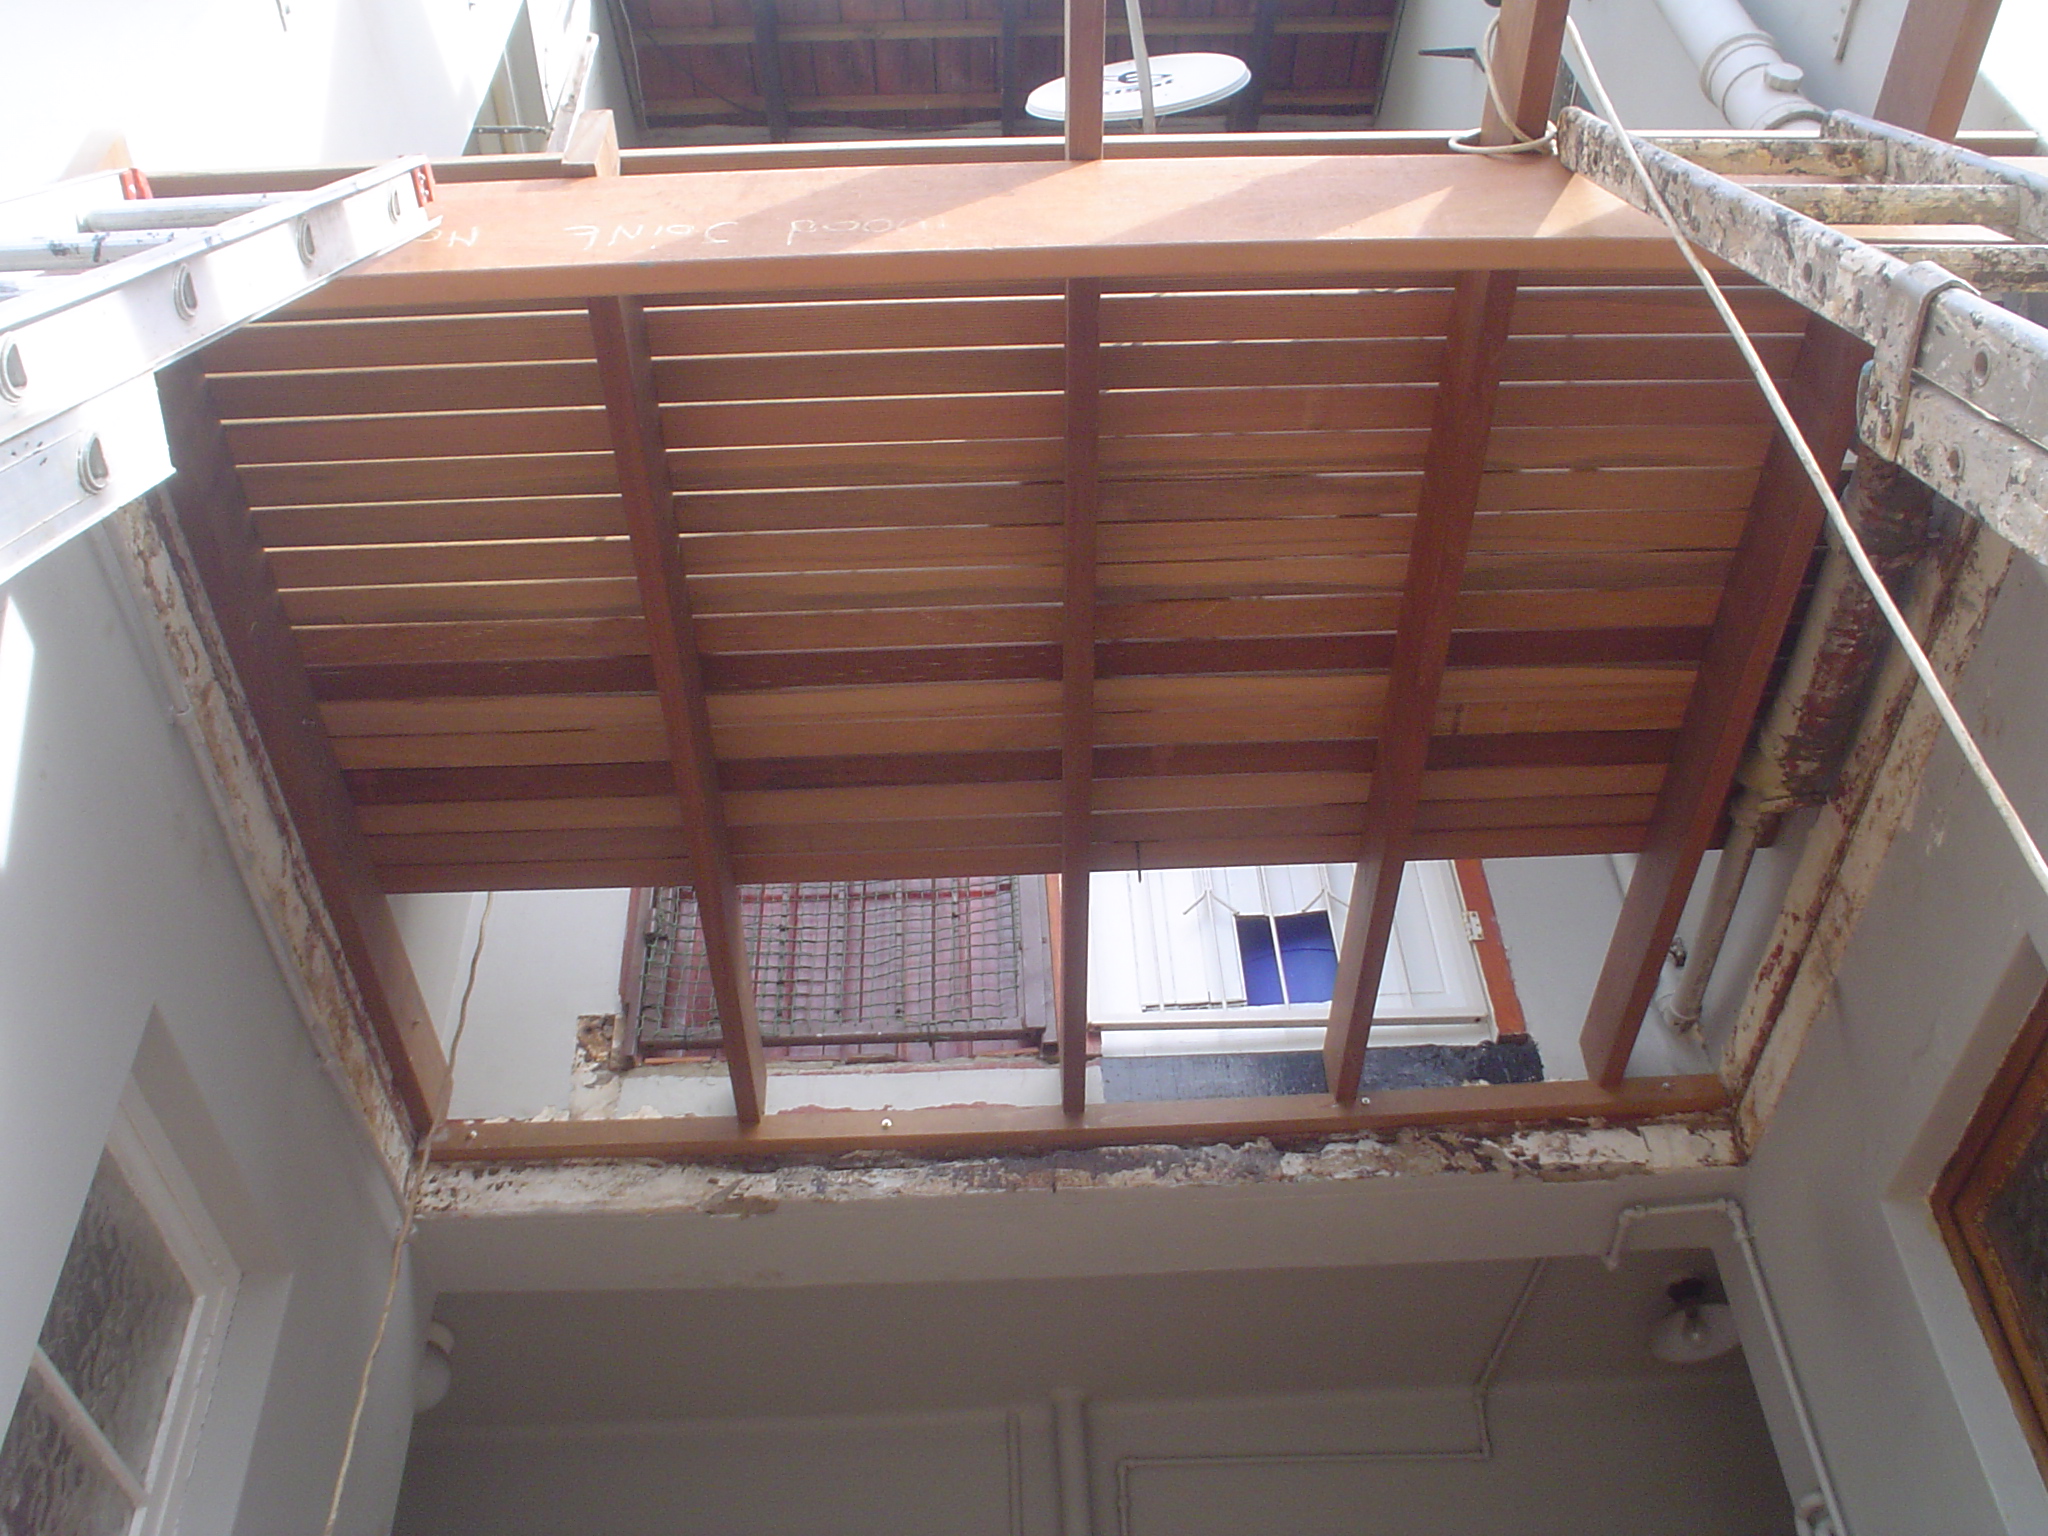
With the steel gone, we set out to build a wooden stair case and landing that could act as a fire escape. The small landing part was easier enough and we canter levered it so as to keep our posts out of the way below for parking. In these smaller blocks of flats in Durban space is very limited so posts need to be kept well out the way of parking space. Because we were canter levering it we needed to use 30 x 140 joists of balau rather than our normal 30 x 102 joists.
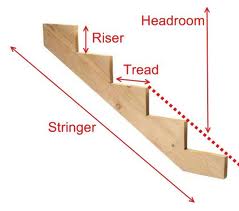
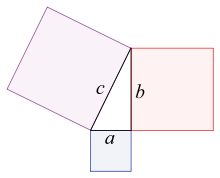
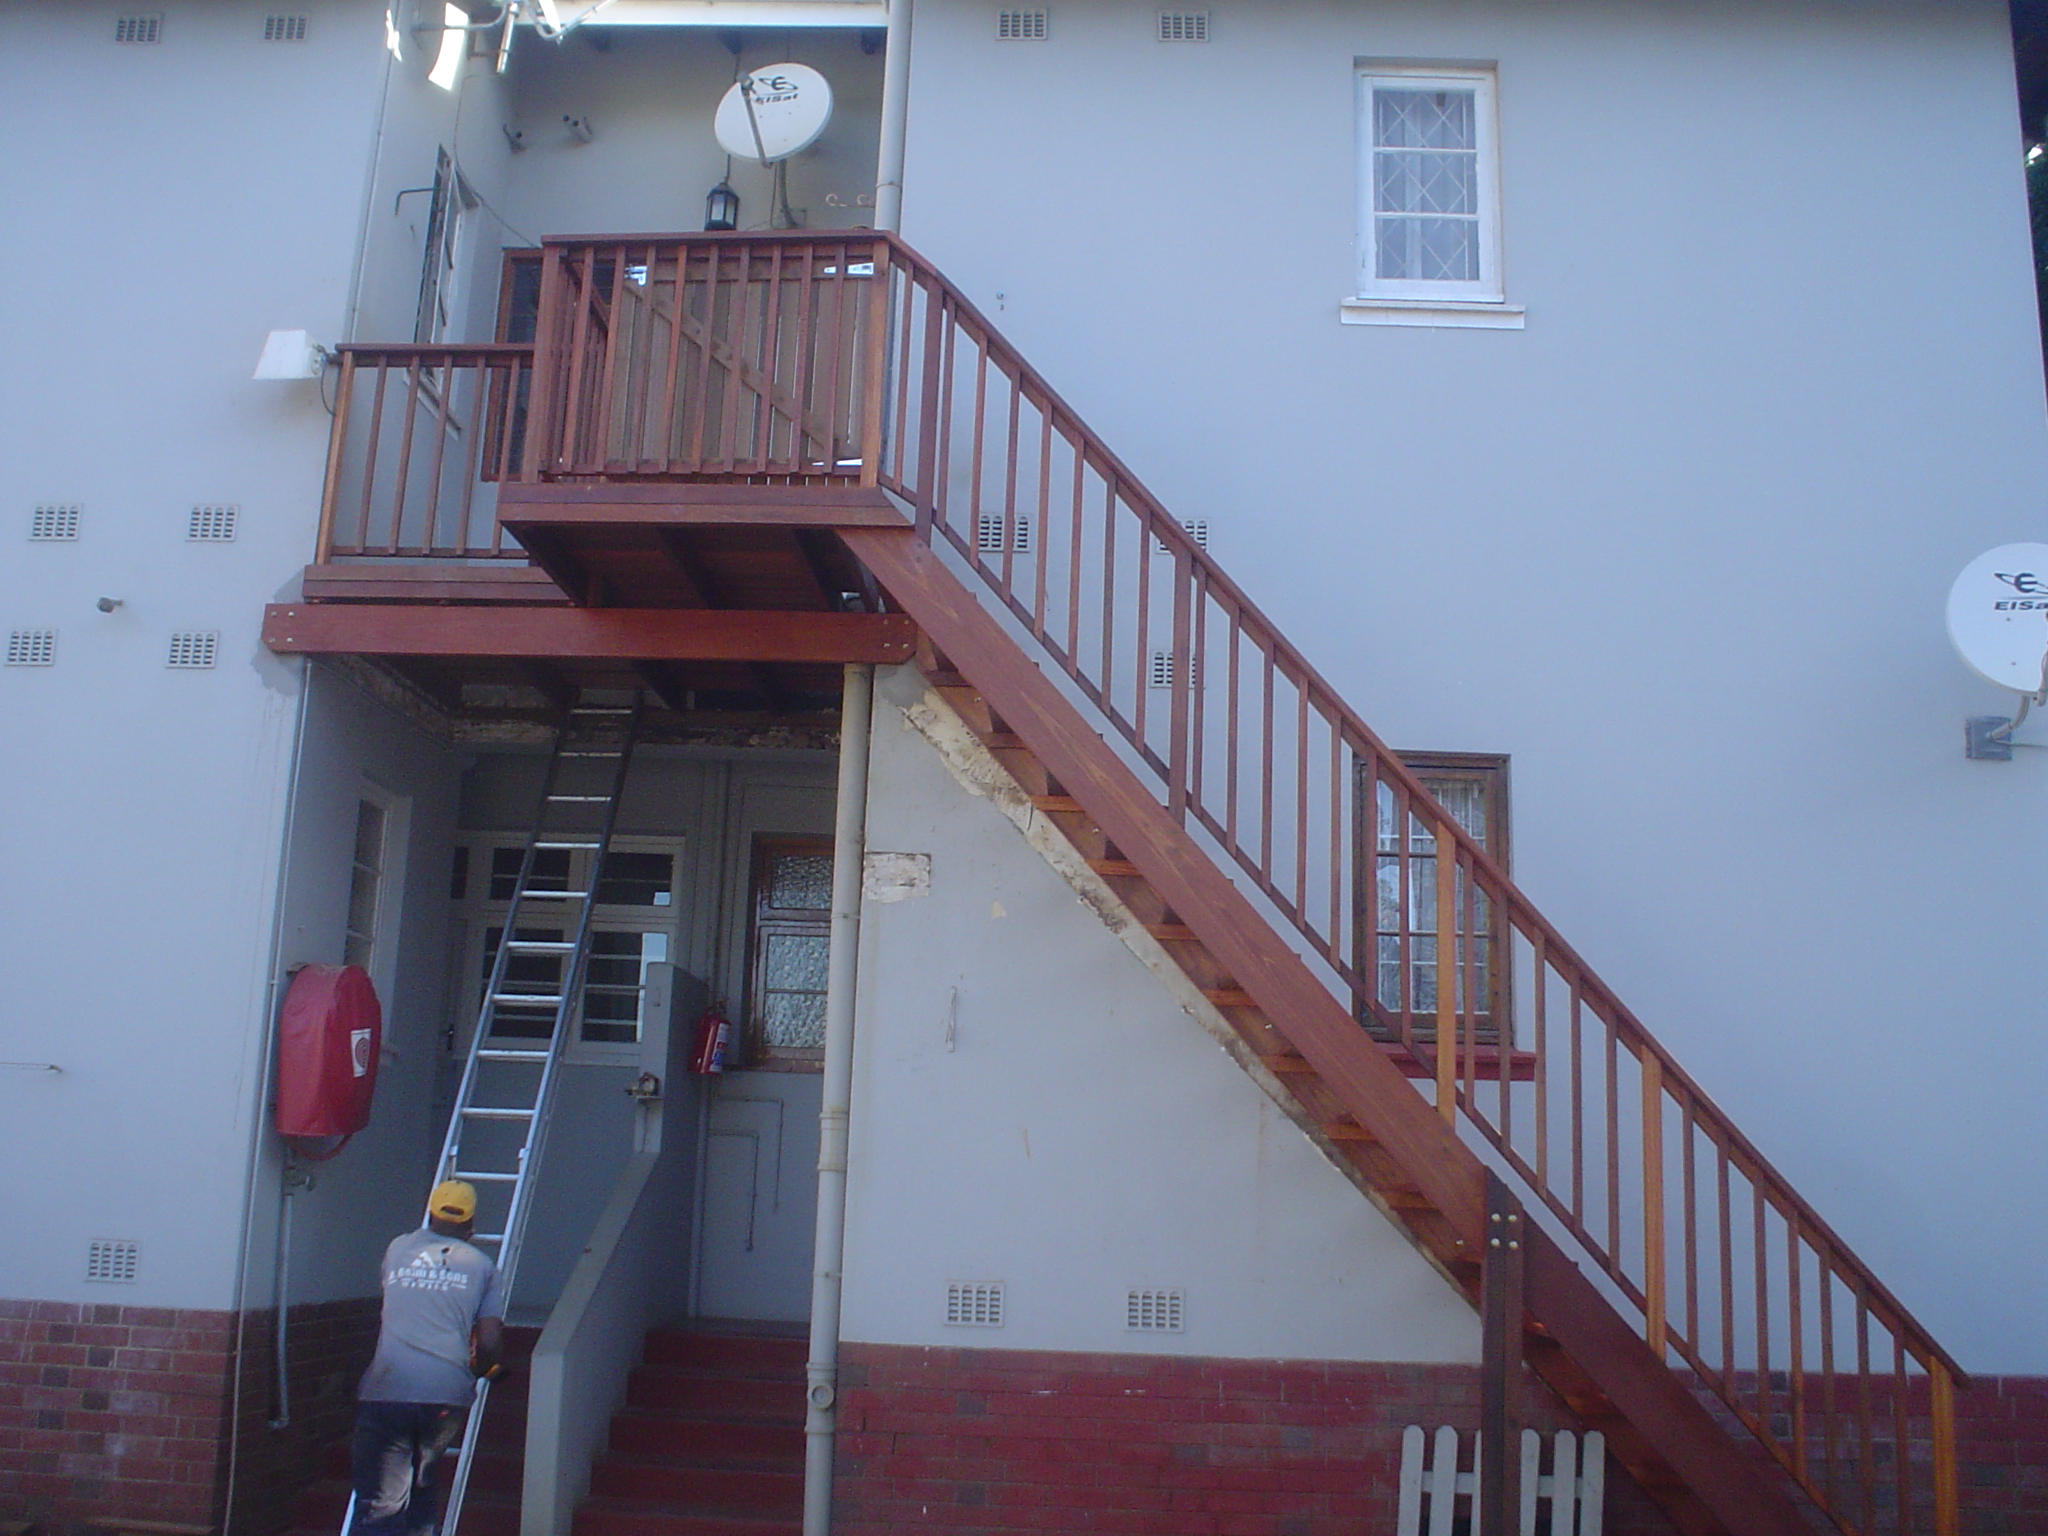
The stringers for the stairs were also tricky as we had to follow the original line of the stringers because there was a window beneath that we couldn’t cover and we could only protrude to the end of the wall without obstructing the driveway. This resulted in our stringers being placed at 45 degrees which resulted in our risers being of equal length to our runs or treads. It is not ideal as it makes the stairs very steep but we had no option due to space and height. We were a total of about 4m in the air to the landing.
The treads went on alright, the balustrade too and we had to join the stringer on the outside with two independent posts to ground to support it as the timber we could get wasn’t long enough to run the full length of the stringer.
Click to enlarge
We went back there a year or two later as one of the treads had popped a screw. Sometimes the timber moves more than one wants it to and breaks the screw off. We do however put additional back up screws in each piece we secure so they are safe in the event that one screw does break.
For a free no obligations quote on wooden stairs or any other outdoor timber construction please complete the form below or you can call us on 082 496 5444.

Click to enlarge
Click to enlarge


Related articles
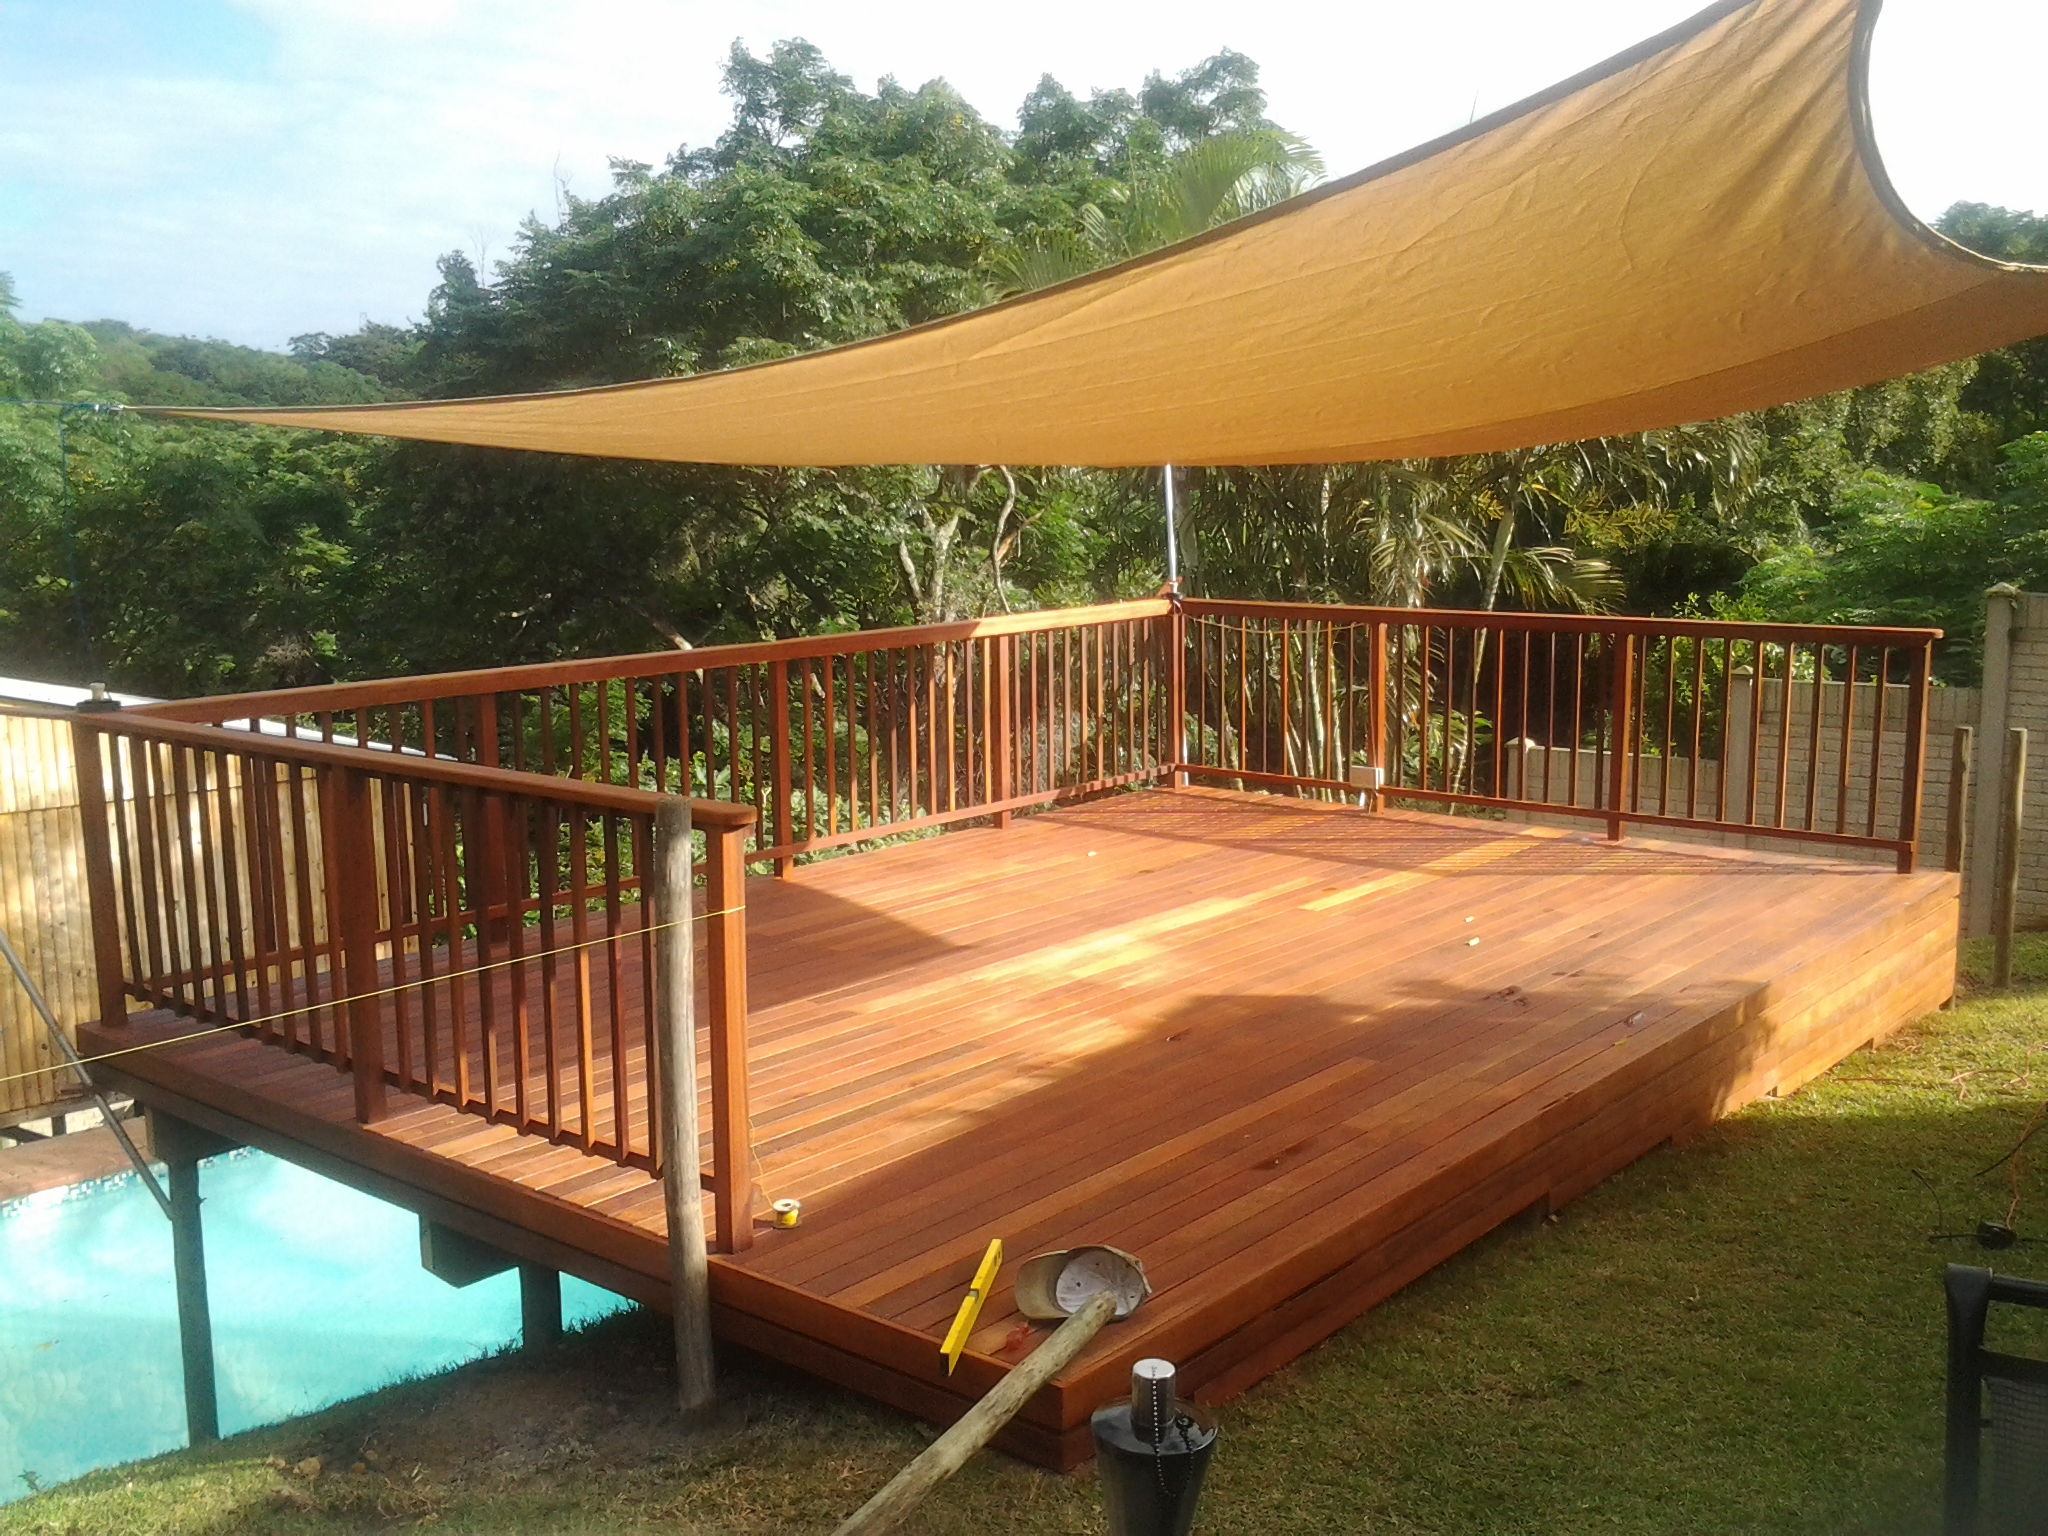
- Wooden Sundeck installed – Oriel Place, Bluff, Durban (thewoodjoint.co.za)
- Wooden Sundeck built in Gillitts – April 2013 (thewoodjoint.co.za)
- Wooden Sundeck built in Toti, Durban area – March 2013 (thewoodjoint.co.za)