Reducing rot in wooden sun decks

preventing rot in wooden decks

Click to enlarge

This article will focus solely on reducing rot in wooden sun decks rather than a specific article on a job we have completed.
One of the first questions that are asked when planning to build a wooden deck is that of maintenance. Being wood, the deck will always be susceptible to rot and insect infestation, but with the proper care this can be reduced to the absolute minimum and can compare favourably, if not better, to using other materials such as composites, concrete and tiles. Let’s face it when it comes to aesthetics and warmth wood is best, but often people opt for other materials simply because there is a belief that they are easier to maintain and will cost less in the long run.

Rot is caused by a break down in the fibres of the wood. A breakdown in the fibres of the wood is caused by algae being allowed to grow on the timber which in turn is caused by water. Water therefore does not directly cause rot. A piece of wood can live in water all its life and not rot, but if it is not cared for properly then it will cause algae to grow and ultimately rot. CCA Treated timber of course eliminates this because it contains copper which prevents algae from growing. However it is only possible to CCA treat certain timbers such as pine and to a degree Saligna because of the differing densities of the woods. Pine is soft and balau is hard. CCA treatment is done through pressure treating (vacuum) and it is therefore impossible to CCA treat balau as it is too hard for the solution to penetrate the timber.

preventing rot in wooden decks

Click to enlarge

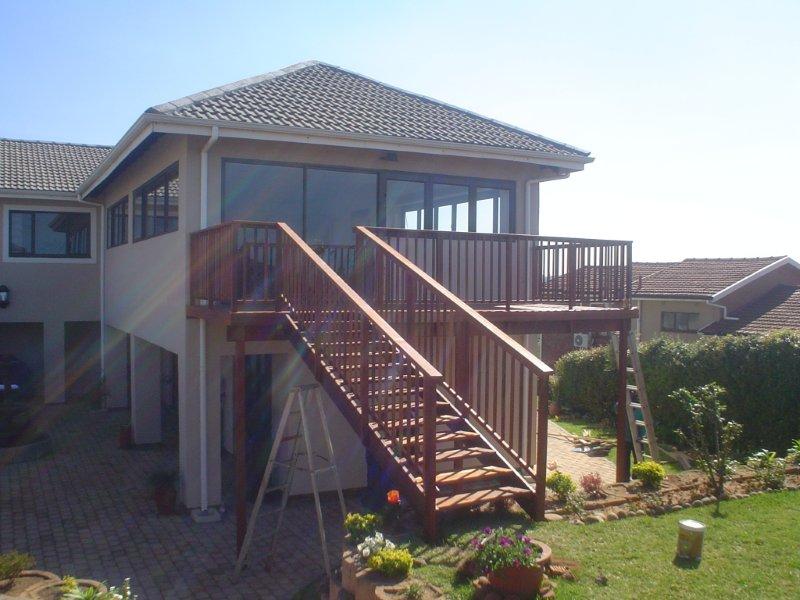
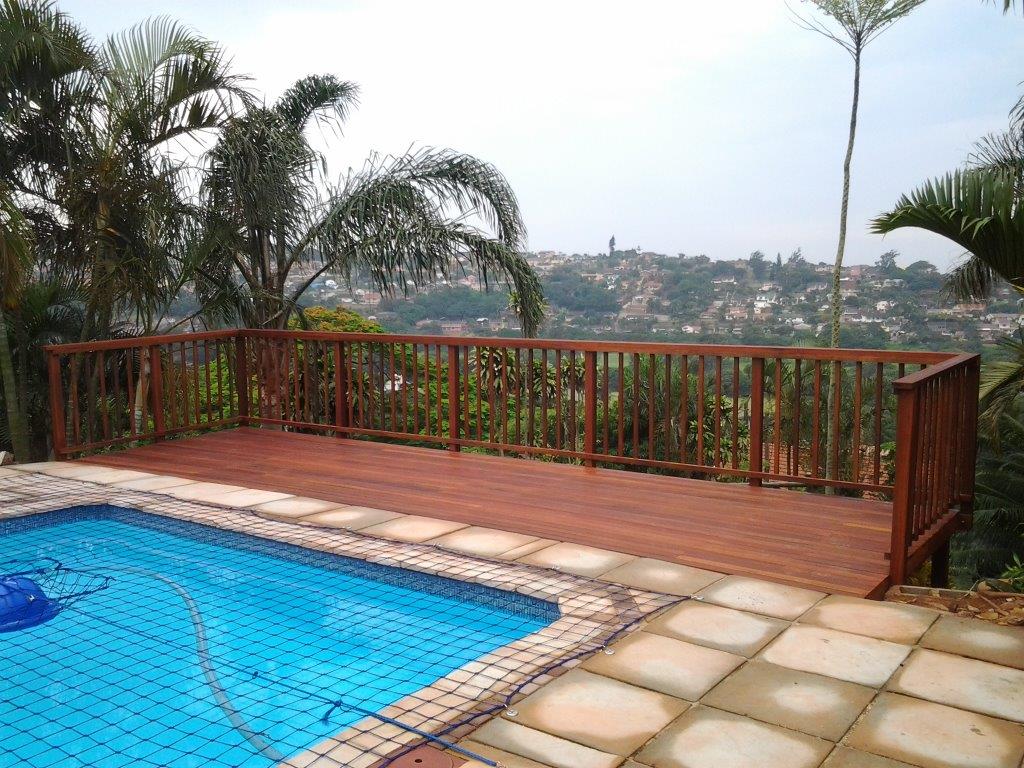
So how does one reduce the chances of balau rotting? Well first of all balau is naturally resistant to rot because it is twice as dense and twice as hard as pine for instance so the water doesn’t penetrate it as easily. Also it contains natural oils and resins which repel water. So it will rot, but it will take longer than other timbers.

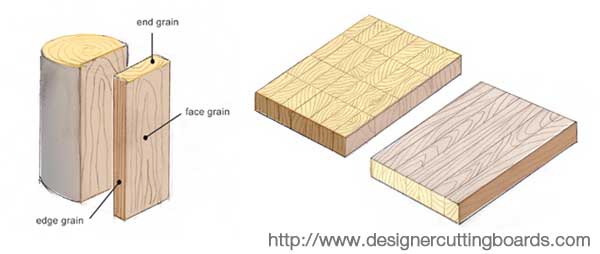
A piece of wood, any wood, takes in water largely through the end grain. Very little water is absorbed through the face or side grain. Think of it as a bunch of straws. When the straws get wet on the ends they can take up water, but they can’t take up water through the sides.

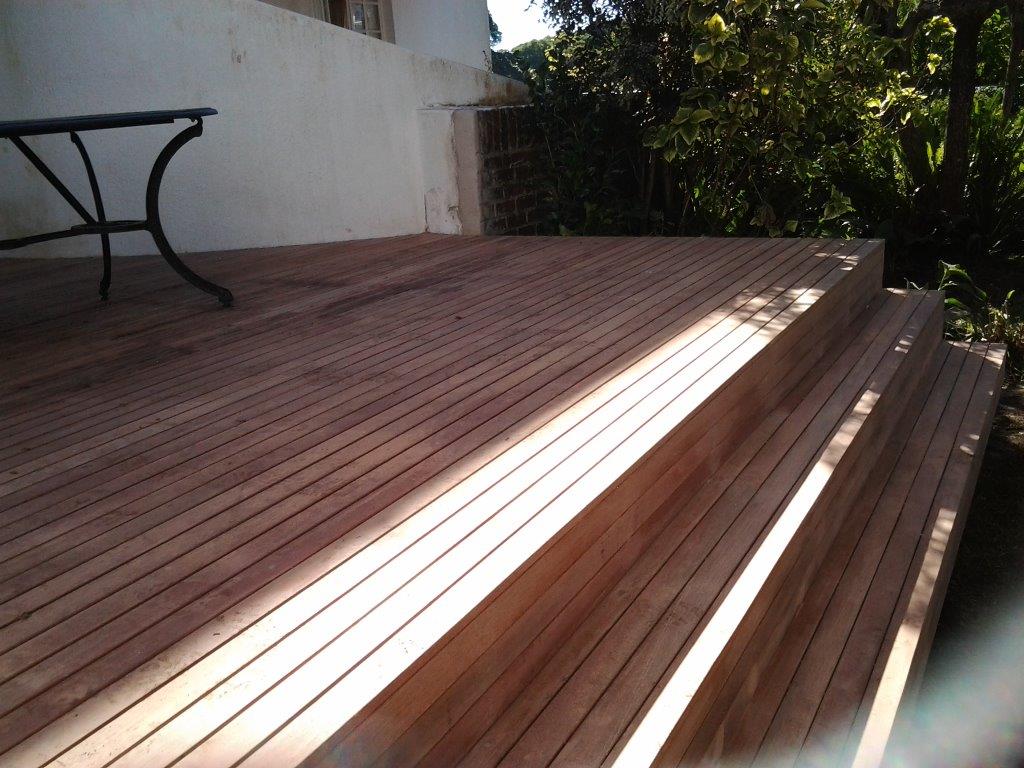
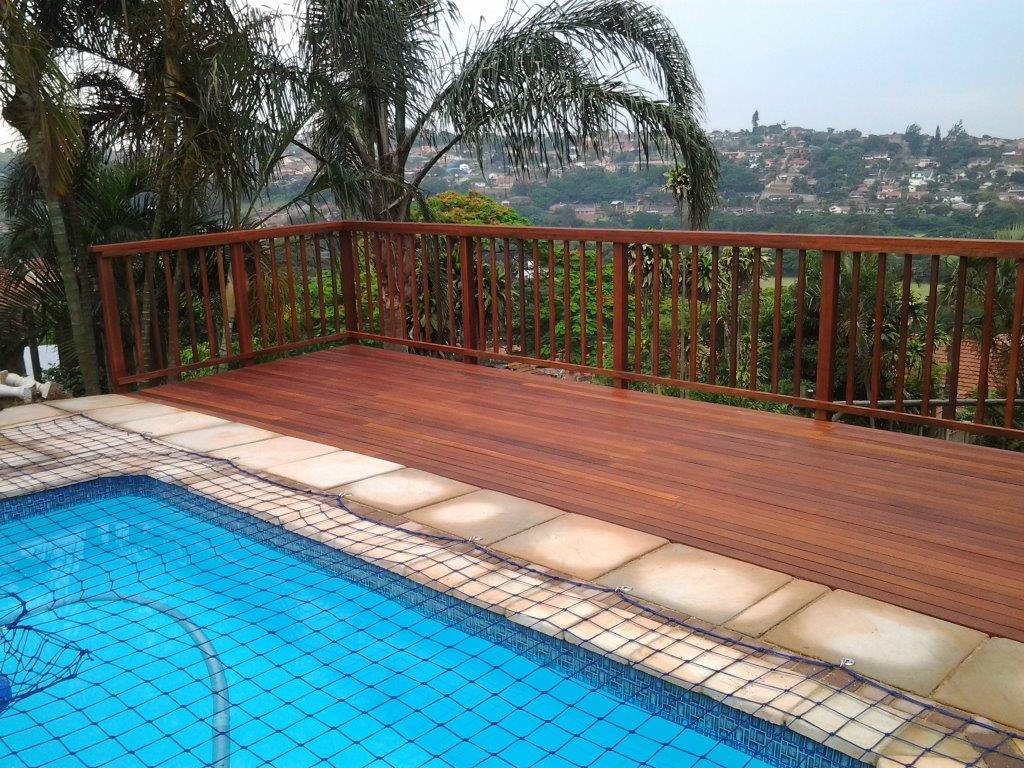
So the important areas of your deckboard is of course the ends, or end grain. Where a deck board is cut, there is not much that can be done to stop water ingression except to seal it with a suitable water-repellent sealer after or during installation. When a deckboard comes from the timber yard it is often closed off on the ends with wax. However that board needs to be cut in order to fit into the deck so one end will always be wax free. Also it is not advisable to leave that wax on. In the hot sun the wax starts to melt and leaves unsightly marks on the joins. So it is best to cut the wax off before installation. That leaves two ends exposed which now need to be sealed off as best as possible using sealer. Apply it liberally to the ends and make sure they are re-sealed during maintenance intervals.

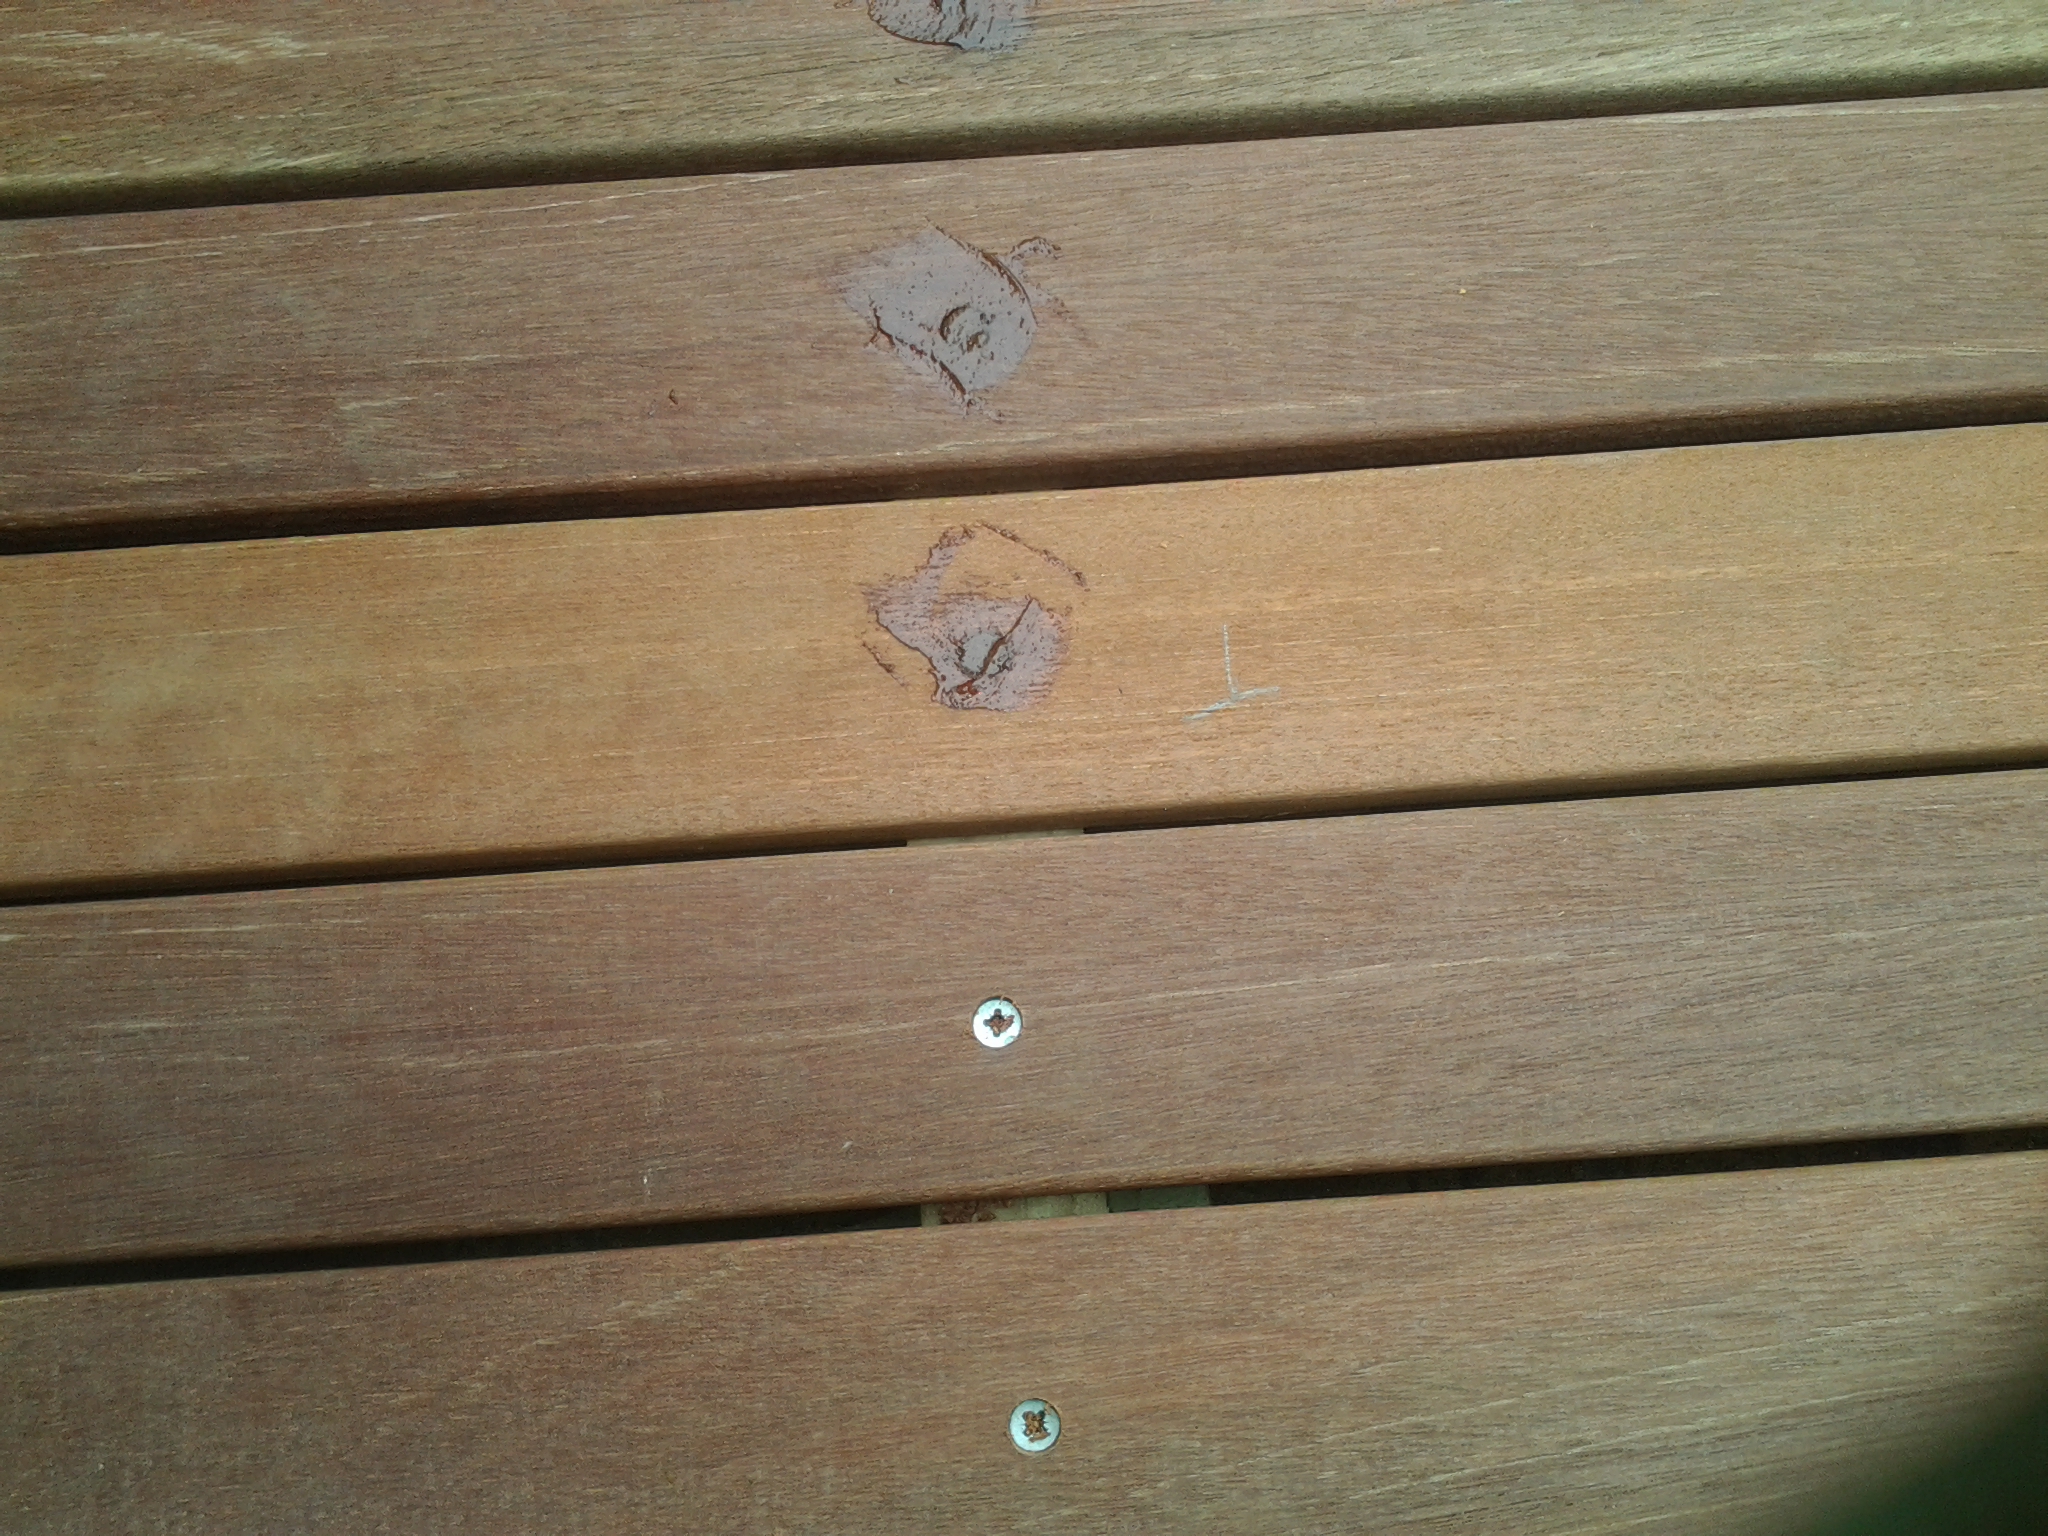
The other area that is vulnerable is where the screw hole is drilled through the deckboard to attach to the joist. This leaves a hole where water can penetrate the end grain on two sides. What compounds this problem is that the screw is normally counter sunk which allows water to collect in the hole and be absorbed up and down the end grain. Some deck builders use a stop bit to insert the screw whereby the screw head stops at the surface of the deck. I don’t however use this method for two reasons. Firstly the screw is now not tight up against the bottom of the counter sunk hole so the board may work itself loose over the years. Secondly, there is still a small gap around the screw head for water to get into and move along the end grain. And trust me water will find that hole. You will often see deckboards that have started rotting at the screw holes. Now you know why.

Instead I counter sink the screw hole about 5mm, insert the screw and tighten it until it is tight right up against the bottom of the hole leaving the screw head counter sunk a few millimetres. I then take a clear epoxy, mixed with the sawdust of the same timber to match the colour, and force it into the hole leaving it slightly proud. Try and use a very fine saw dust. It makes mixing the epoxy much easier and it goes in the hole better. Once it is dry, I use a grinder with sanding pad to flat it and then I use a rotex sander to remove the scratch marks left by the grinder. Now it is ready to be sealed and good luck to any water that thinks it can get in there. The epoxy is the only filler that will last. Wood filler will pop out in a few months’ time. Use a clear epoxy as the saw dust will match the colour of the deck. White or grey epoxy will leave a white or grey mark on the surface.

It takes more effort and takes longer to do it this way, but my crew has it done to a T now. And the net effect is a better built deck that will last longer and will cost less to maintain. So there you have it, the warmth of wood without the hassle and without having to settle for alternative materials.

For a free, no obligation quote or for some advice please feel free to contact us on 082 496 5444 or complete the form below and I will contact you. Please also feel free to leave comments below.

Go back

Your message has been sent

Warning
Warning
Warning
Warning
Warning

Warning.

Wooden Sundeck Constructed in Toti Durban

This wooden sundeck we constructed in Durban was a low-level deck which was barely off ground level. We were taking it flush off the level of the floor in the lounge and extending it outwards into the garden. The grass was not growing properly in this area due to large trees that were creating a large shadow so the client wanted to deck it to eliminate this problem.

The biggest challenge when building a wooden deck near or on ground level is to get a support beam underneath the joists where needed. There are two methods one can use. The first is what I call the cleat and beam system whereby a beam is placed underneath the joists to give them their support. We normally use a 38 x 114 joist and a 50 x 228 beam. One needs to span the 38 x 114 to a maximum of 2m but 1.8 is preferable. So every 1.8m to 2m one needs to slot an under beam below so as to support those joists. Posts should be used every 3m on the 50 x 228 beam. With this spec one can save on timber while still providing adequate support so that the deck is structurally sound.

The problem with this system arises because if you have a 228 beam, plus a 114 joist and then a 19mm deckboard on top of that your total height needed above ground level is 361mm. If the deck is too close to ground it will mean excavating soil to be able to drop that beam down enough to still arrive at the original height of your deck. Although this is quite possible and not that too time consuming, it sometimes results in the main beam sitting in soil or it may come into contact with wet soil over time. One must therefore use at least H4 CCA Treated SA Pine as the beam and in fact that whole substructure should be H4, even though the joists aren’t in contact with soil, to ensure that no rot will occur.

The other method is to create a frame, all in the same plane using 38 x 114 and use no under beam. This will result in the deck only being 133mm in height so that no excavation will be needed in order to bring the deck up to the required height. However now that you don’t have a beam to attach posts to, you will need to attach the posts to the joists and fascia beams. Again this is not a problem, but it will require a few more posts than in the first method as you can only span your 38 x 114 to a max of 2m. Hence more posts, more concrete and more labour in digging holes.

We used the joist and beam system here as we had enough space below to set the beam without having to dig too far into wet soil. So our work was made lighter by not having to dig too many holes.

Once the substructure is up, the deckboards can go down. On this wooden deck we used 19 x 68 balau deckboards. We used two deckboards as a fascia to cover our joists and beams, filled our holes with epoxy, sanded and sealed.

For a free no obligation quote or advice on your deck or other outdoor timber construction please call us on 082 496 5444 or use the form below to contact me.

Go back

Your message has been sent

Warning
Warning
Warning
Warning

Warning.

Wooden Deck Built in Toti at a Guest House

Wooden deck builder Durban

Click to enlarge

This was one of my first wooden decks in Durban that I undertook. The Guest House we built it for had just opened up the side of the dining room on the first floor with sliding doors and now wanted to extend the area by adding a deck of about 14m². It is always important to first break through the wall and install the sliding doors and then build the wooden deck. This way the deck builder can get the surface of the deck flush with the entrance to the room. I have built one deck before where the client insisted that I build the deck first and then they were going to break through. Although we did our best to measure where the inside floor was, there may still have been a small step up or down once they had broken through. On this build though it was done the right way around and the deck was flush with the floor inside the dining room.

The deck was a normal cleat, beam and joist system where we secured a cleat to the wall with sleeve anchors, installed vertical posts and attached a beam to that and then ran joists between the cleat and beam with a small canter lever. We had to try to set our posts as far out as possible so as to create enough space under the deck that could be used.

Wooden deck builder Durban

Click to enlarge

The balustrade was a normal picket style one. These are the safest and really the only one that is completely compliant with building regulations. Building regulations state that there should be no opening that is larger than 100mm. With all other balustrades there are some spaces that become greater than 100mm. Besides being non-compliant they are not that safe especially for small children. With the pickets running in a vertical direction it is more difficult for children, or adults, to climb up on the balustrade and fall over. The other designs offer more horizontal pieces that people can use to climb up on.

The stairs we built here joined the deck to the pool area which was about half a floor up from ground level. There were separate concrete stairs running from ground level to the pool area but the new wooden stairs we built could now be used to access the pool area, and the rest of the outside area, from the dining room. Because there was no way of supporting the stringer mid-way we had to ensure that we had the correct width of stringer so that it would not break over time. Most of the strength in a piece of wood is in the width and not the thickness as the downward force is exerted on the width.

Wooden deck builder Durban

Click to enlarge

We finished up by filling our holes with epoxy and sawdust and sealing with a Timberlife Satin Wood Base 28 Mahogany tint. In our decks we counter sink the screws which leave a small screw hole that water can get into. It is important to fill these so that no water can get in. If water does get in it can travel down the end grain and will cause the wood to rot much quicker at the point of the screw hole. Water travels through wood along the end grain rather than being absorbed from the face or side grain. Wood filler is also not suitable as it will pop over time due to the weather. Clear epoxy works well mixed with a little saw dust to match the colour. Once it’s dry, use a grinder with a sanding pad to flat it and then sand the grind marks off before finishing.

For a free no obligation quote on your deck or for some advice, please contact us on 082 496 5444 or complete the form below.

Go back

Your message has been sent

Warning
Warning
Warning
Warning
Warning

Warning.

Wooden Sundeck Built in Gillitts – April 2013

Timber deck builder Durban

Click to enlarge

This was our second deck we built in Durban using CCA pine as a substructure. I can confirm that there is a substantial cost saving using pine as a substructure and provided it is CCA treated to the correct Hazard Level (H level), then it is guaranteed by the supplier and manufacturer against rot and insect infestation for up to 50 years. So at least H3 must be used which is good for outdoors, exposed to the elements and if there are parts of it that are making contact with ground then H4 is better. In fact the cost difference between H3 and H4 is so slight that I am tending to just use H4 throughout as a matter of course to err on the side of caution.

This deck extended from the house outwards about 5m. Half of that 5m length was on existing tiles and concrete so we placed batons of 38 x 76 and the rest of it dropped down about a metre onto soil. We chose 76mm as our width of baton because it brought us up to exactly where we wanted to be in terms of height of the deck in order to clear the bottom of the door. We therefore had very little space between joist and the tiles so there was very little packing to do. When we place batons on the ground as joists, we fix them using a hilti. The hilti is really just to stop the joist moving sideways and not really up or down as once the deck is built the weight of it keeps it from lifting up. However the hilti provides enough fixing power in both directions so sleeve anchors are not necessary. Often the ground on which you are fixing these batons / joists to, is not completely flat and in order to get the surface of the deck level, one needs to shim one end of the baton or joist. This results in one end being higher than the concrete ground level and as such a gap exists between the baton and the ground. Because these batons are relatively thin (between 38mm and 76mm) they are not strong enough in their width to support the deck. They therefore need to be packed with structural grout or a building sand / cement mixture to take up the gap between the baton and the ground.

Timber deck builder Durban

Click to enlarge

The rest of the deck was elevated about 1m off the ground so from that point we installed 38 x 114 joists with a main beam running the width of the deck (parallel to the stairs in the picture). We set that back 300mm so that our span between beam and wall was only 1.9m which is the maximum I am happy to go with a 38 x 114 joist.  The rest of the deck was therefore cantilevered by about 300mm.

Deckboards went on without a problem, and we then built the stairs that you can see in the picture. We took a different approach to the stairs that we normally do, or have done in the past. In the past we have secured a beam all the way along the front of each riser. In this case we built treads and risers in line with each joist and then only on the front riser we fixed a fascia beam which was then secured to posts that had been set in concrete in the ground. It was much quicker than, and just as stable as our previous method. The structure that we built can be seen on one of the pics alongside.  The client wanted to leave the sides open as he is planting some indigenous plants alongside to cover the gap thus allowing his access beneath the deck if need be, but once the plants grow they will cover the sides.

Timber deck builder Durban

Click to enlarge

This deck was left unsealed as the client wanted the greying effect. I will re-visit it in a few months’ time and if the client is agreeable we can bleach it and high pressure clean it in order to bring it back to its natural colour.

For a free, no obligation quote please complete the form below and I will contact you.  Or you can call us on 082 496 5444.

Go back

Your message has been sent

Warning
Warning
Warning
Warning
Warning

Warning.

Wooden Sundeck Installed – Oriel Place, Bluff, Durban

Wooden sundeck Durban

Click to enlarge

This sundeck we installed in Durban was a relatively simple one to build. The client wanted to extend the area around the pool to create more space. It was a simple cleat, beam and joist system with a fascia beam on the front to attach the balustrade uprights to. There was one challenge in that the retaining wall that runs below the paving next to the pool was not parallel to the paving and as such not parallel to the edge of the deck. A bit of fancy timber work was required with supports, small posts and sleeve anchors which created a substructure that became parallel to the pool, paving and resulted in the sundeck being parallel too.

Many of the properties in the Bluff are on situated on steep slopes and decking allows the home owner to reclaim a lot land that would not have been utilised. Terracing the garden is one option and decking over those can add extra space to one’s garden and therefore value to one’s property. I’m not sure if you have noticed, but a garden that has even a few stairs tends not be used as much as a garden that flows on the same level. It is important therefore to design the deck in such a way that you try to keep it all to one plane or the same level. This will result in more of the garden being used. If stairs are necessary one should consider staggering it over a longer length rather than 1m wide stairs.

Wooden sundeck Durban

Click to enlarge

On this build posts had to be set again in the cavities of the loffelstein retaining wall. It was a relatively small deck and only took a few days to complete. I am sure the owners are now enjoying it through the last two summers and it has created a lot more space that they can now use in their garden.

It was sealed using a Timberlife Satin Wood Base 28 sealer with a mahogany tint. This sealer soaks into the timber rather than leaving a varnish type finish on the surface. There are two types of this sealer, one for woods of high porosity (pine) and one of timbers of low porosity (balau). Be careful to select the correct one. It is relatively low in wax content compared to their other products which is better for the horizontal surfaces that tend to get hammered by the hot African sun. The higher wax content sealers are good for vertical surfaces such as balustrades, screens, cladding etc. It is very easy to apply as it is very viscous and because it doesn’t dry on the surface, brush marks and runs are impossible to achieve. It simply soaks in. 2 to 3 coats are recommended and in the first year of the decks life it will be necessary to reseal it every 3 to 4 months. As time goes by the maintenance intervals will become longer as the timber is continually being nourished with this sealer.

It is inexpensive and is easy to use so re-sealing every 3 or 4 months in the first year is also inexpensive. There is no need to sand the deck before each application. Simply clean it, high pressures clean it if you wish, and re-seal. I will go into more detail in another article on sealing decks and maintaining them as it is a subject that warrants its own platform. Since writing this I have written and article on deck sealing which can be found here.

For a free no obligation quote or to discuss the design of your deck, please complete the form below and we will contact you.  Or you can call us on 082 496 5444.

Go back

Your message has been sent

Warning
Warning
Warning
Warning
Warning
Warning

Warning.

Timber Deck Installed in Queensburgh, Durban

Sundeck installer Durban

Click to enlarge

This was our second deck we installed in Durban and this time around we got the spec right and didn’t spend all our money on timber. The deck was pretty much on ground level but still required normal 30 x 102 joists as it was not supported by a concrete base. Should there have been a concrete slab on which to support it then we could have used smaller batons instead of joists. We still sued a cleat and beam system although later in my Sundeck installer career I learned the other method of a joist as the cleat attached to the wall with the joists Téd off that and a fascia beam on the front.

There was a fair amount of digging to get the garden to the correct level as the one side was quite a bit more elevated than the other.
This deck had a floating step which was quite large, bigger than a normal tread. It worked very well in that it appears that the step is not attached to the deck at all and is large enough to step down comfortably on to it.

Sundecks builder Durban

Click to enlarge

Being our second deck we set everything out and started decking it. Half way through our deckboards we realised that the front beam was not straight. It bowed inwards and as the deck boards went down it became more and more noticeable. So all the deckboards came off, the beam was straightened and back they went. A costly mistake in time but a lesson learnt that will ensure that that mistake never happens again. A simple piece of fish line or builder’s line must be placed along the front edge of the beam when fastening the joists to ensure that it is straight. A false joist can be used here in the middle of the beam attached in the same direction as the joists will lie to hold it in place while the joists go down. The same rule applies for joists. When I joist is placed down it must also be square off the wall and the rest of the joists must be parallel to that one. Timber will always be bowed in one direction or another, some more than others. But they must be pulled straight before being attached. In the case of joists this will ensure that they screw line on the deckboards is straight and more appealing to the eye. Also it keeps the distance between joists exactly 550 between centres for the entire length of the joist. This is particularly important on joists that are placed on the end of the deck as the deckboards will be cut there and if not straight then the deckboards will either not be straight or they will form a lip where the joist bows inwards or outwards.

Sundecks Durban

Click to enlarge

The balustrade on this deck was pretty straight forward to. We notched the cross pieces so that they fitted snuggly together in the same plane rather than overlapping them. We built a pergola in balau above which eventually took a roof. The client however attended to the roof sheeting.