Click to enlarge
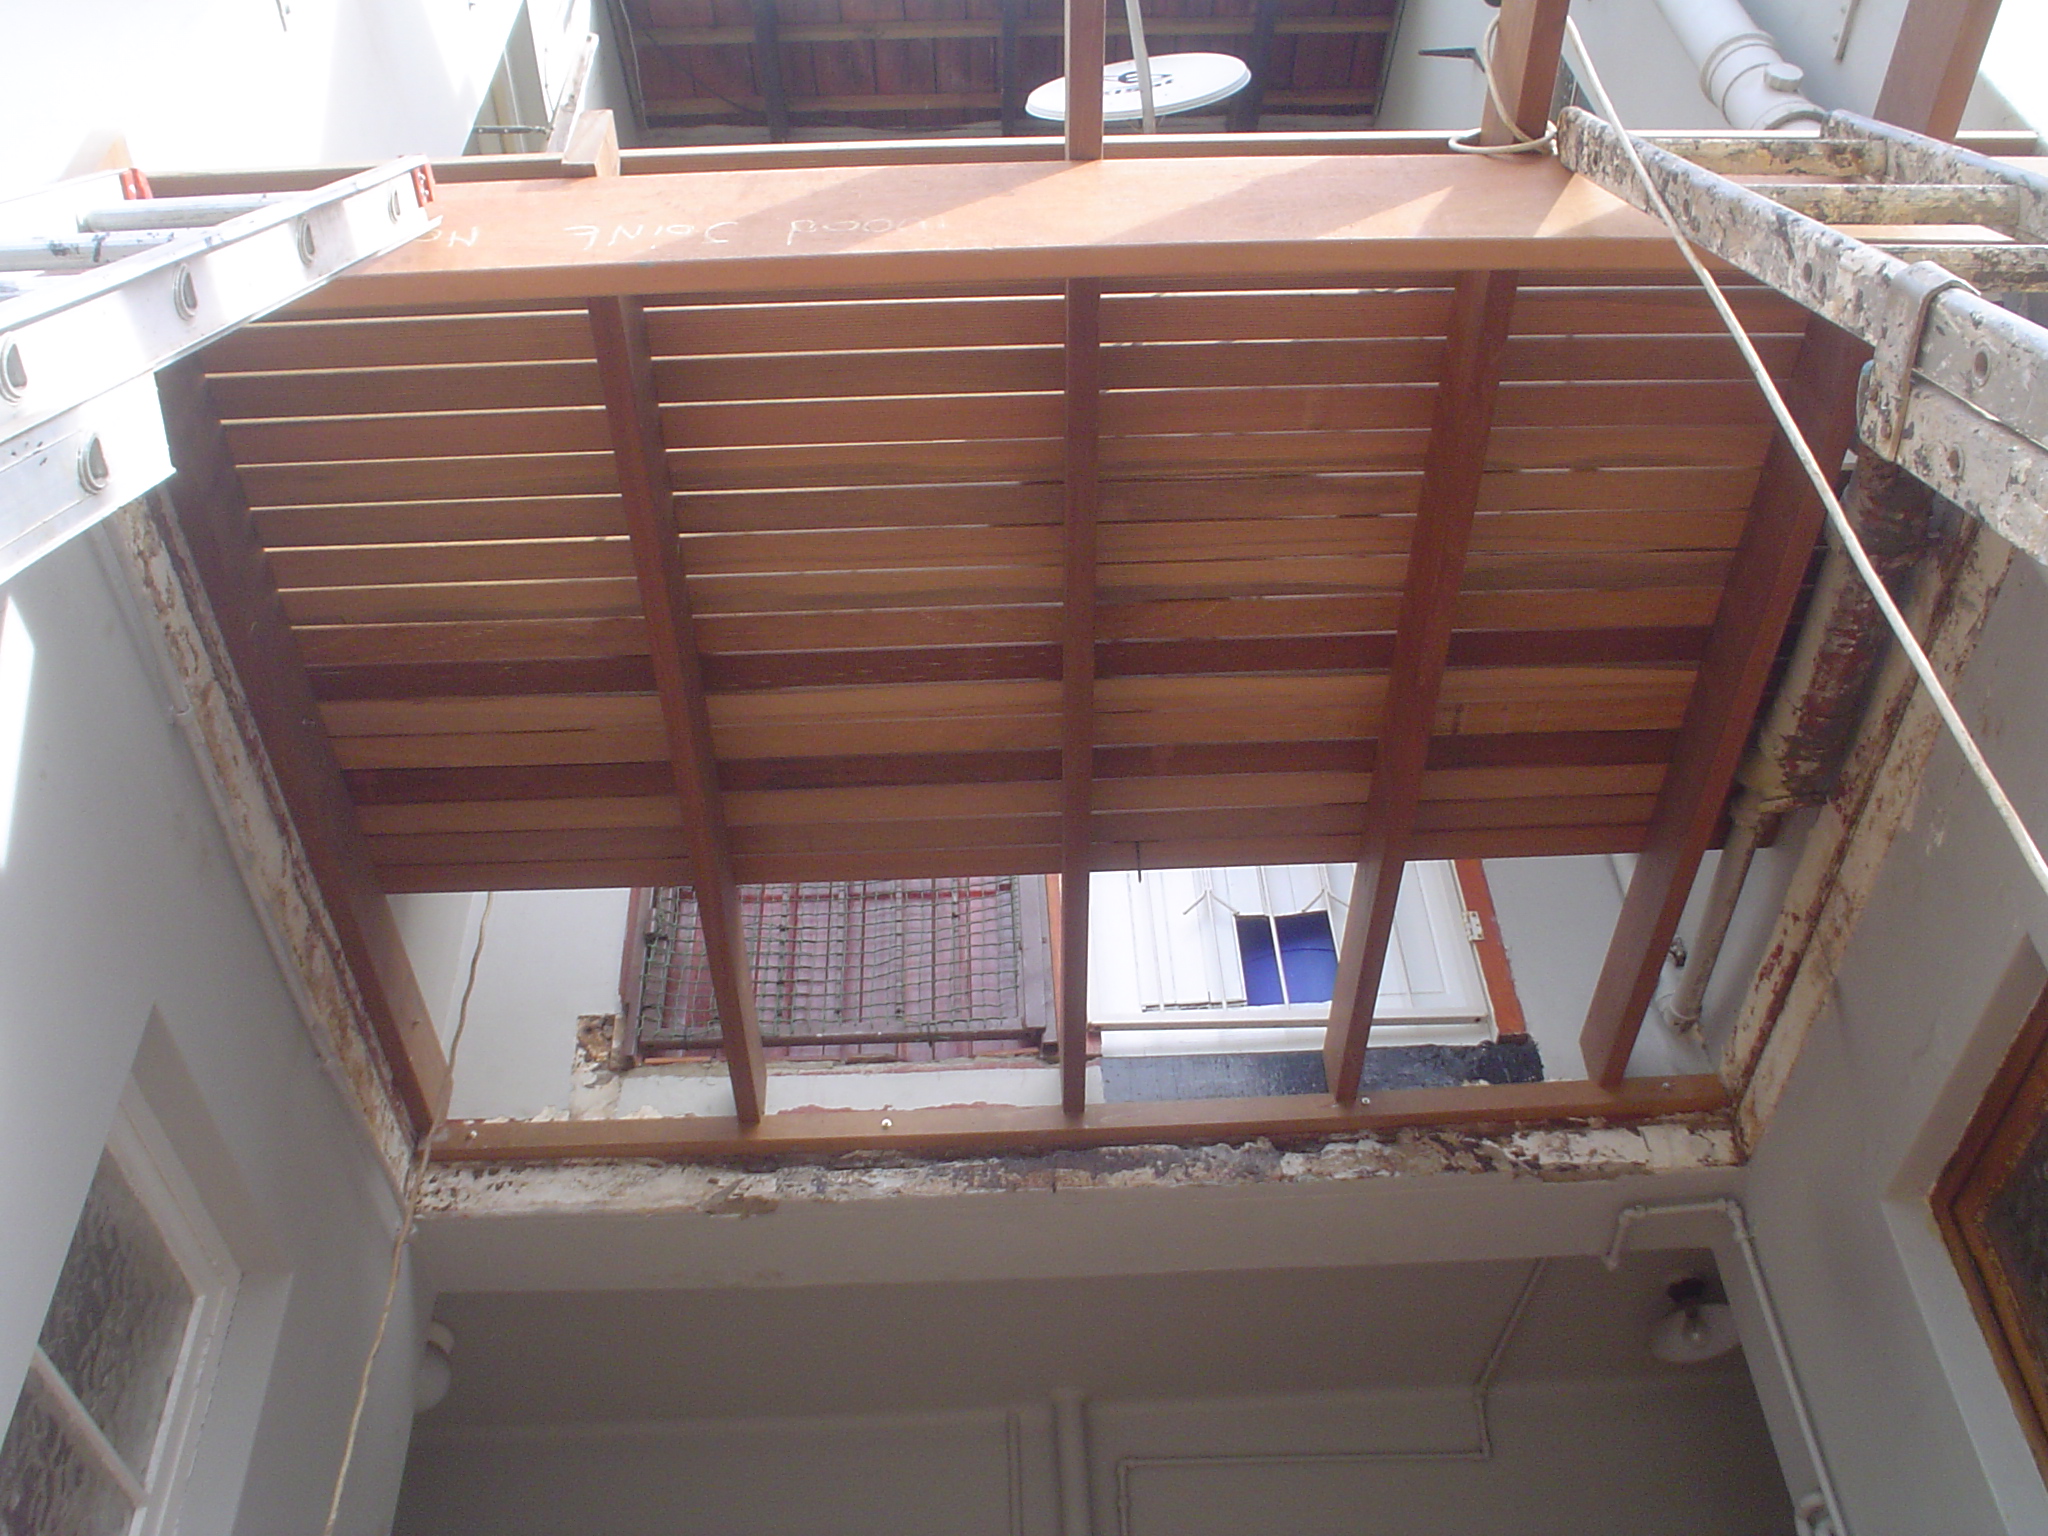
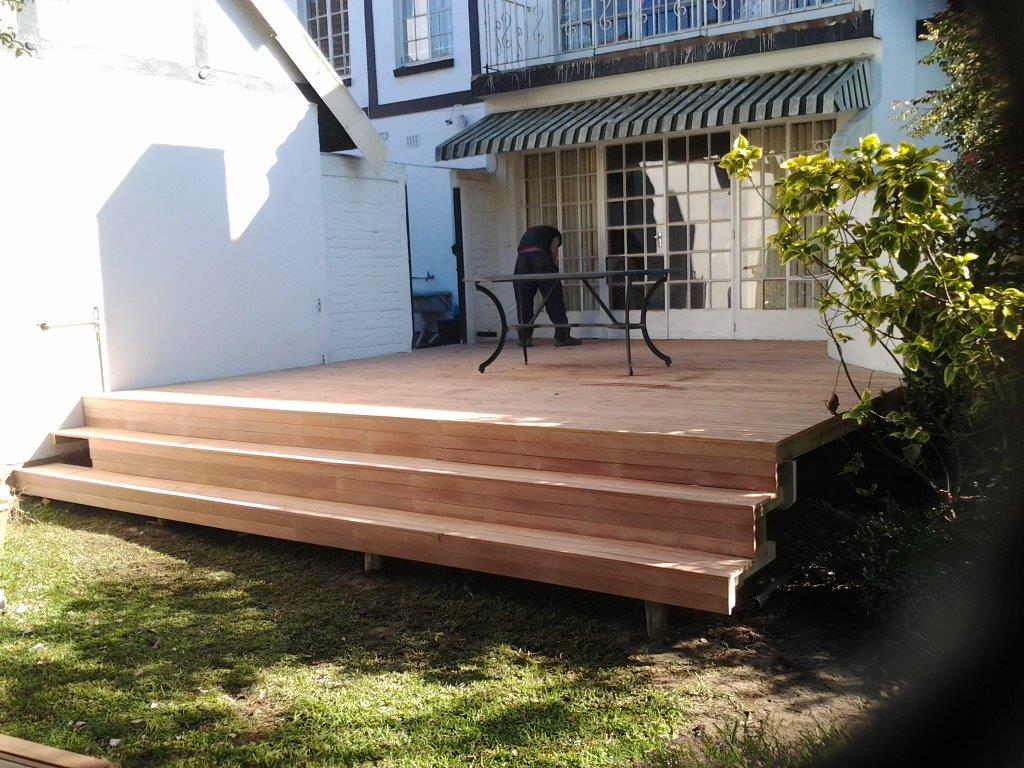
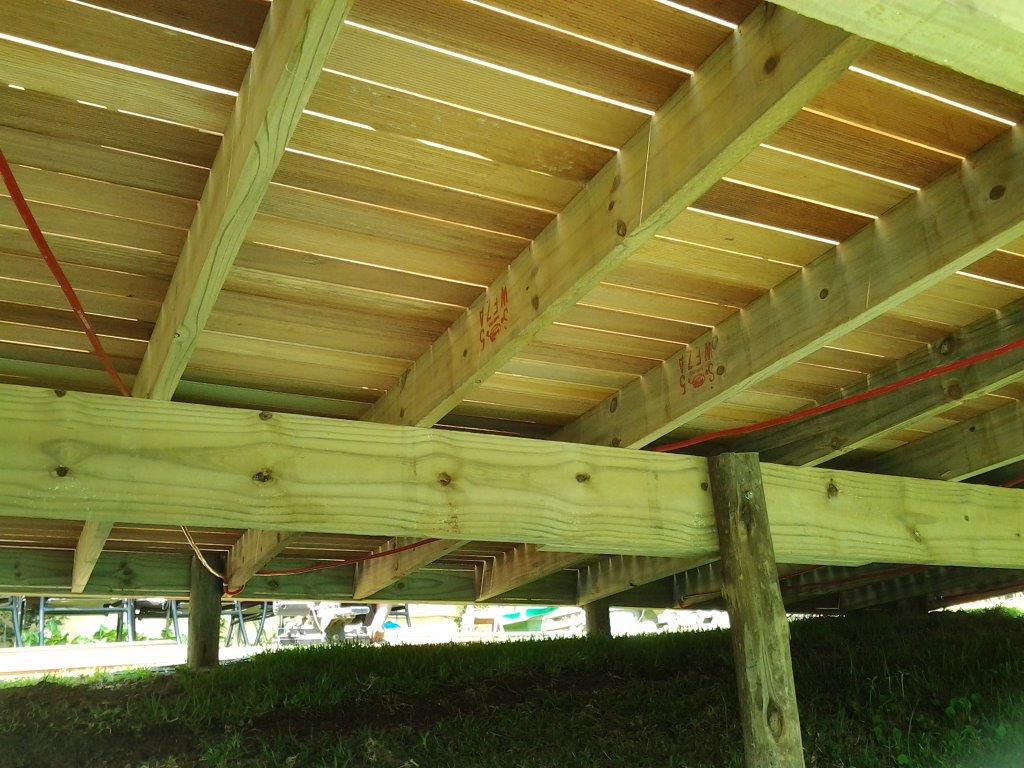
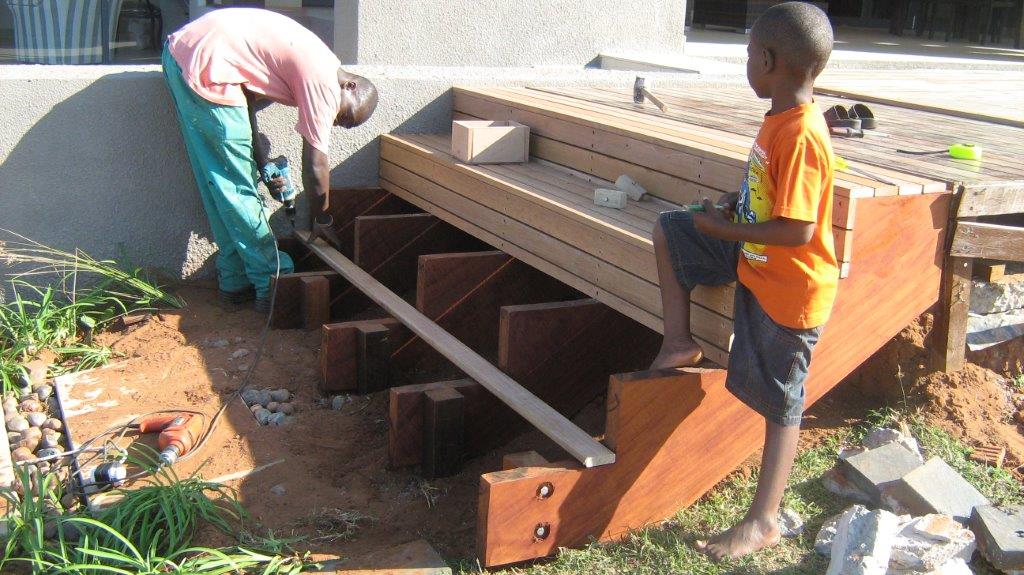
This was a normal wooden deck in the normal cleat, beam and joist system with a cleat attached to the wall on the house side, joists running off that perpendicular to the house and a main beam supporting the joists. This deck was built in the days when I was still sing balau as a substructure which made it relatively expensive. I have since started using at least H3 CCA Pine as a substructure. As mentioned in a previous article there is really no need to use balau as a substructure. Provided one uses the correct Hazard Grade (H grade) of CCA Treated Pine then the manufacturer of the chemicals used in the treatment process will guarantee that timber for up to 50 years. So there is a very strong argument that H3 CCA Pine will actually outlast balau because balau is not treated and will eventually rot although it will take a very long time.
H3 should be used where the timber is exposed to the elements (rain and sun) and H4 where it is buried in the ground or in constant contact with wet soil. H2, which is commonly purchased from your timber yards, should NEVER be used in decking and should only be used as roof trusses or other applications where it will not get wet that often.
Click to enlarge
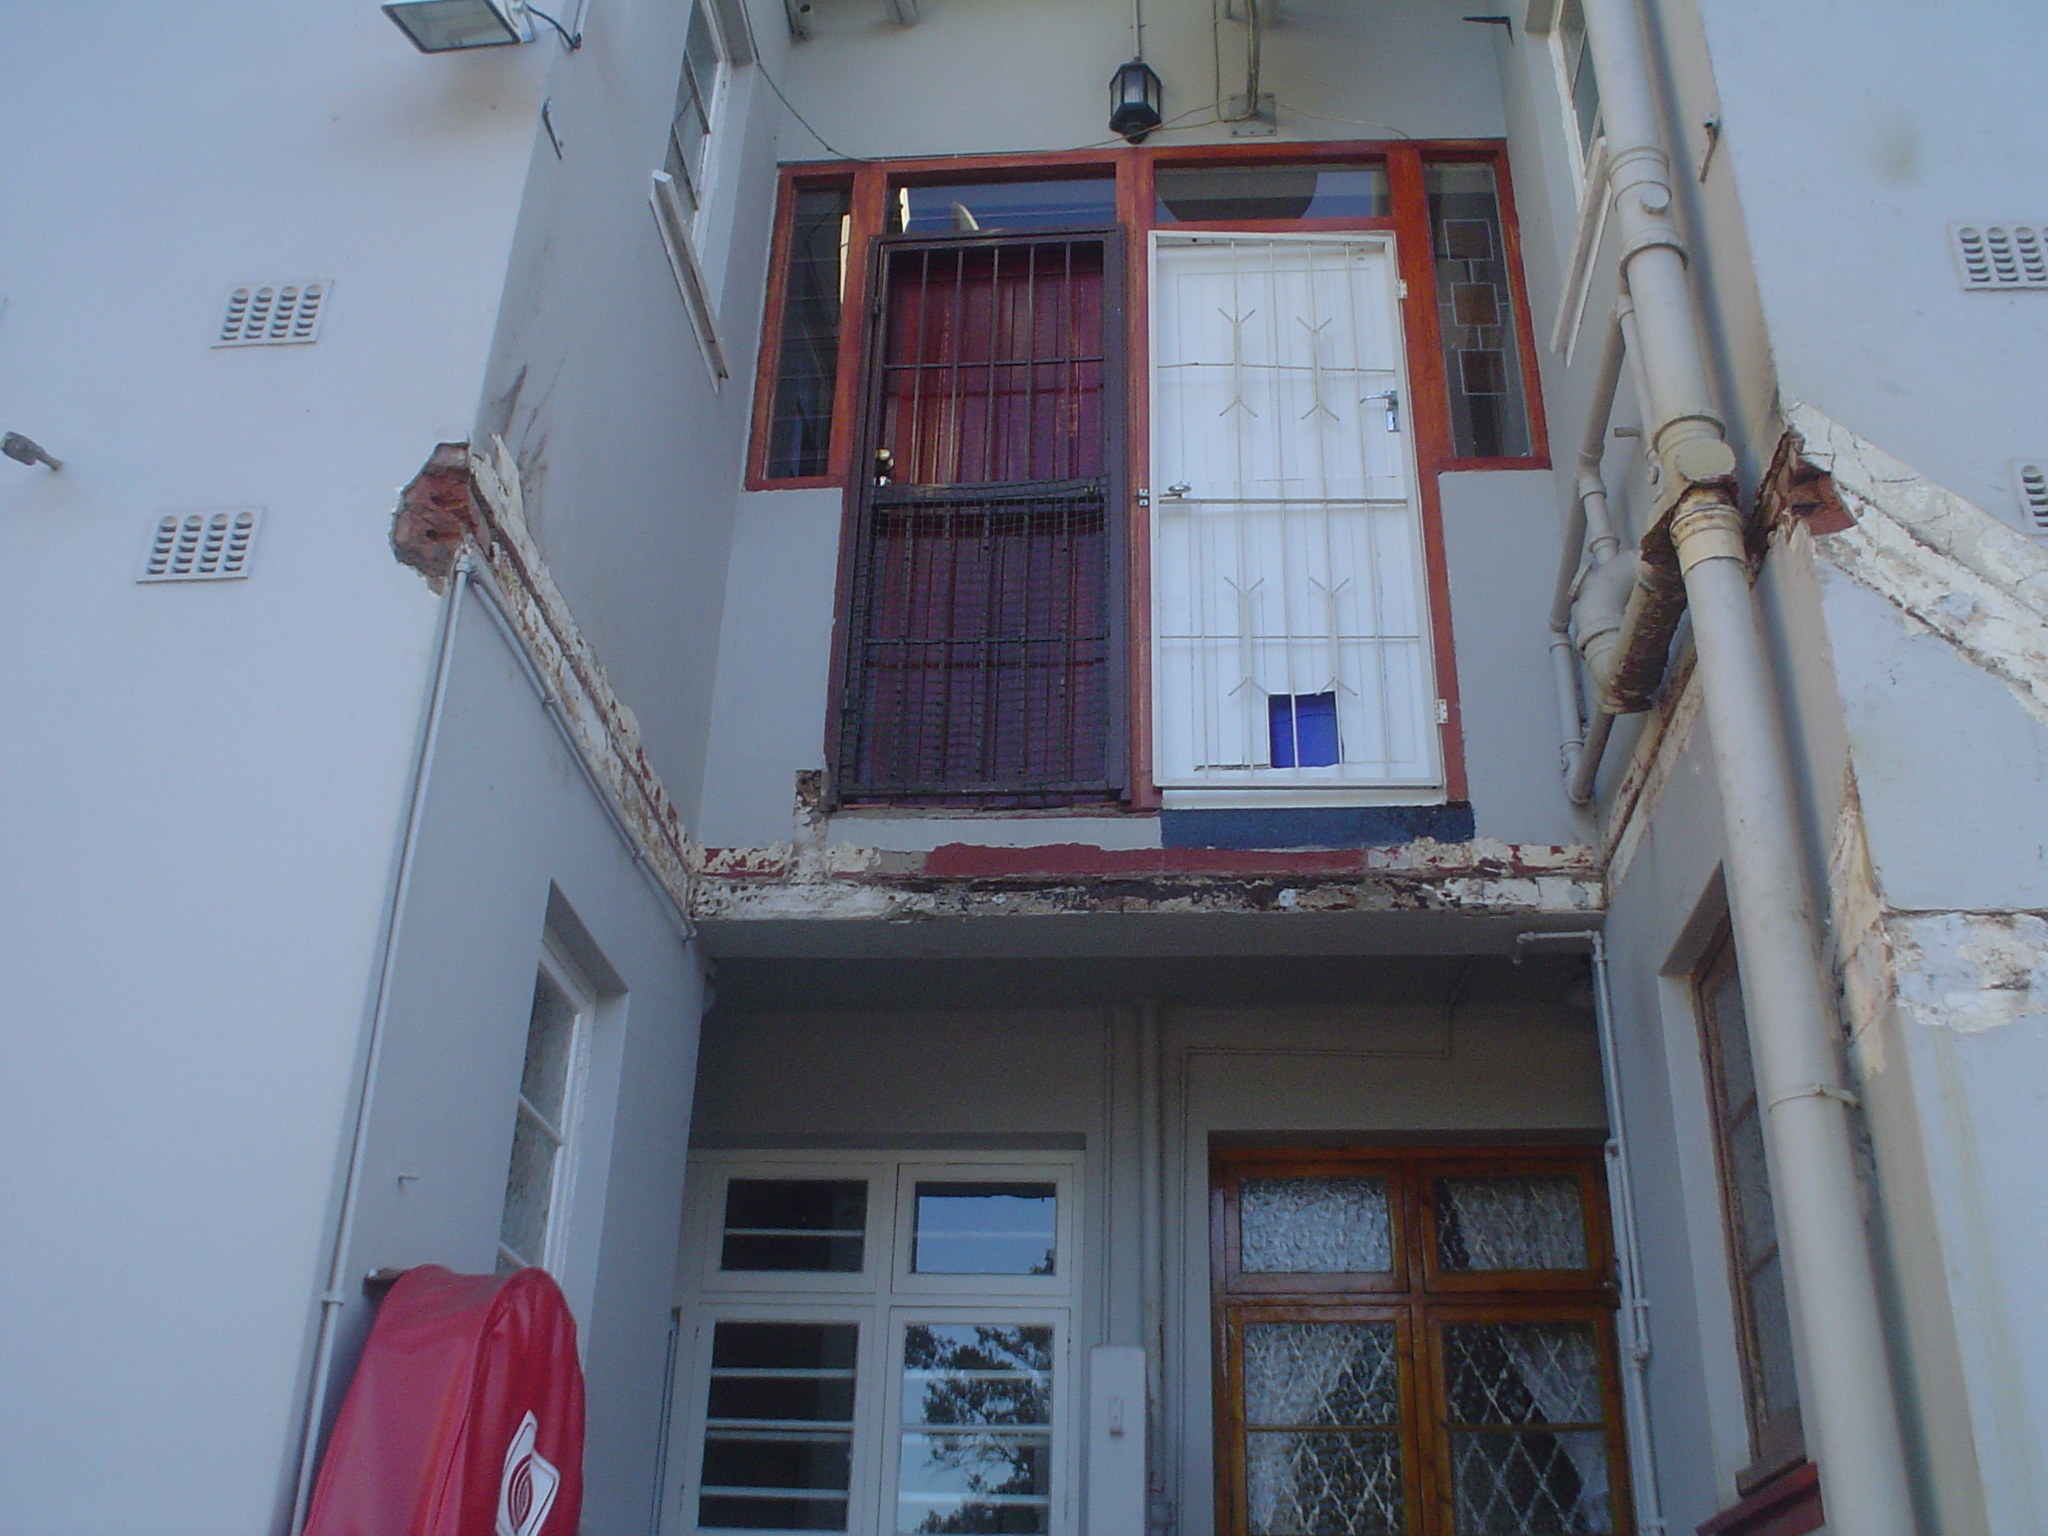
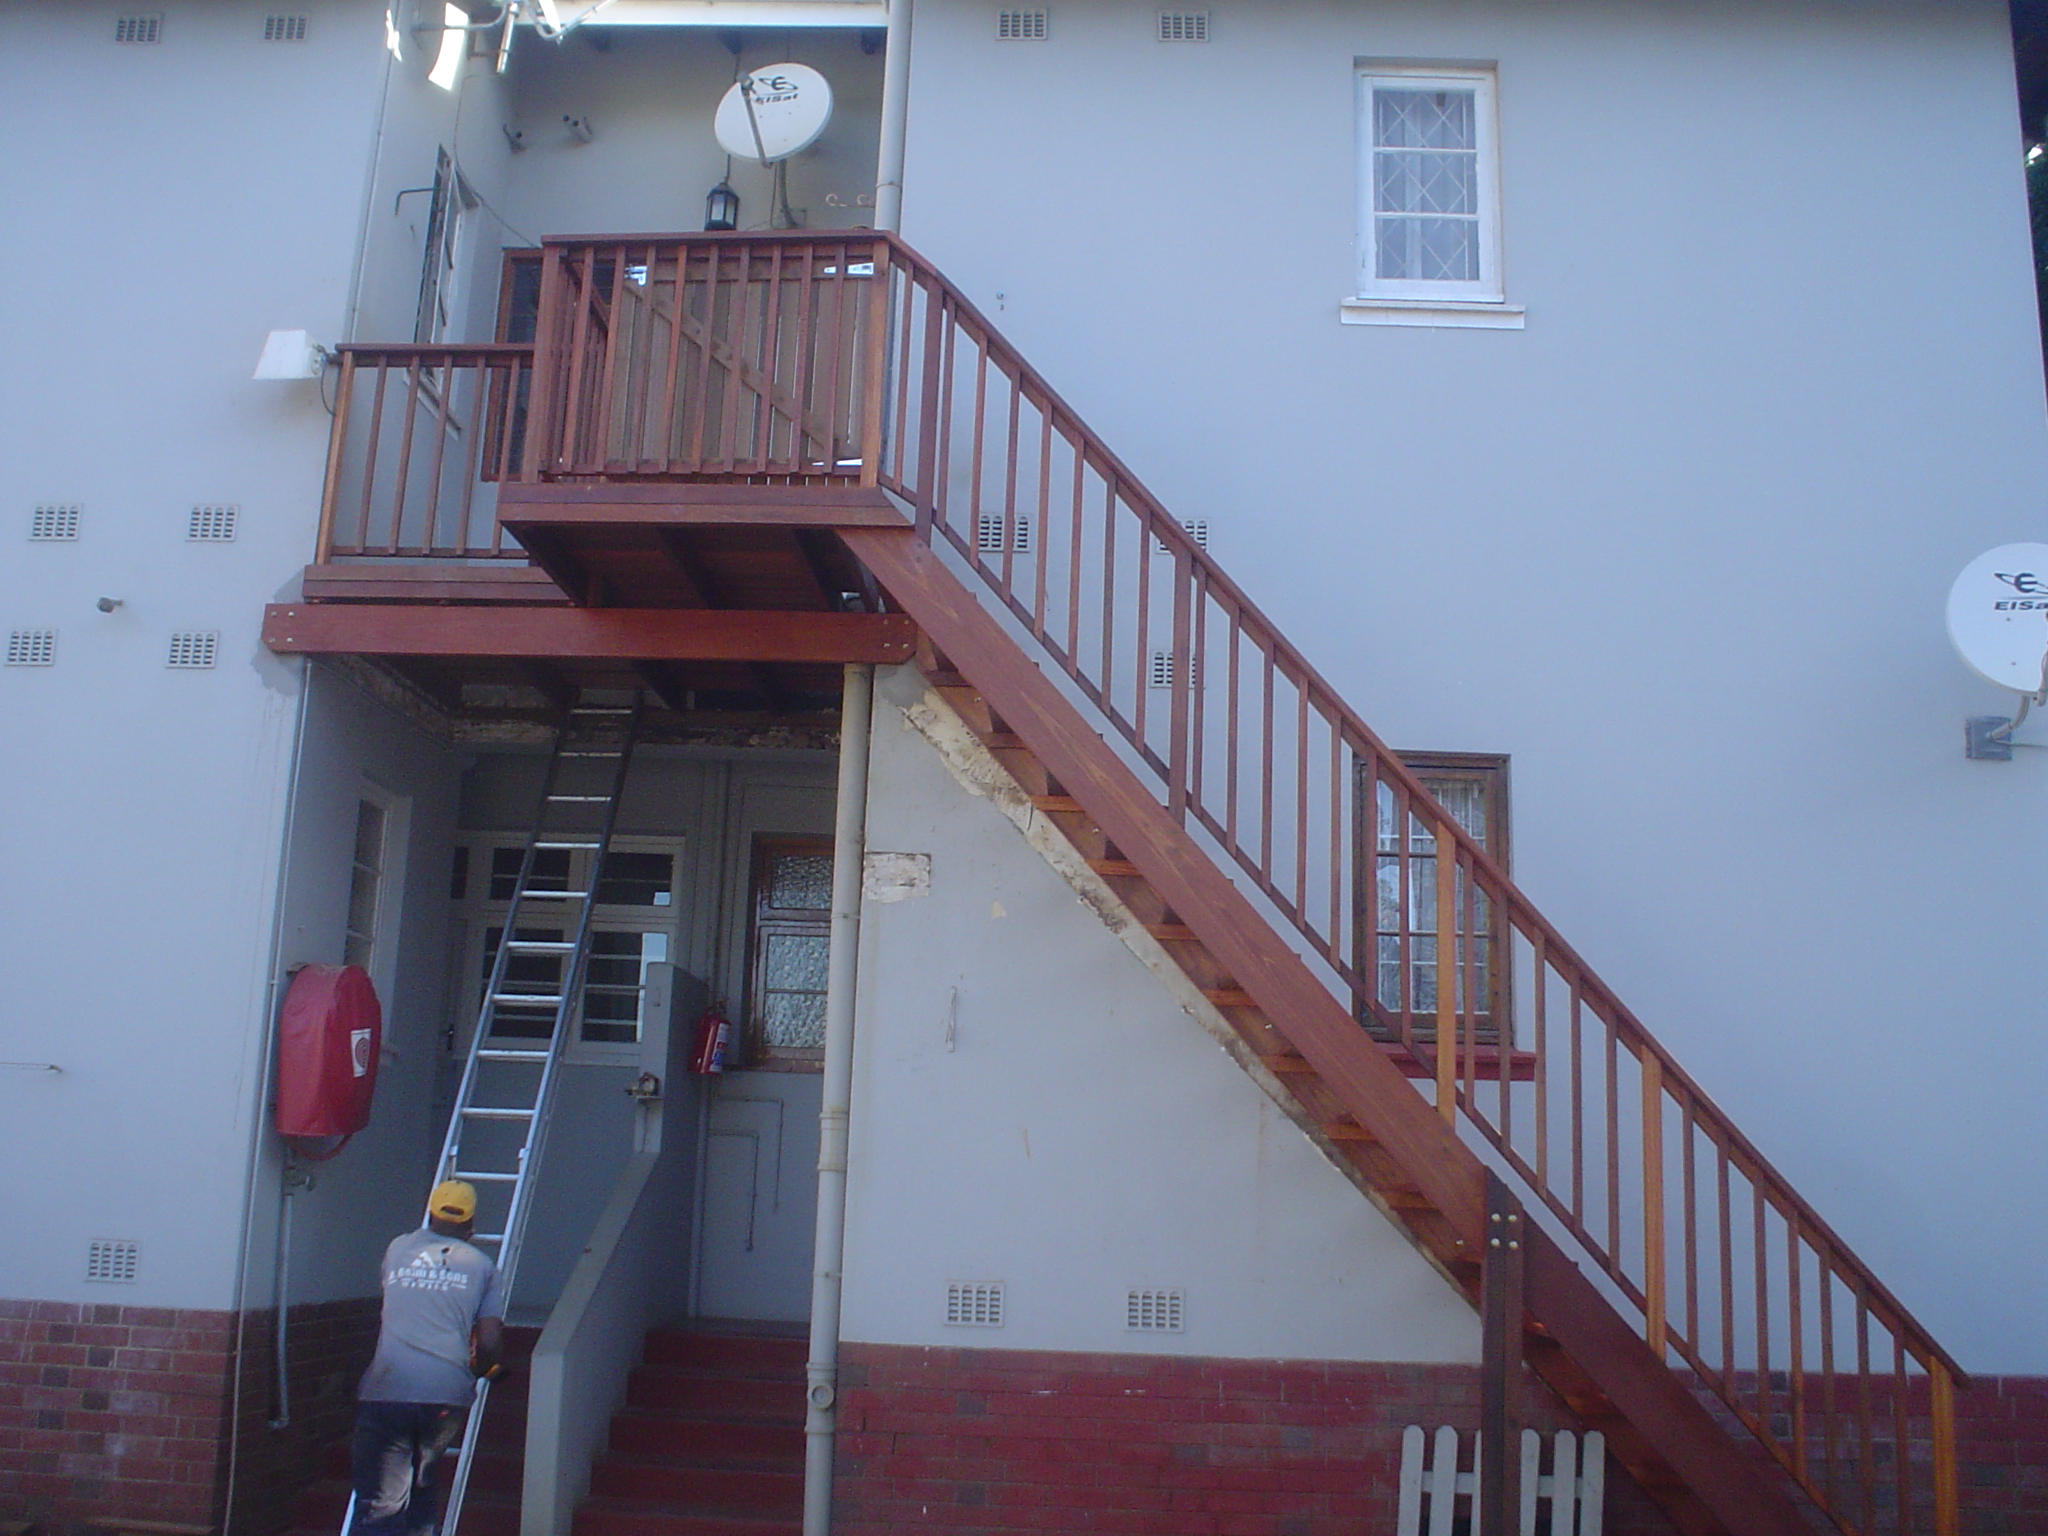
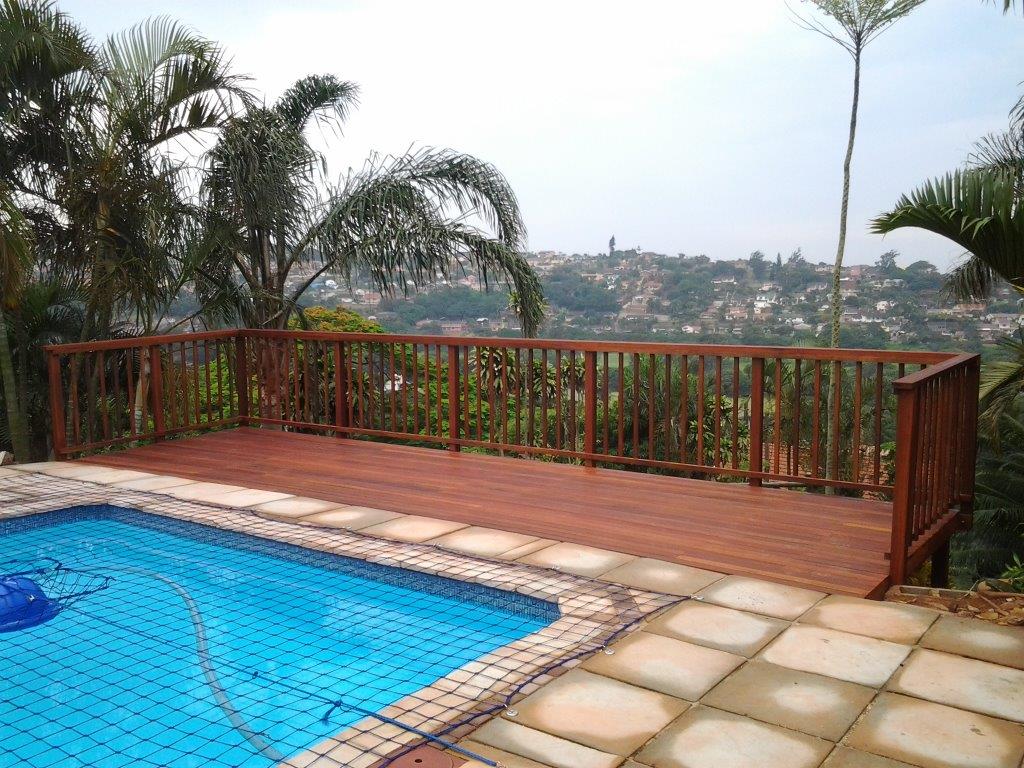
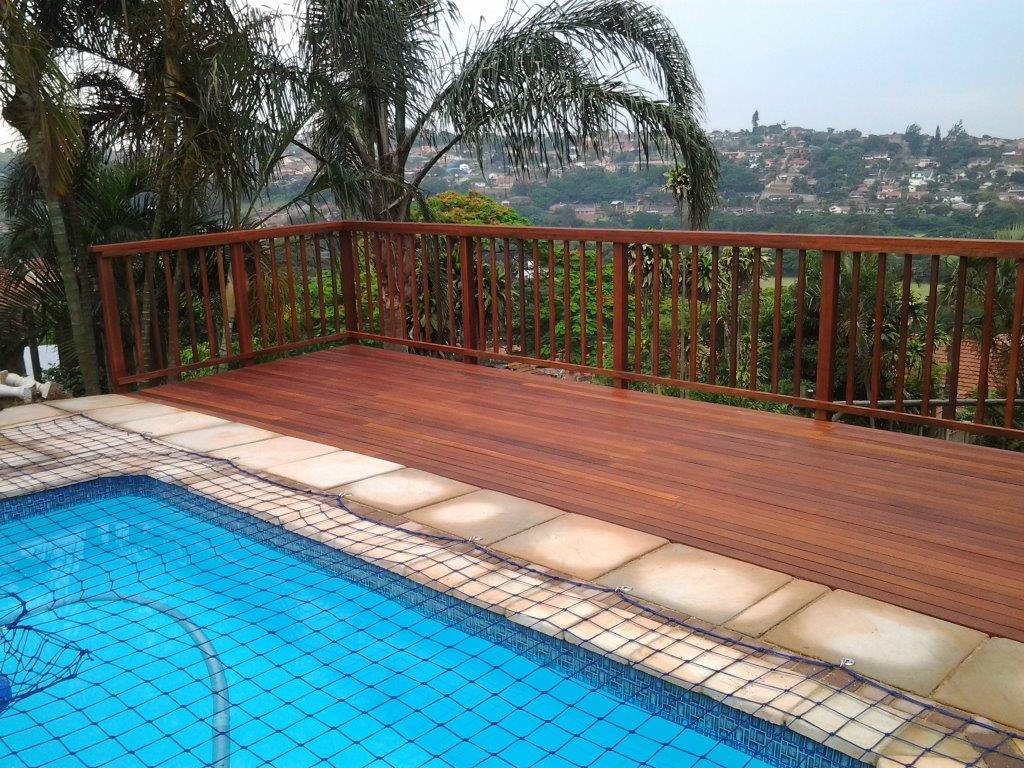
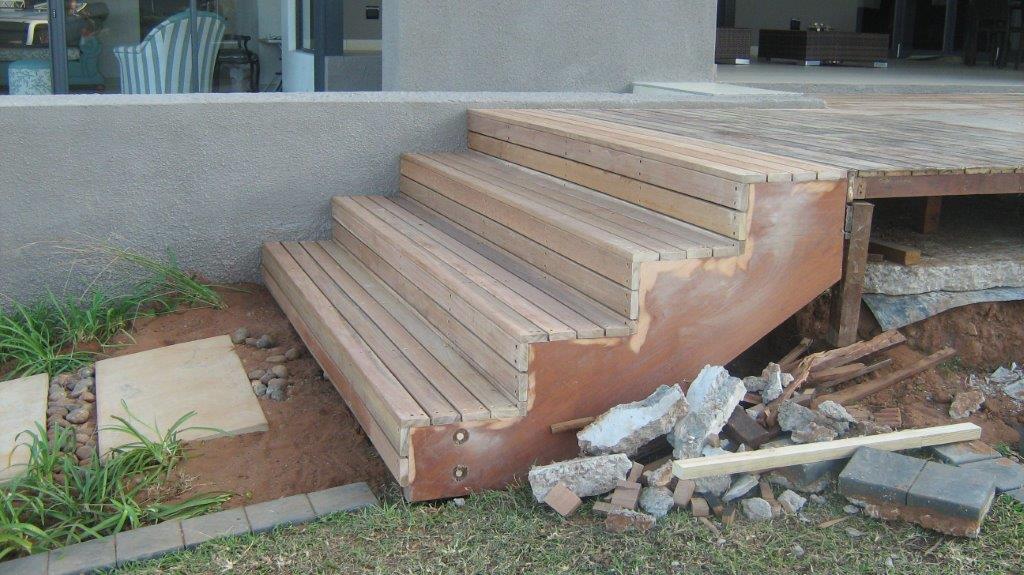
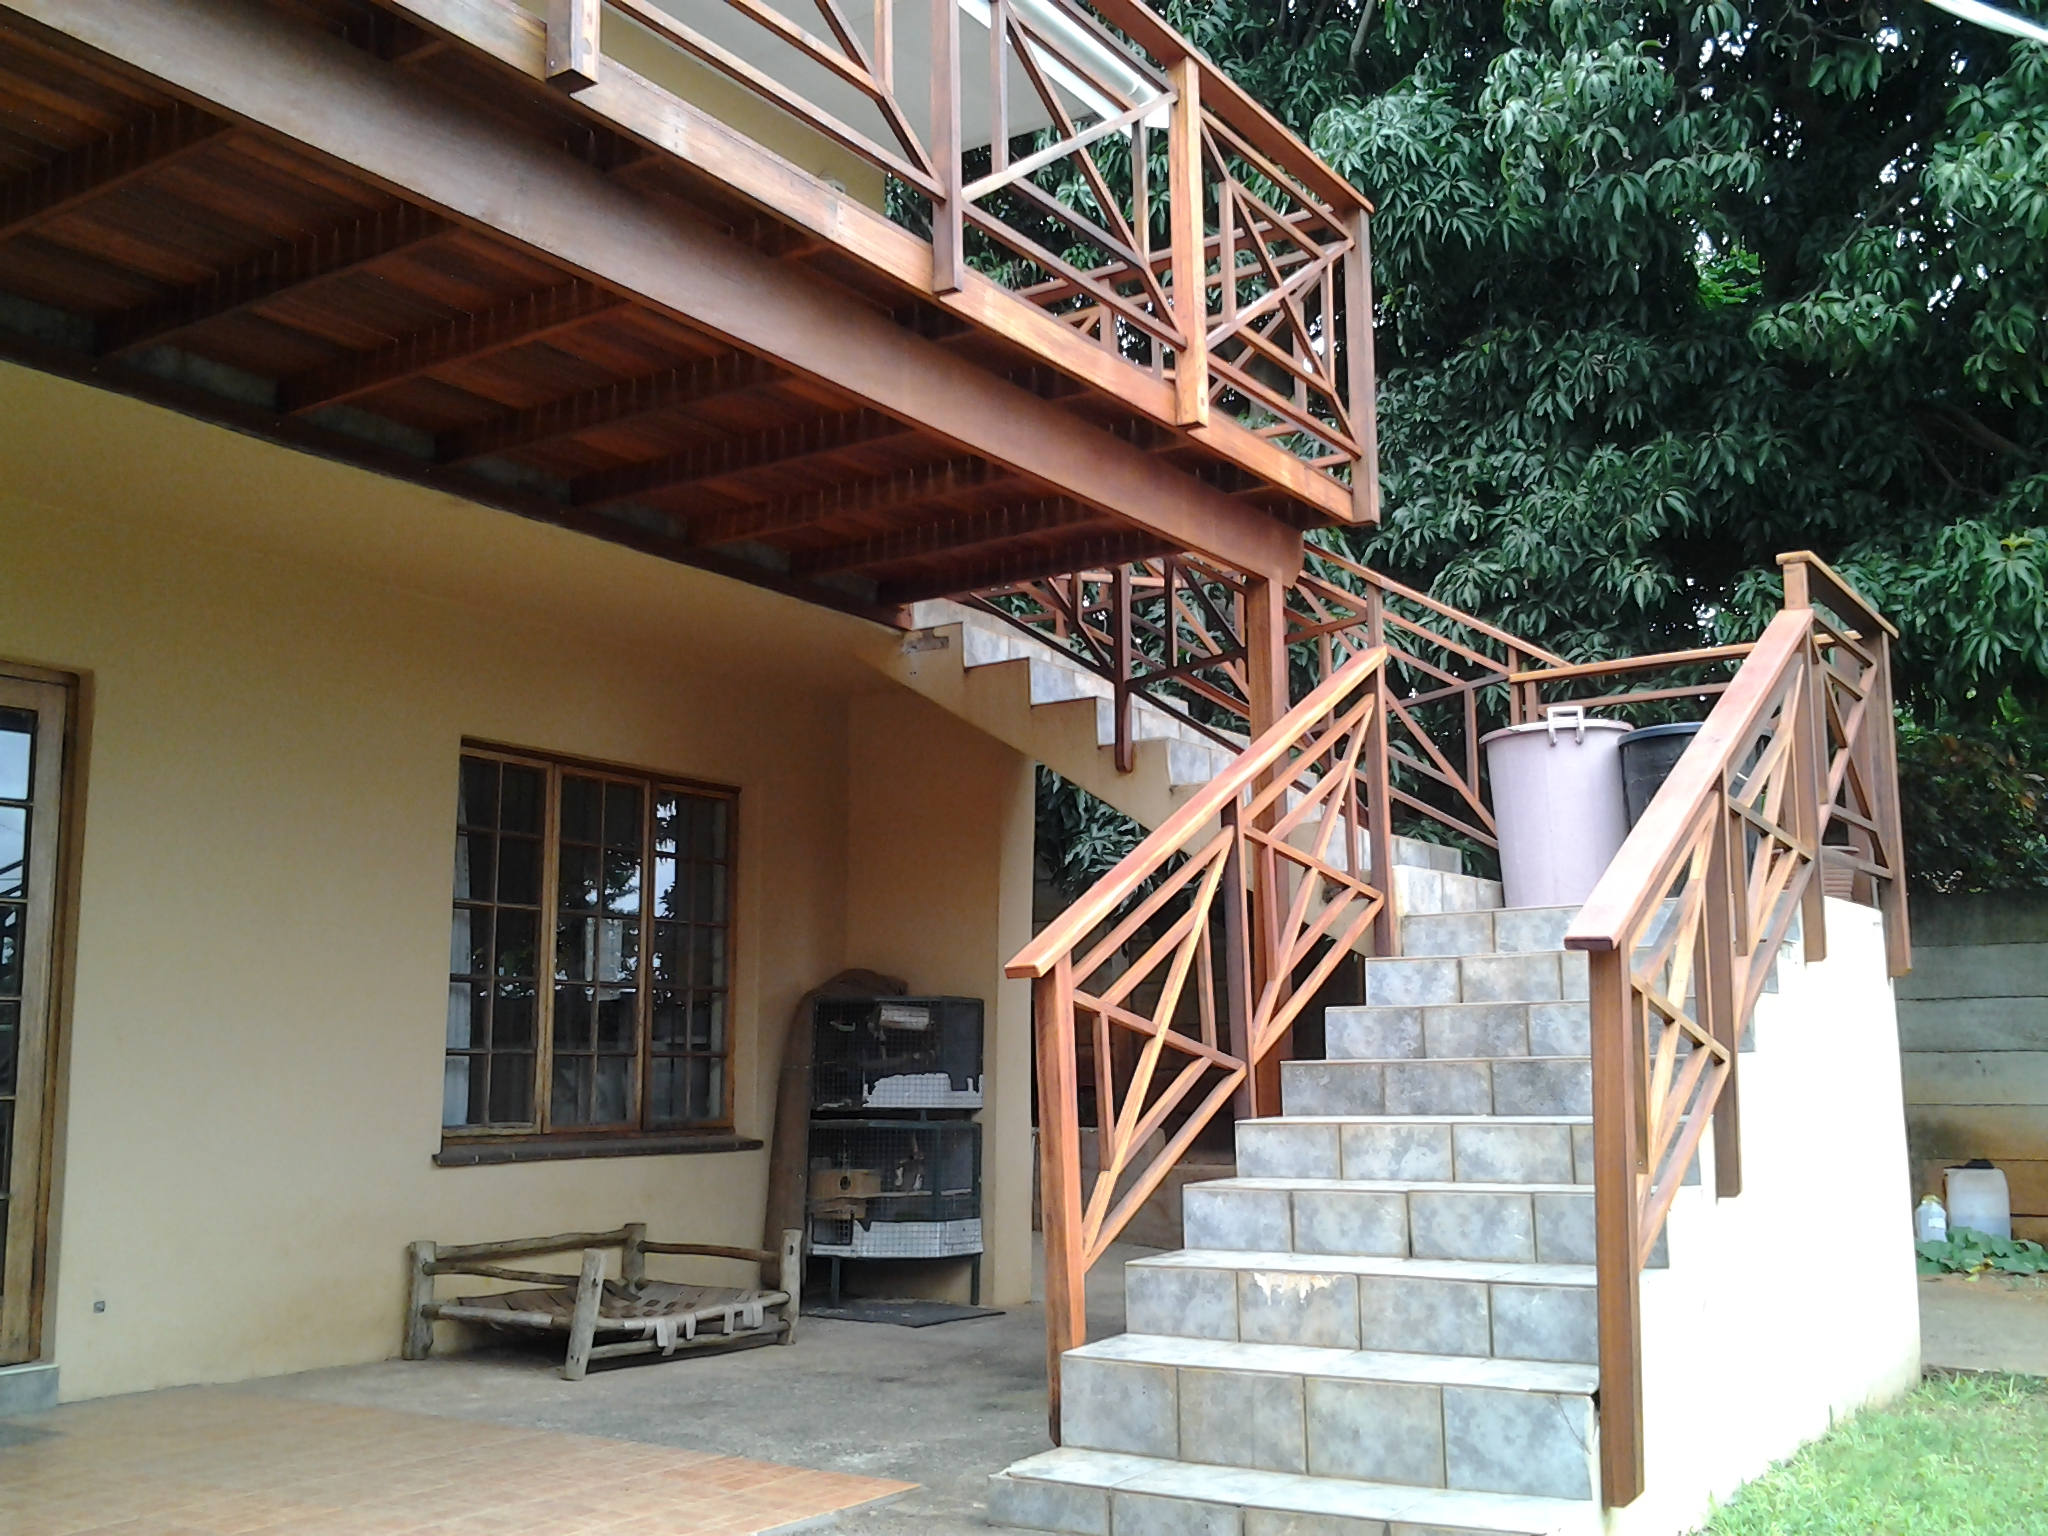
The wooden deck was a normal rectangle with a slight deviation towards one side to create a triangle so as to meet flush with the corner of the house. We used 90 x 90 balau posts to support the main beam and resting on top of the concrete surface below. These posts had a 12mm hole drilled from below up into the posts and then a re-bar was inserted with epoxy and the same done into the concrete floor. This prevents the posts from moving sideways. There is no need to dig these posts in as they can rest successfully on the surface of the concrete. A shoe was cut from timber in order to secure the main beam to the wall of the house. It is really just a piece of timber that is notched to accommodate the beam and the shoe is then secured to the wall using sleeve anchors. The beam then rests in this shoe and cannot move sideways or down. The weight of the deck of course prevents it from lifting up plus it is screwed into the shoe.
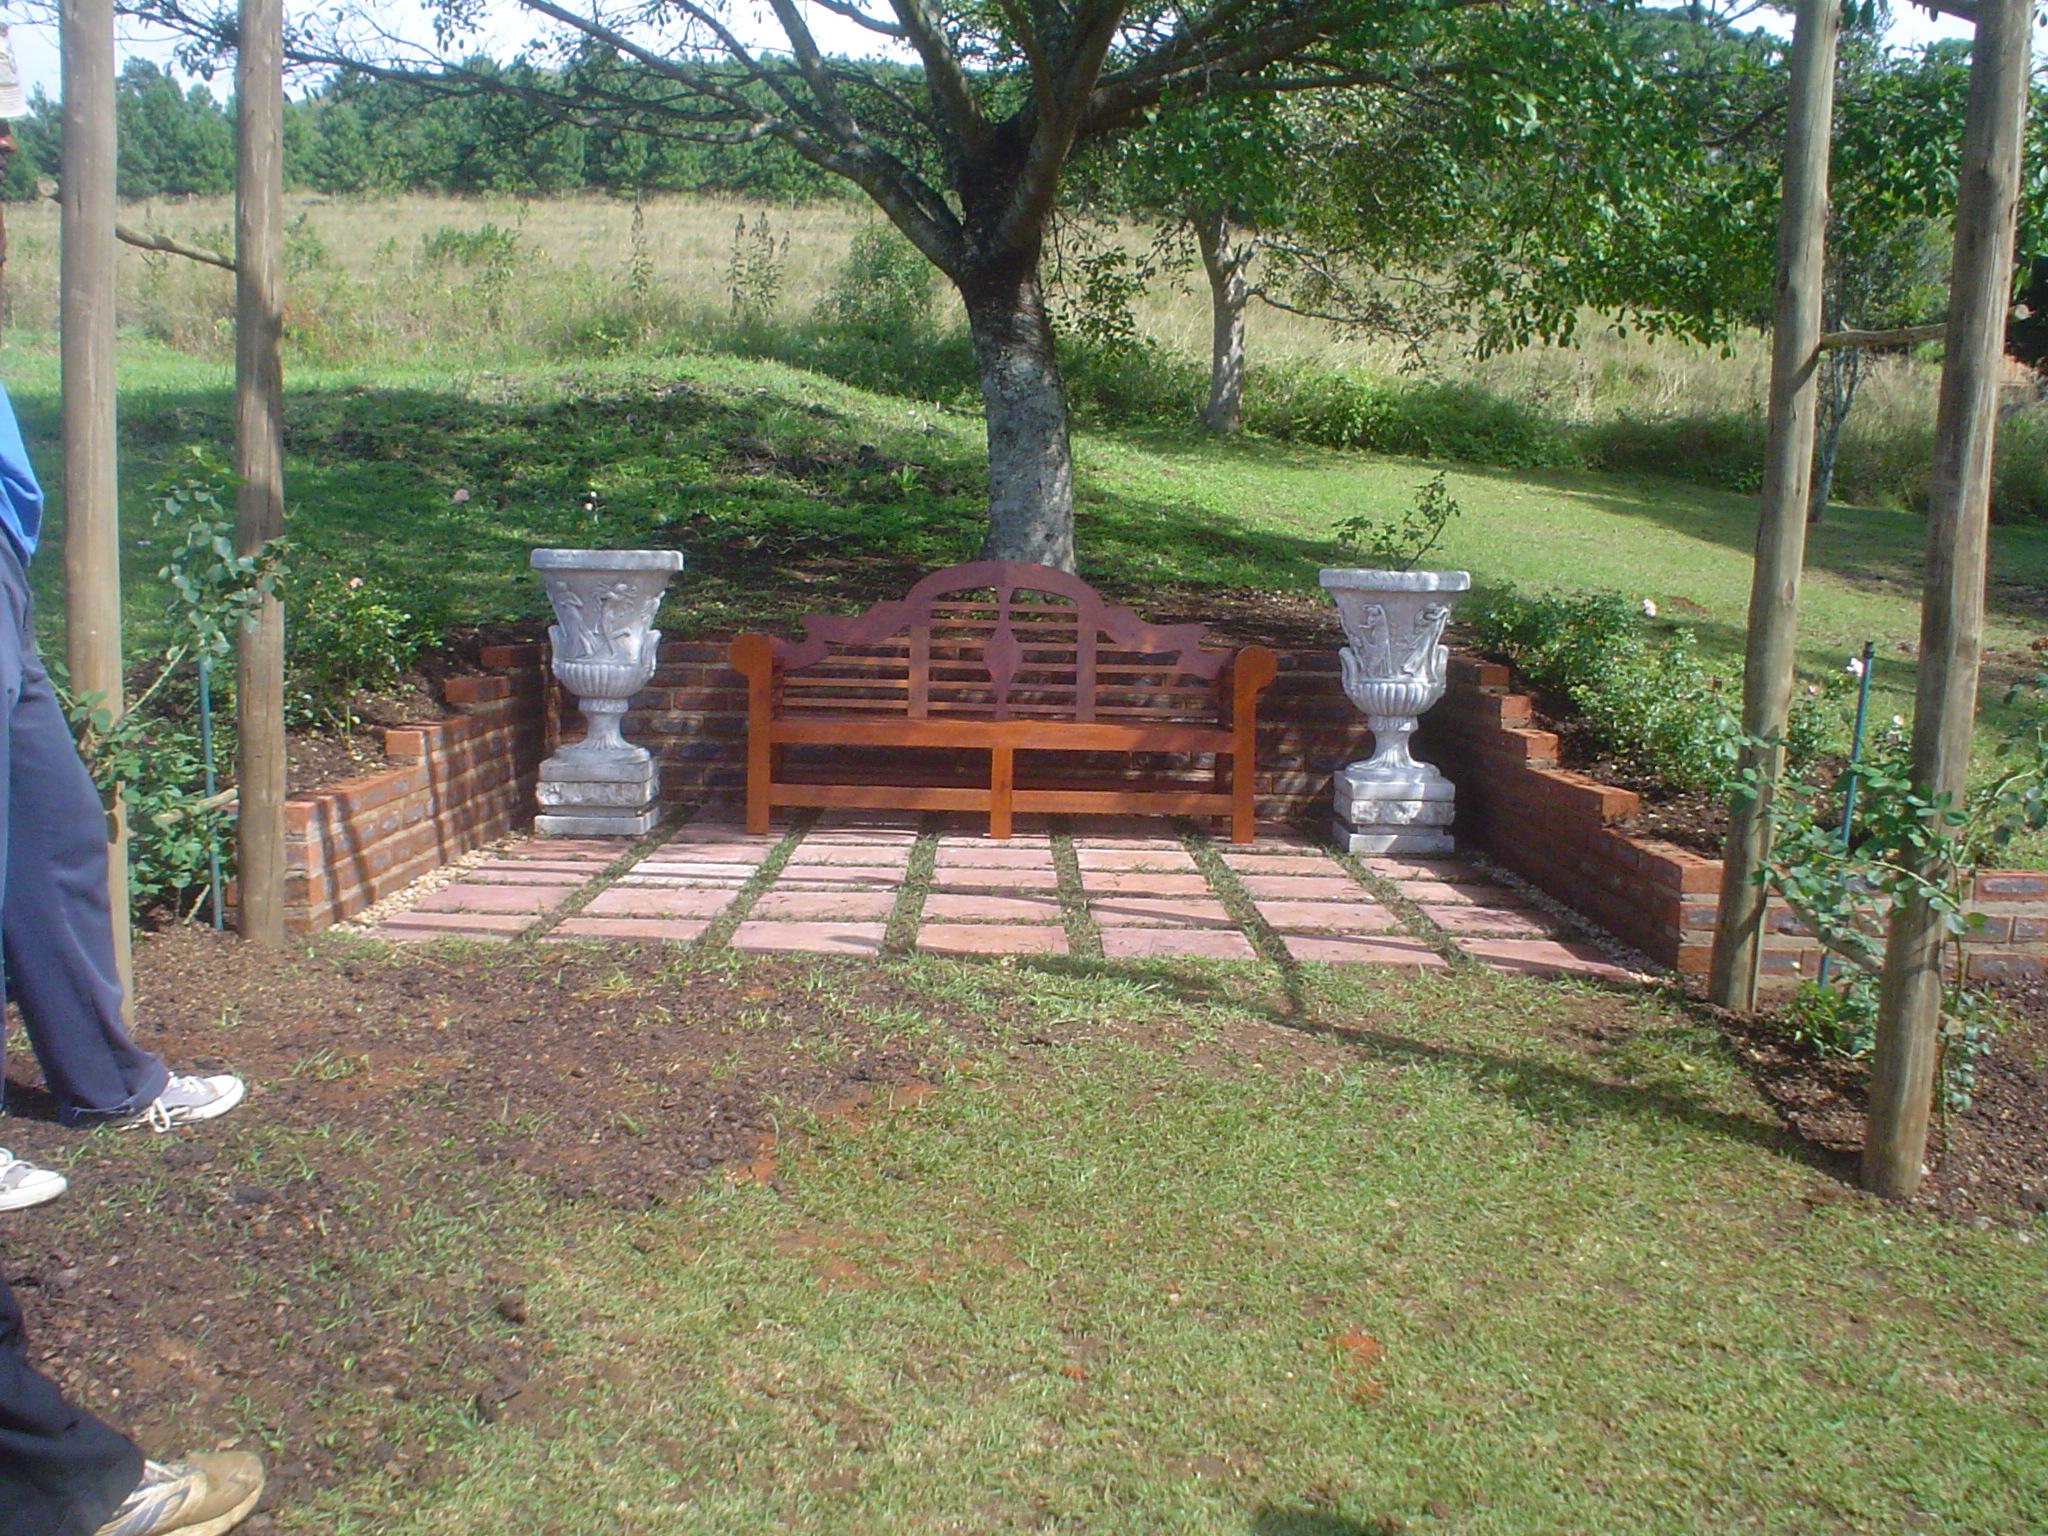
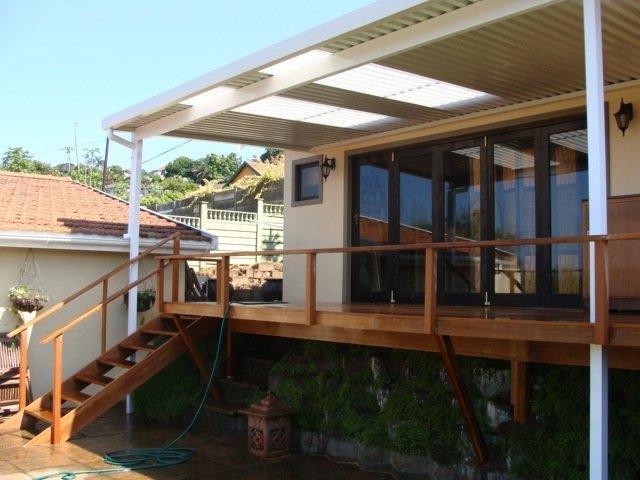
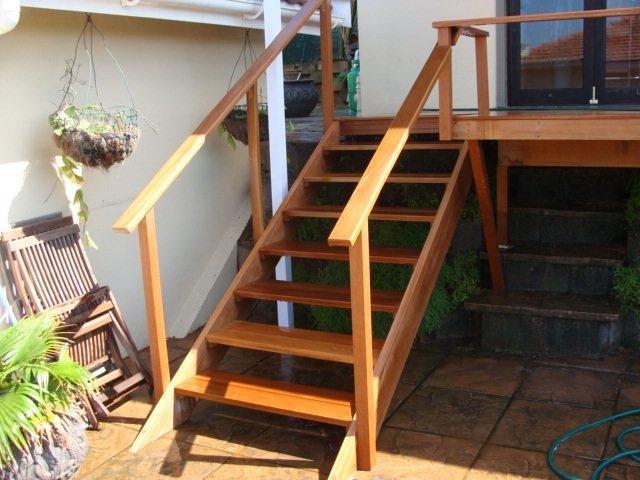
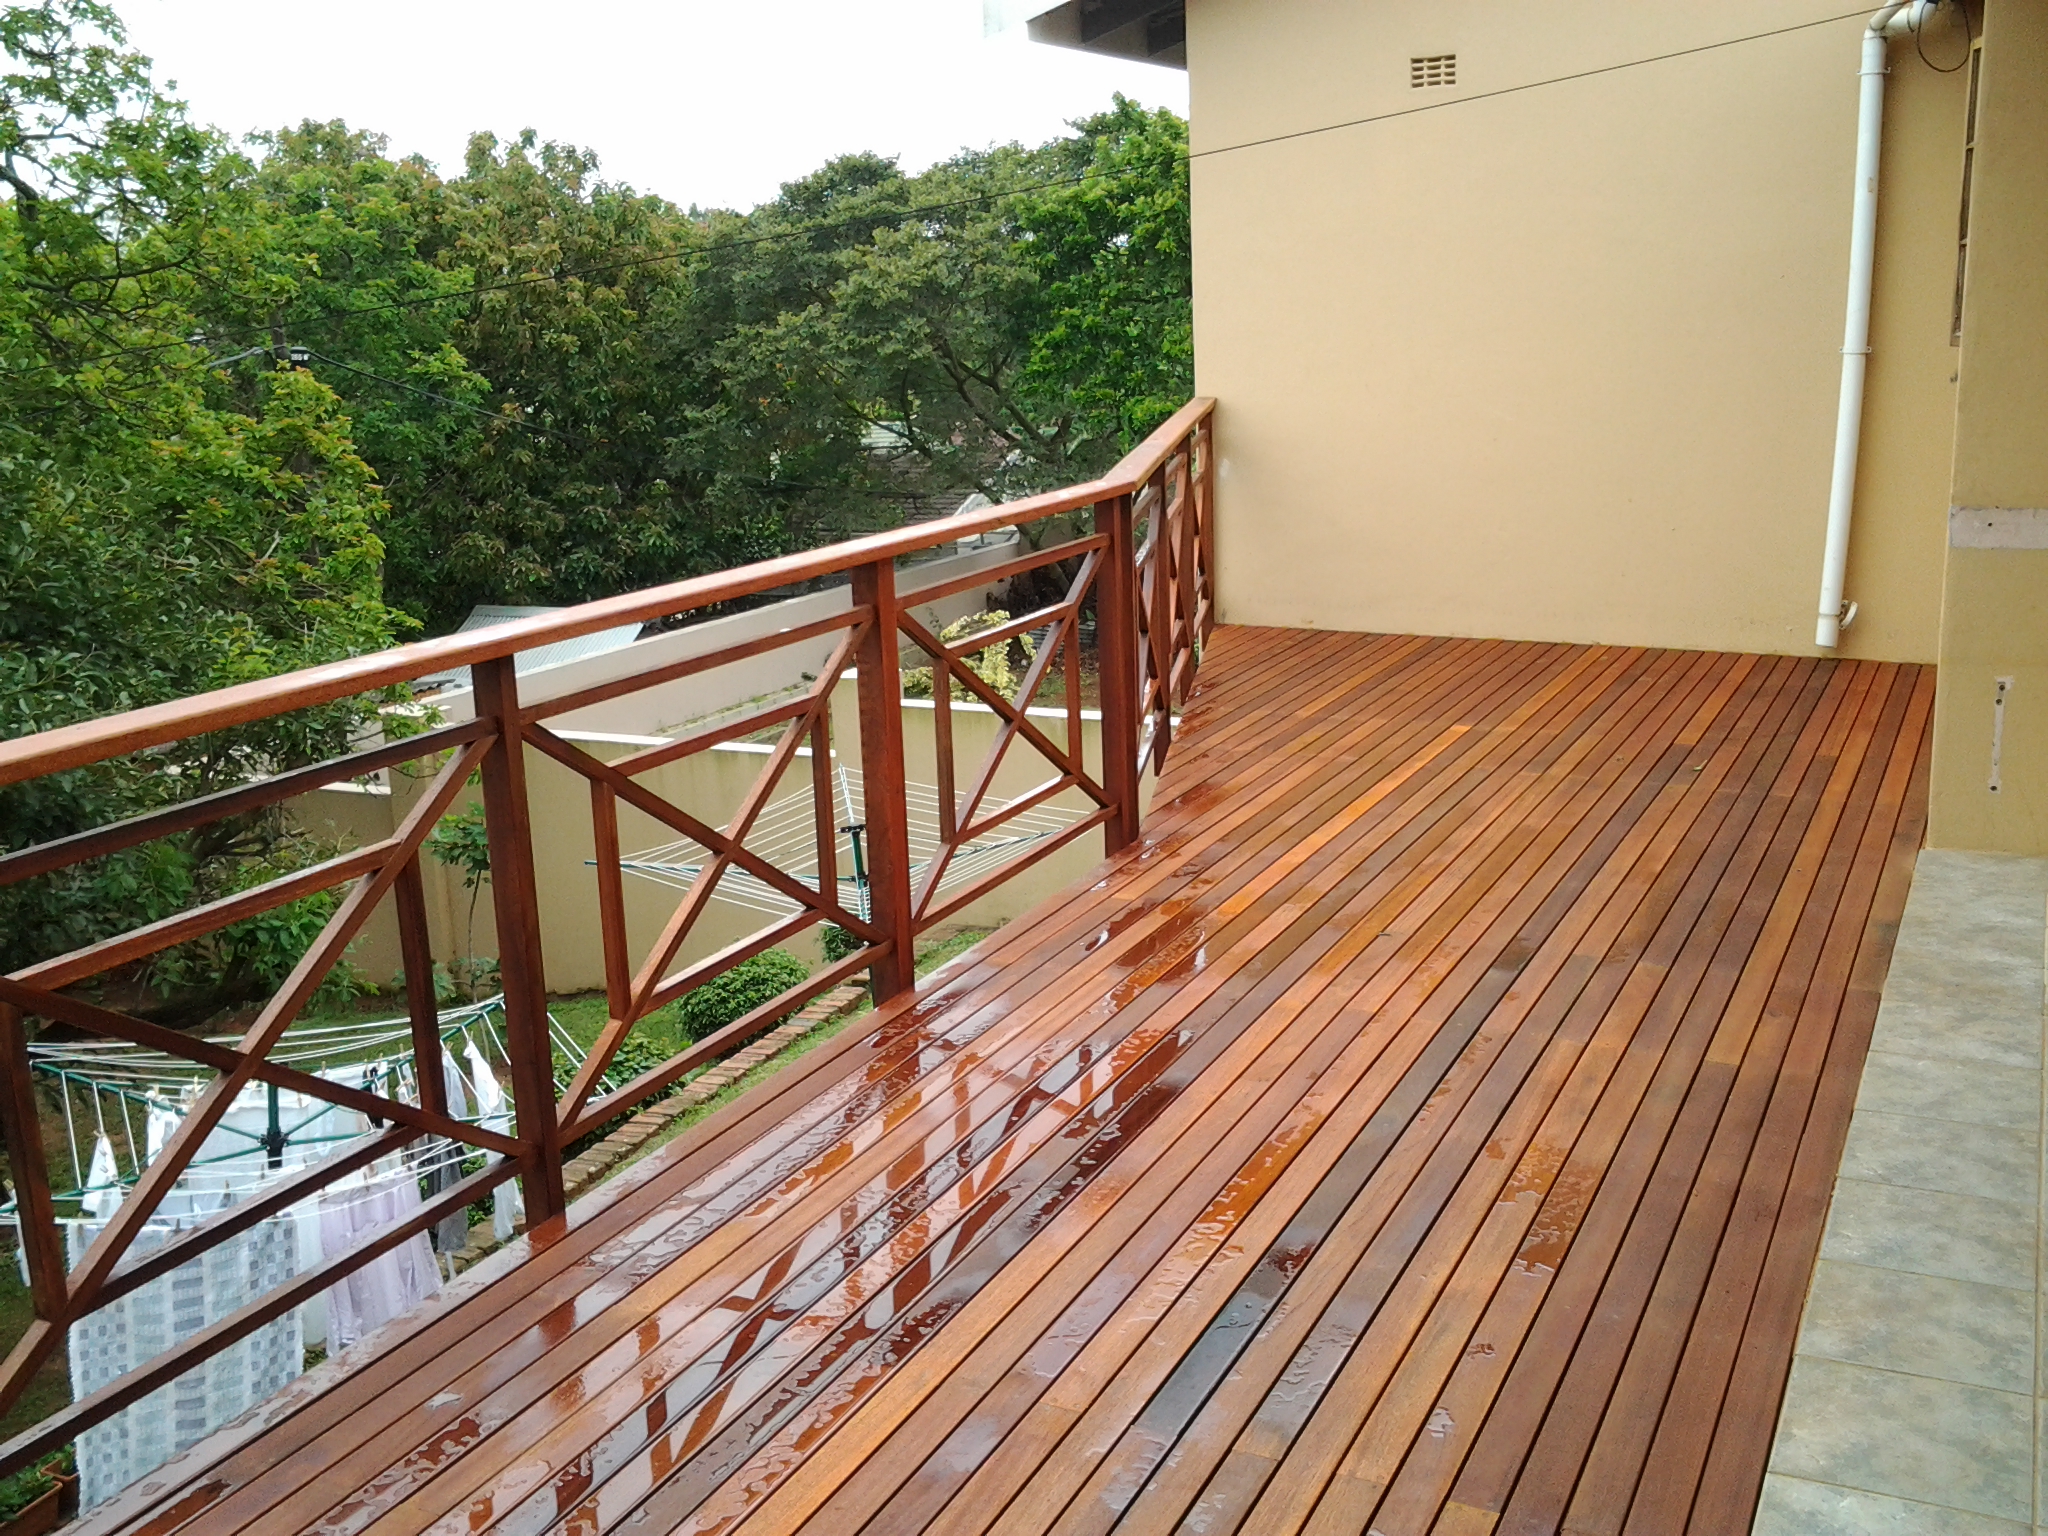
The balustrade was interesting as it was not the normal picket style you see in most other articles. It was the criss cross design with a box in the middle or Tahitian style as it is often called. We also carried this style of balustrade down the stairs. One can sometimes switch to picket style as one goes down the stairs and return to Tahitian style on the flat surfaces. We needed to adjust the angles slightly as we turned the corner down the stairs in order to get the balustrade in the correct plane. We also built a gate at the top of the stairs which could be latched closed or even locked.

Click to enlarge
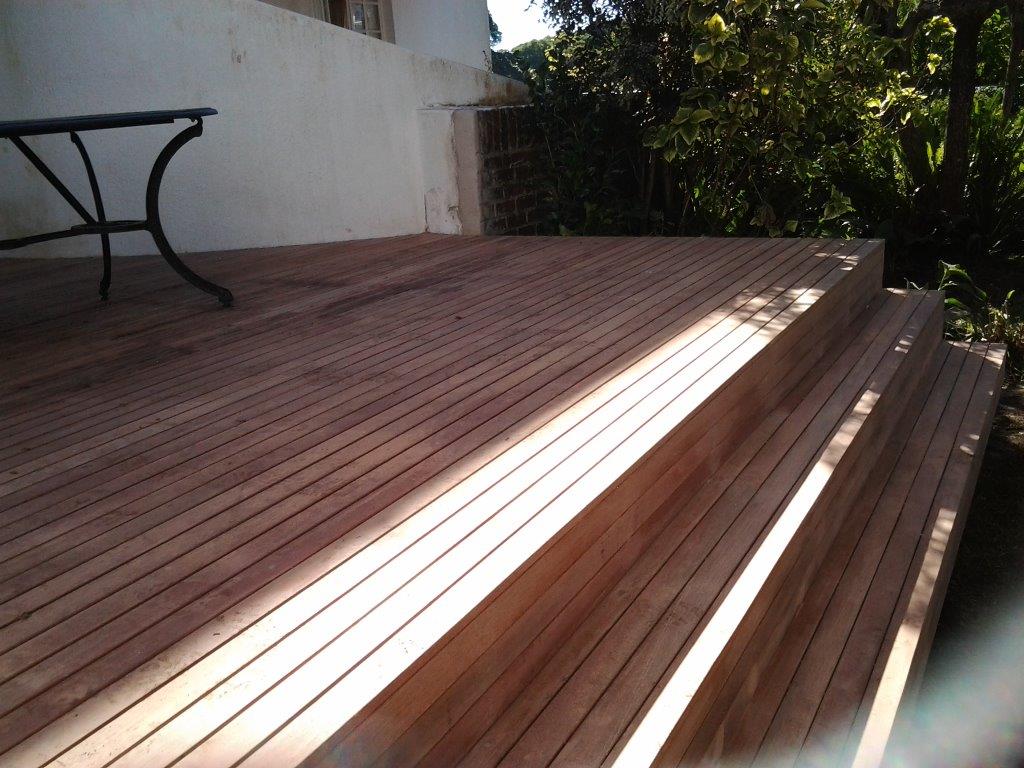
It was sealed using a Timberlife Satin Wood Base 28/28 product which is a timber preservative that soaks into the timber rather than drying on the surface. Maintenance is therefore easy in that it can never peel or flake as it has soaked in and not dried on the surface. Simply clean it and apply two or three more coats. No more sanding, EVER.
For a free no obligation quote or advice on design of your wooden deck, please complete the form below or call us on 082 496 5444.


Related articles
- Wooden Sundeck built in Toti, Durban area – March 2013 (thewoodjoint.co.za)
- Wooden Sundeck built in Gillitts – April 2013 (thewoodjoint.co.za)