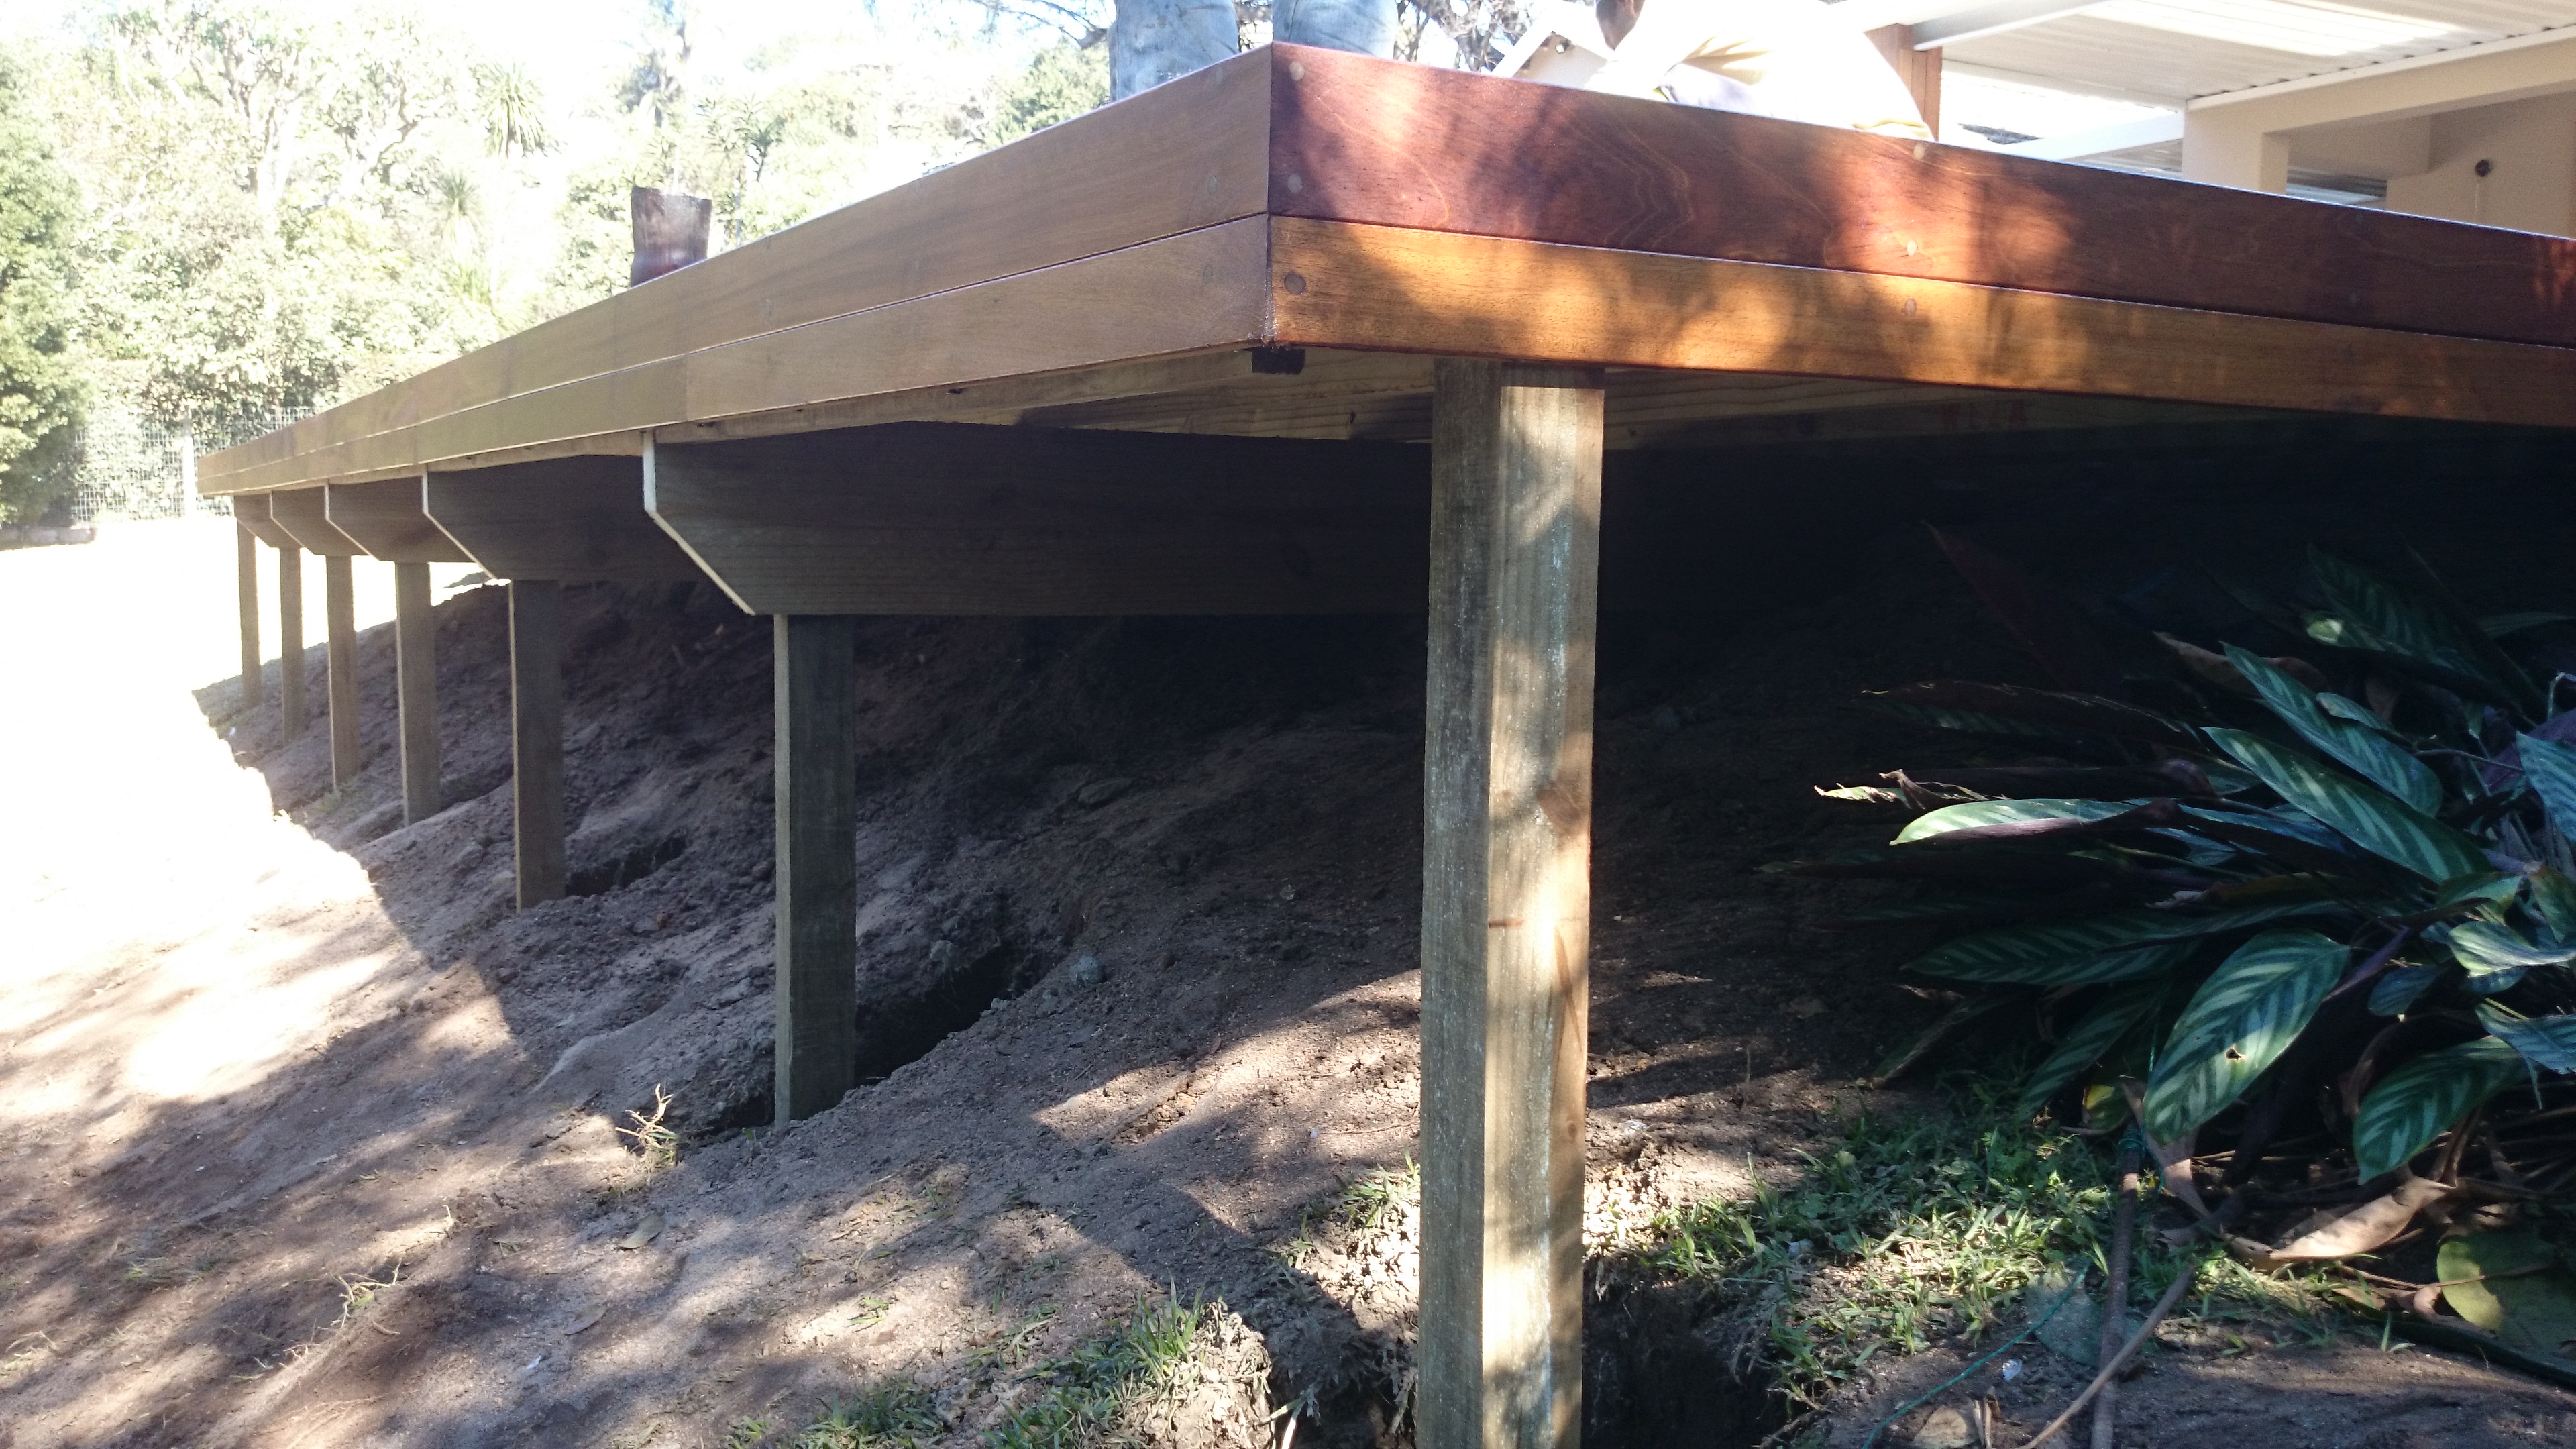
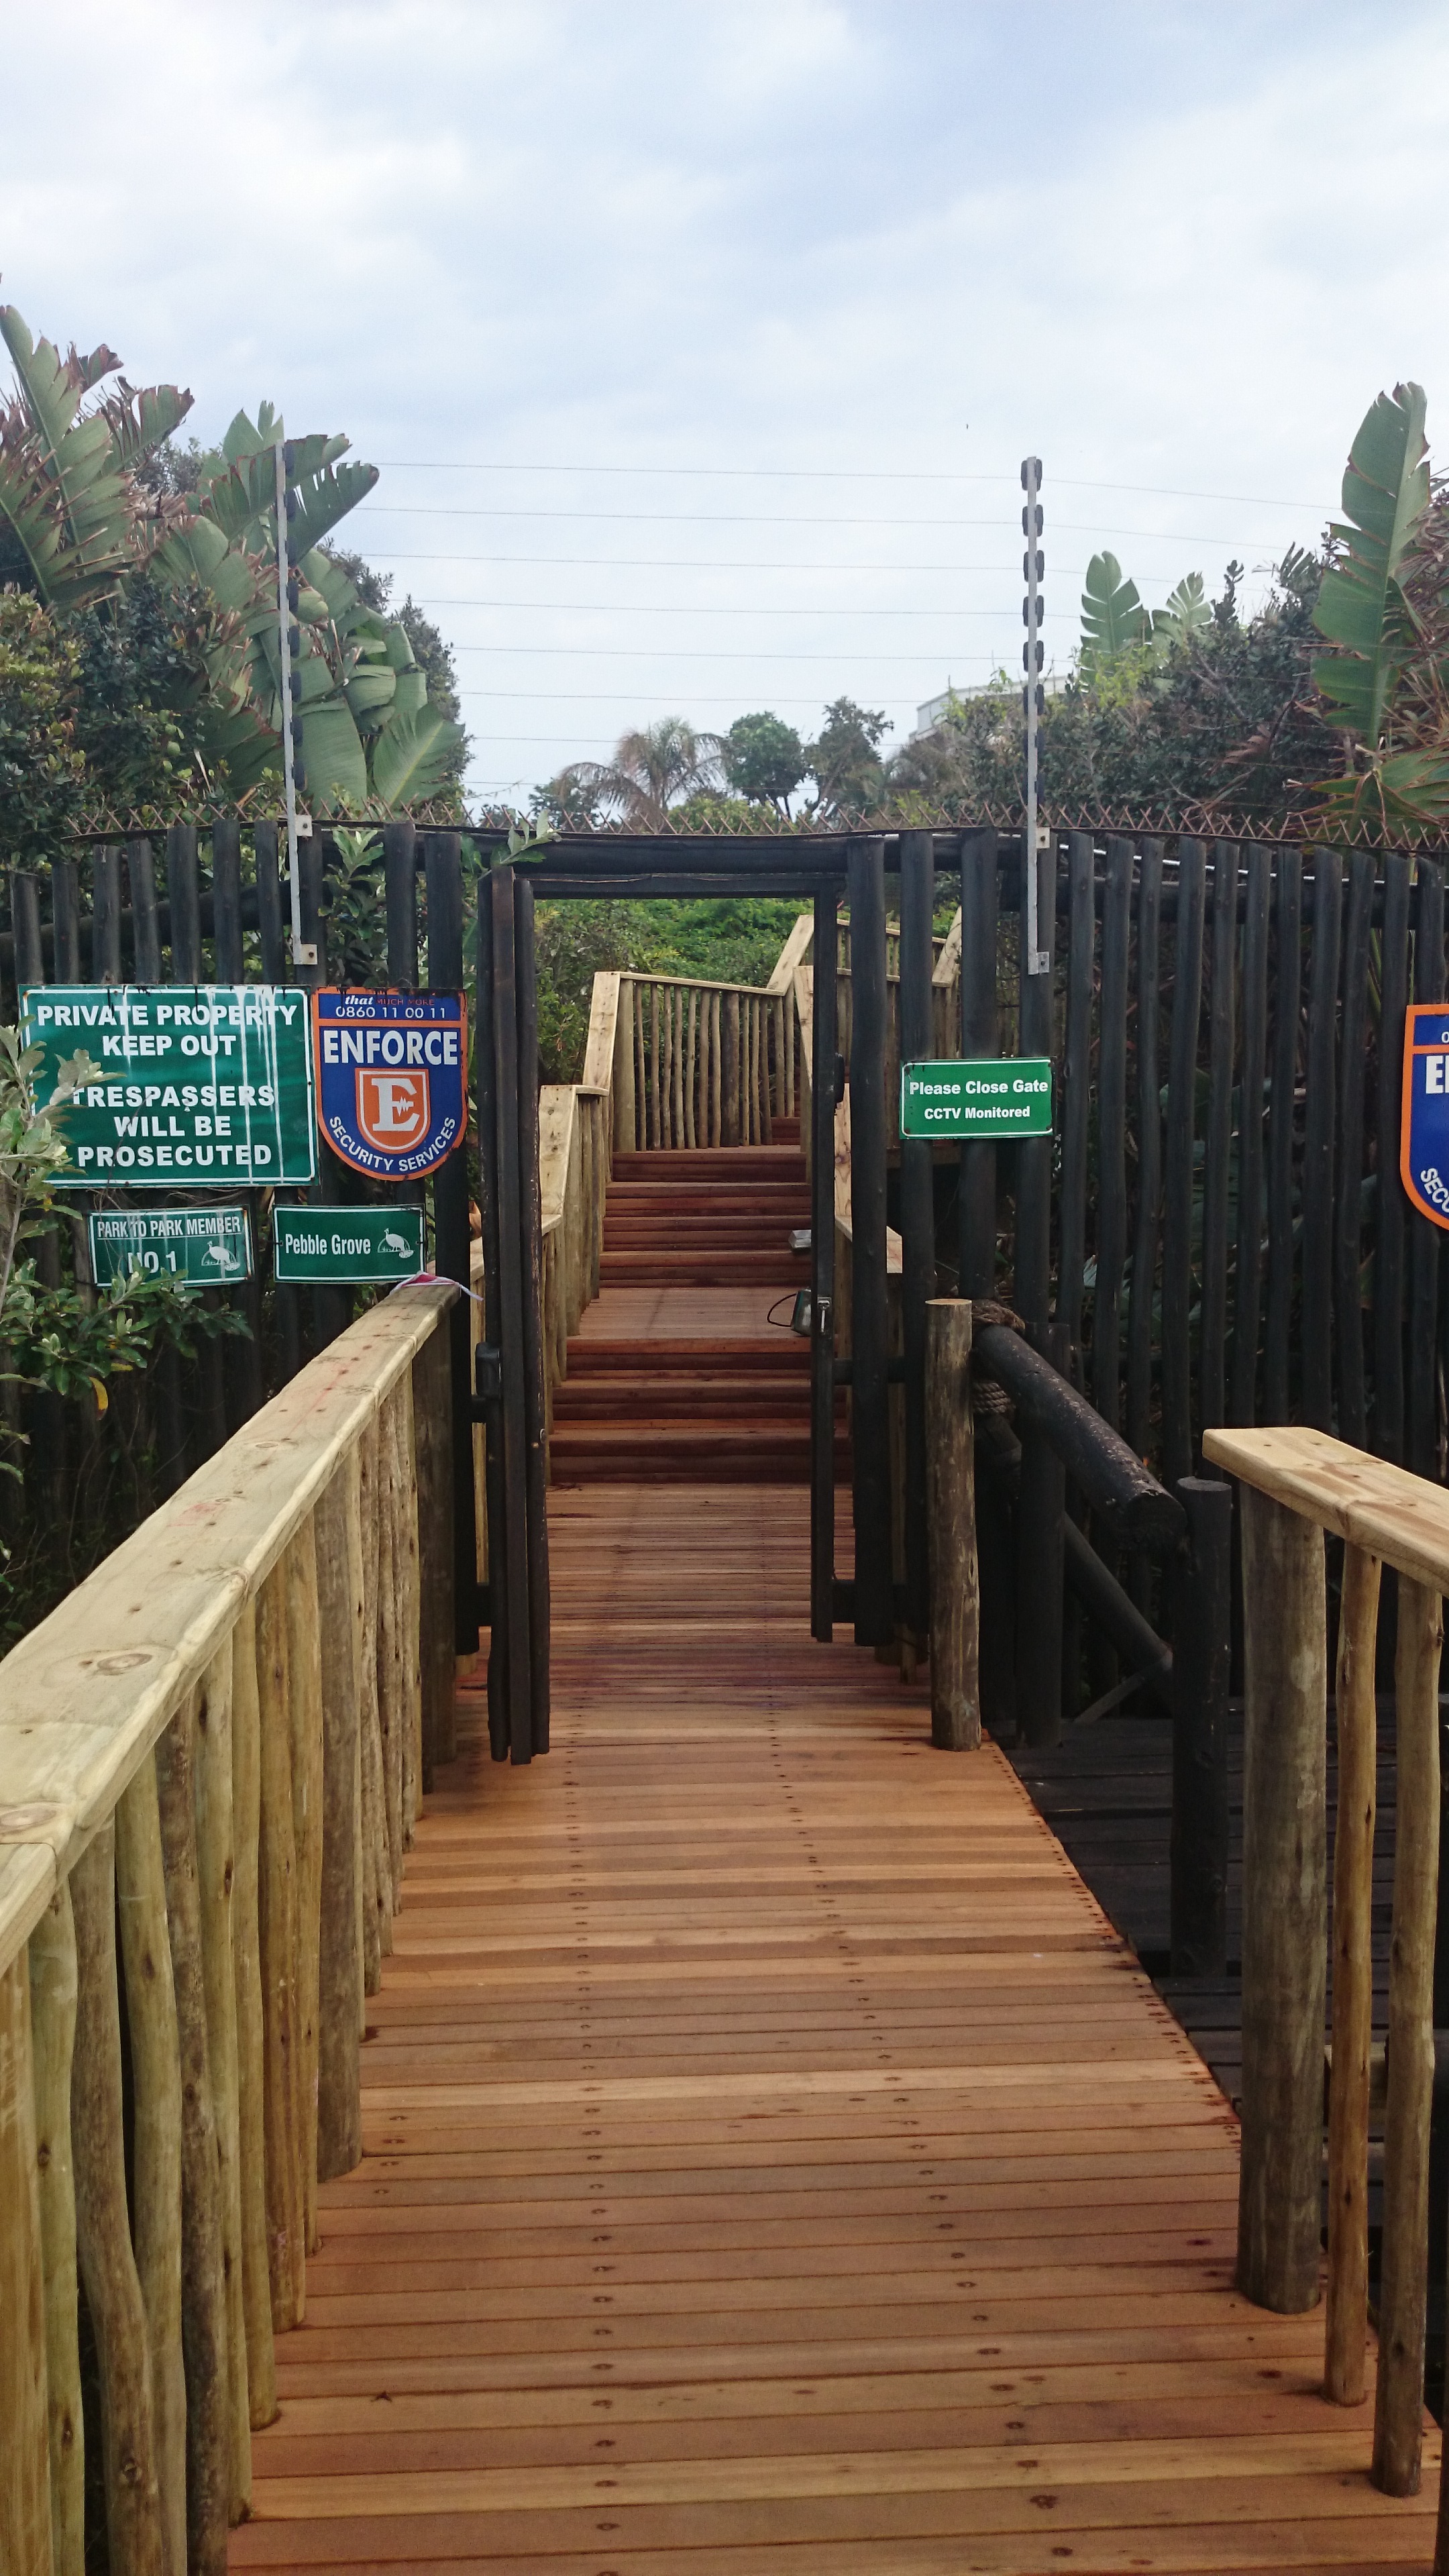
 This wooden balau walkway, or bridge, leading to the beach, needed to be replaced as the old one, although it was nearly 20 years old, had started sinking on one side. It had been built on beach sand so the concrete that had been used to set the upright posts had sunk over time into the soft sand. This problem also occurs on decks that are built on the bluff as the Bluff is essentially one big sand dune, so many parts of it are soft enough to allow a post to sink over time.
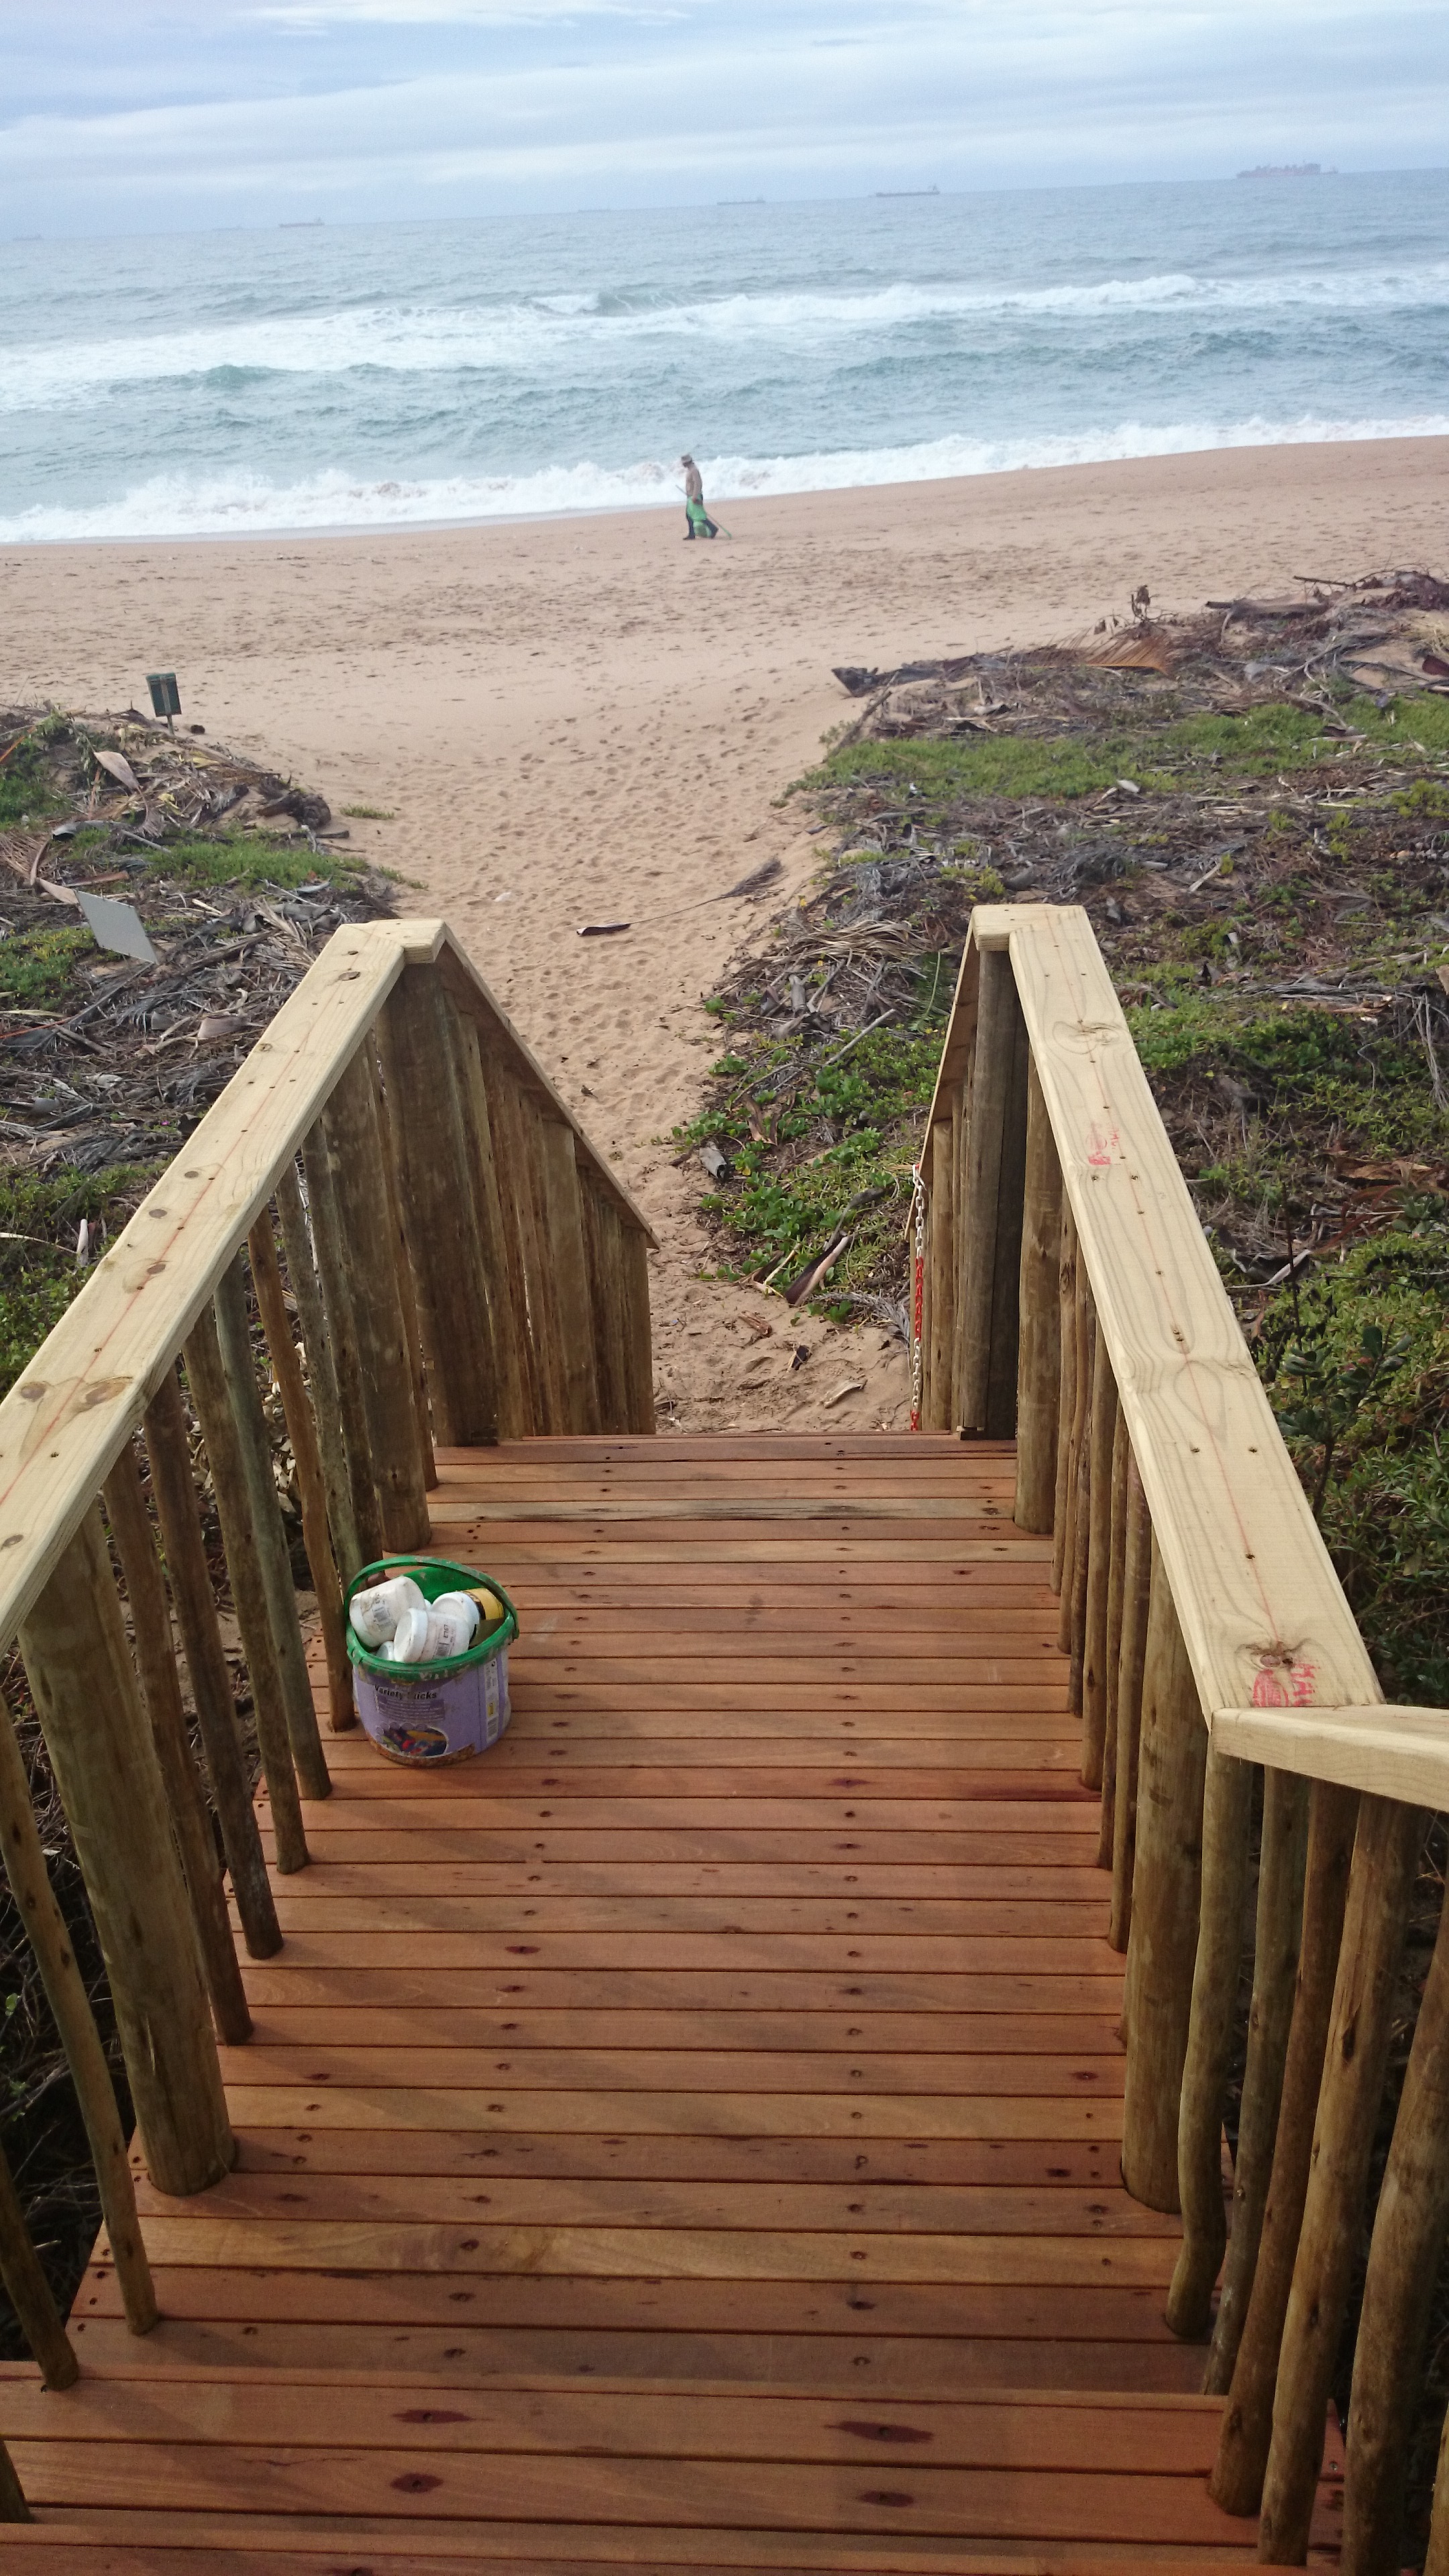
We overcame this problem by making use of a floating foundation. It is often used in building houses where the soil is very soft. Instead of throwing a concrete foundation beneath the walls and bringing the bricks up and then throwing a slab, the entire foundation is a concrete slab on top of which the bricks are laid. The result being that it creates a much larger foot print in the sand and is of course more difficult to sink than if it was a column of concrete.
This method solved the problem of the posts sinking, but created another problem in that there was no lateral support for our posts which would have resulted in them falling over. This was overcome by throwing a “pad” on every second post and every other post was set 600mm in the ground in concrete. So one post stopped it from sinking and the other gave it lateral support and stopped it from falling over.
The floating “pads” were 600mm x 600mm and 150mm thick with mesh in between to stop the concrete from cracking with the weight of the deck.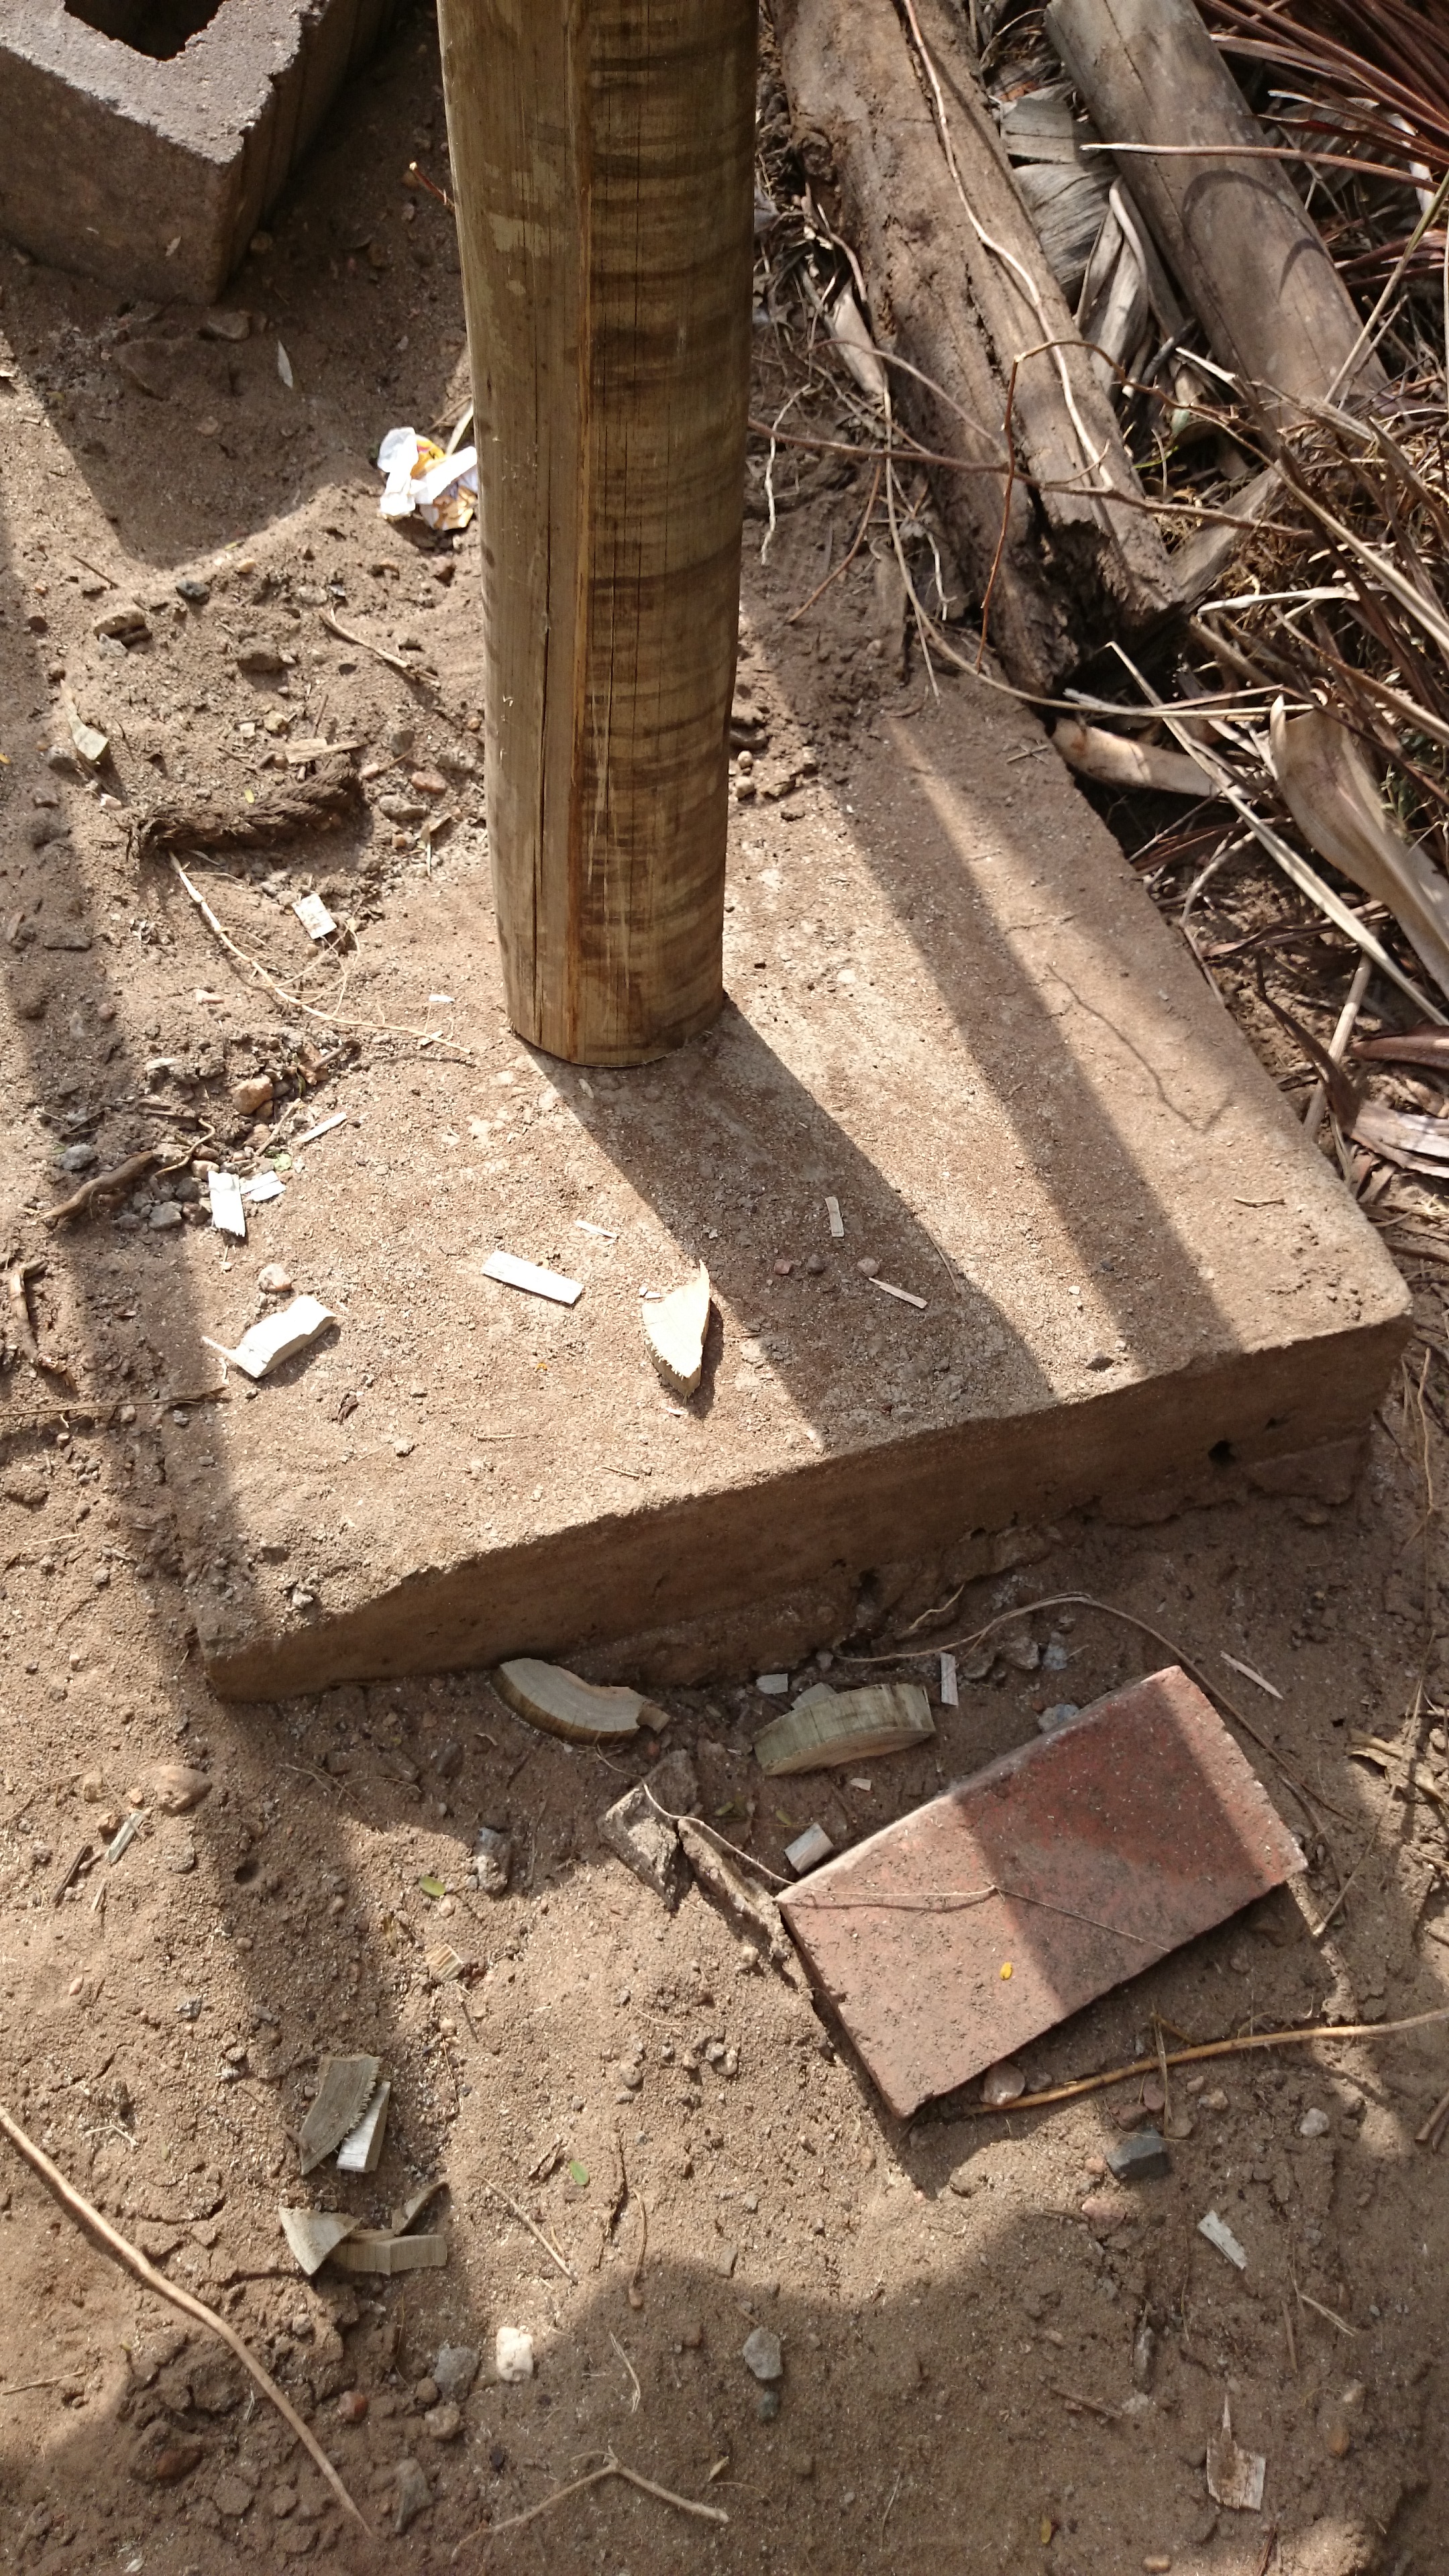
The pics alongside show the “pad” that the upright posts sits on top of and a post that has been buried in the ground 600mm.
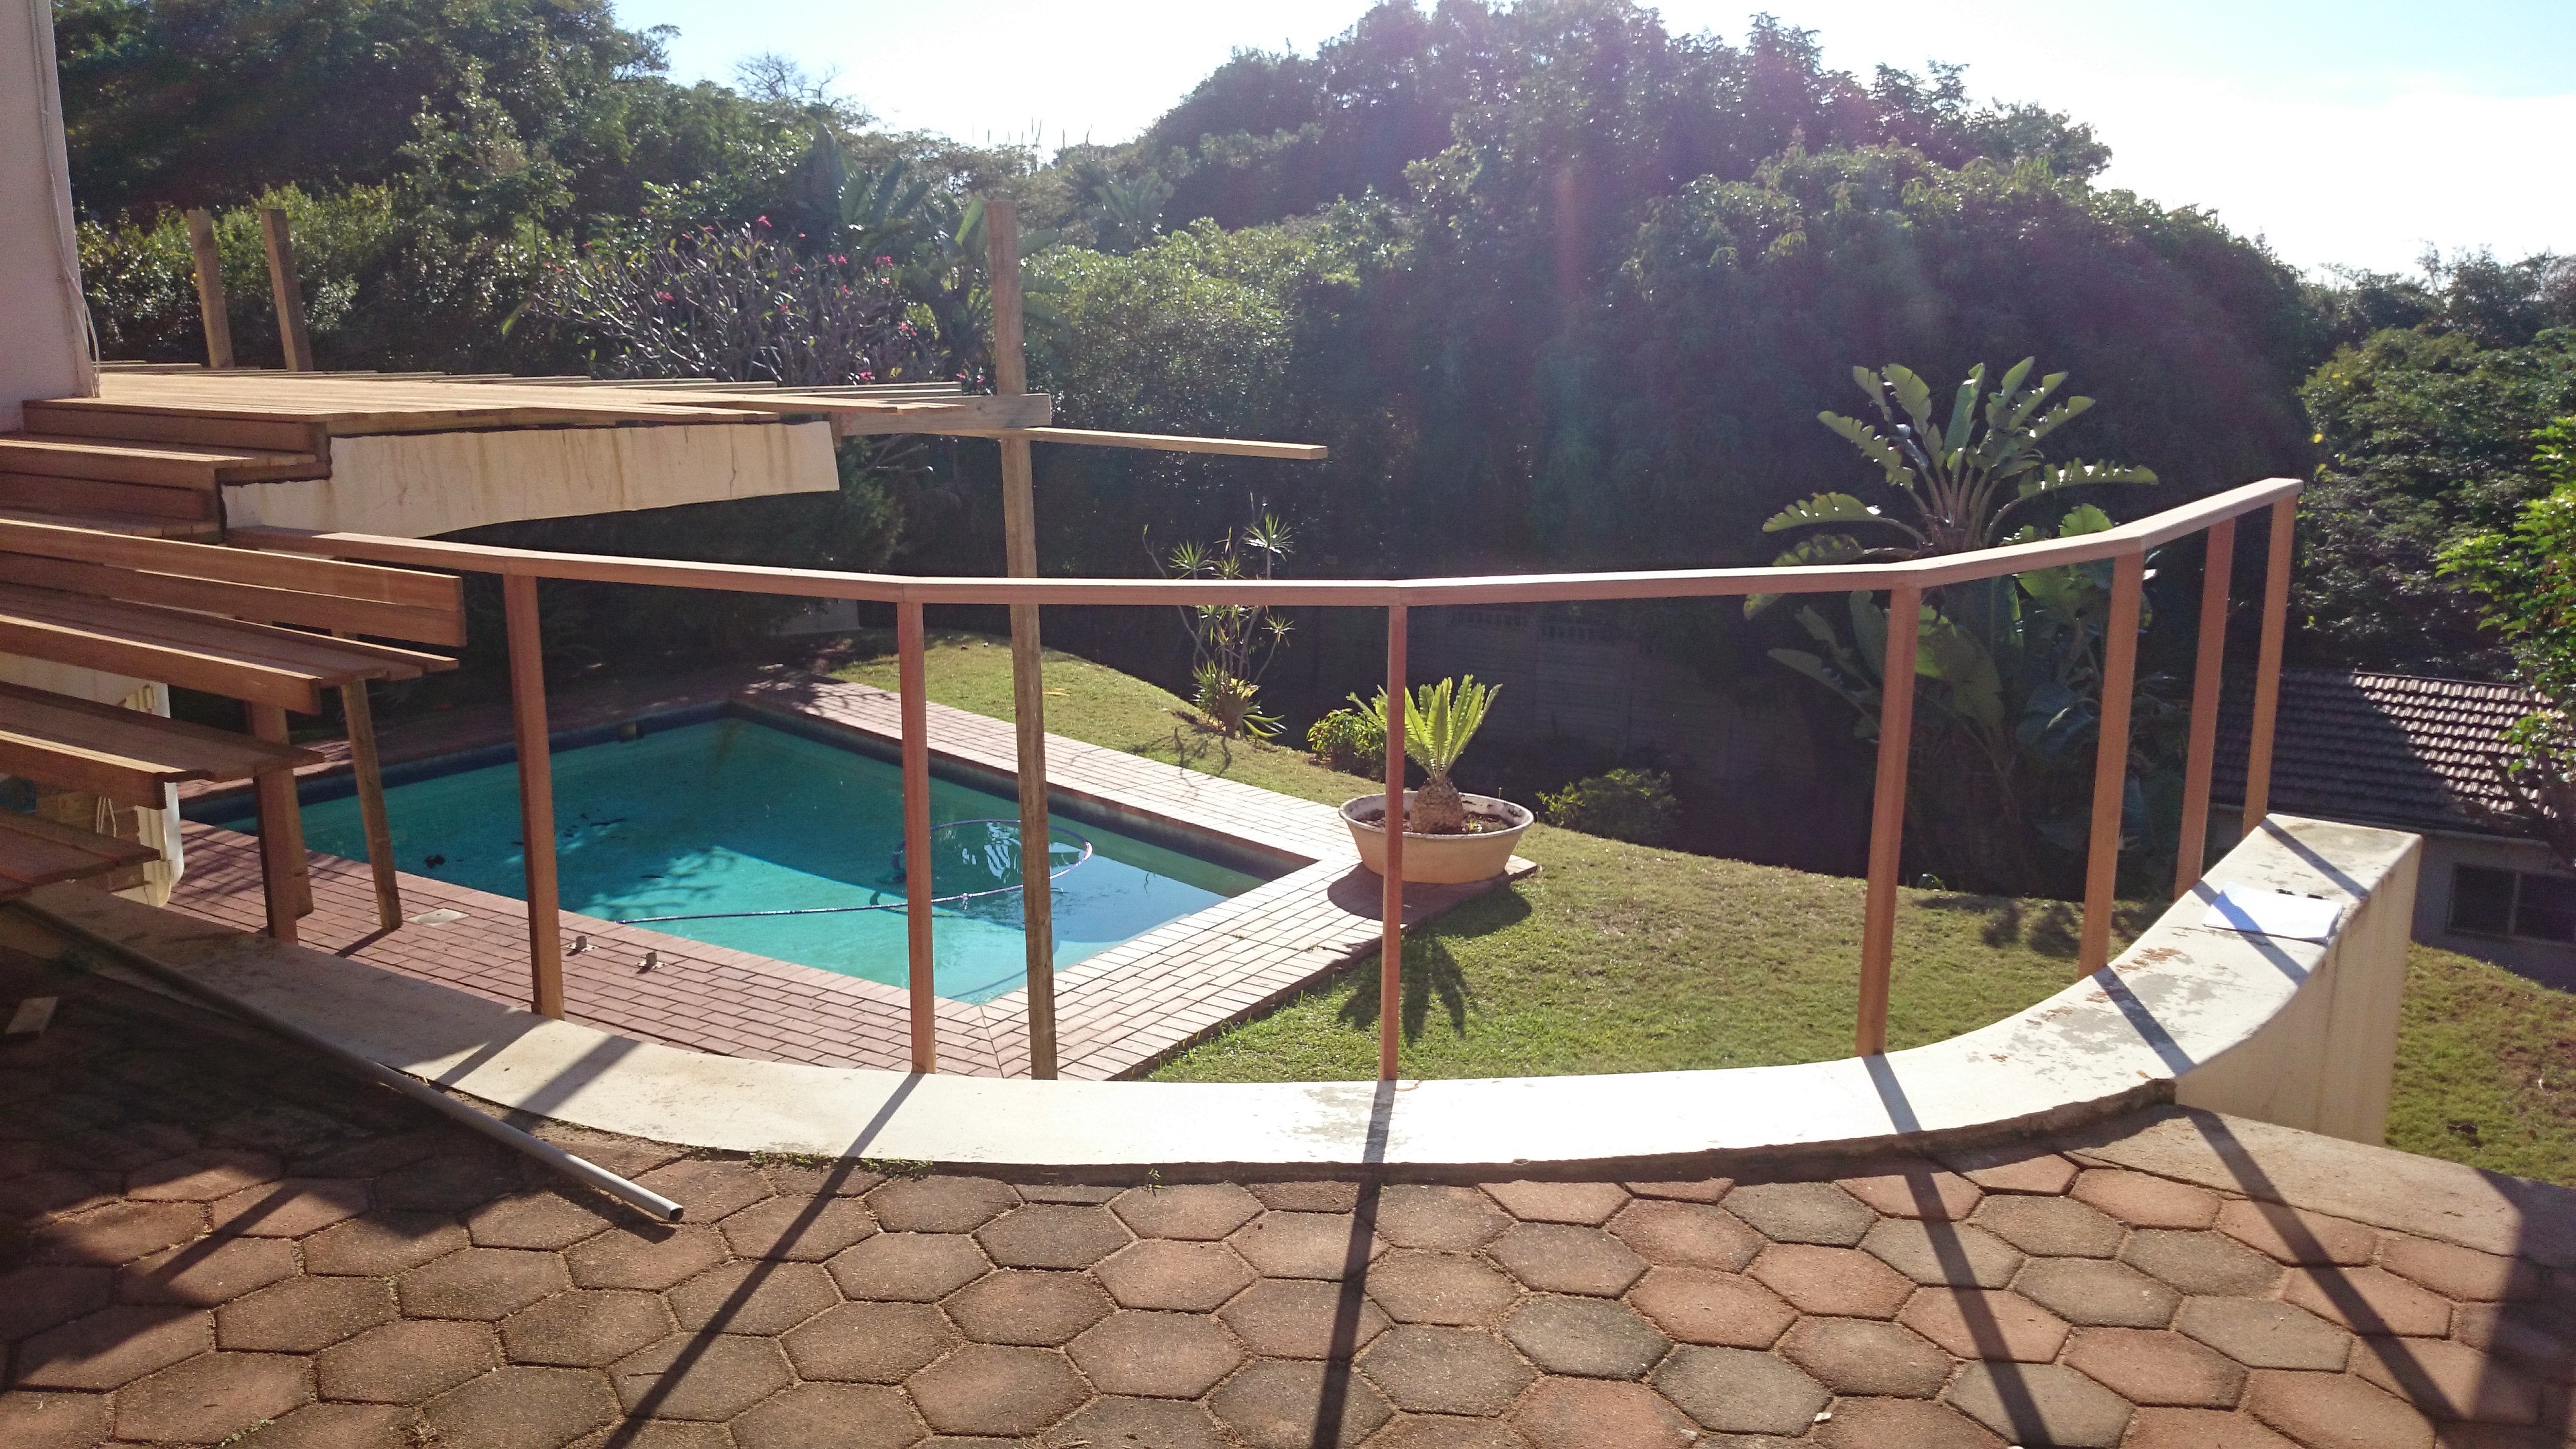
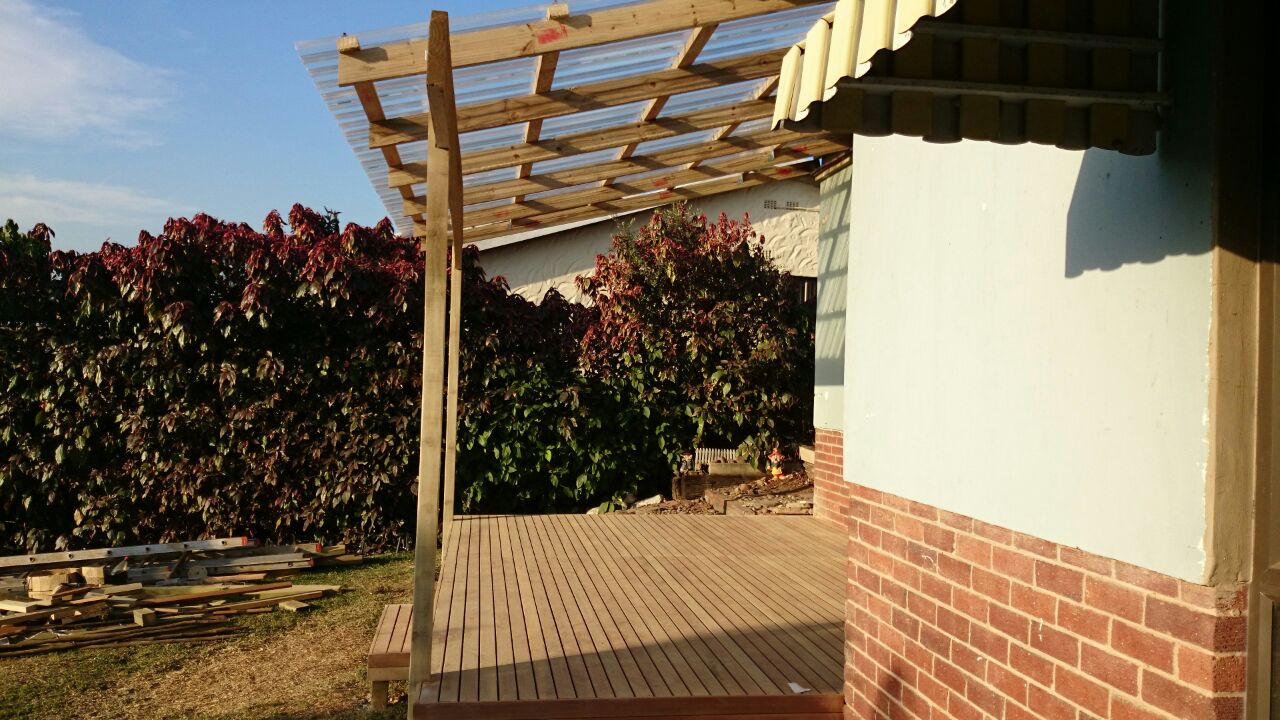
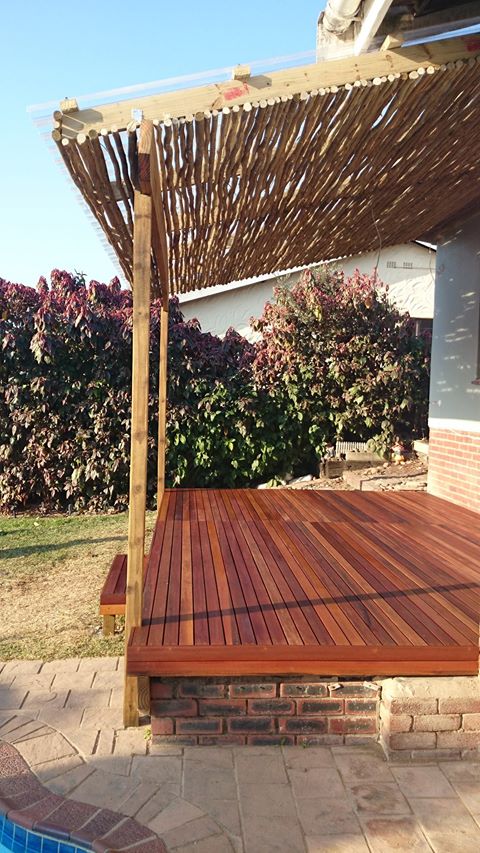
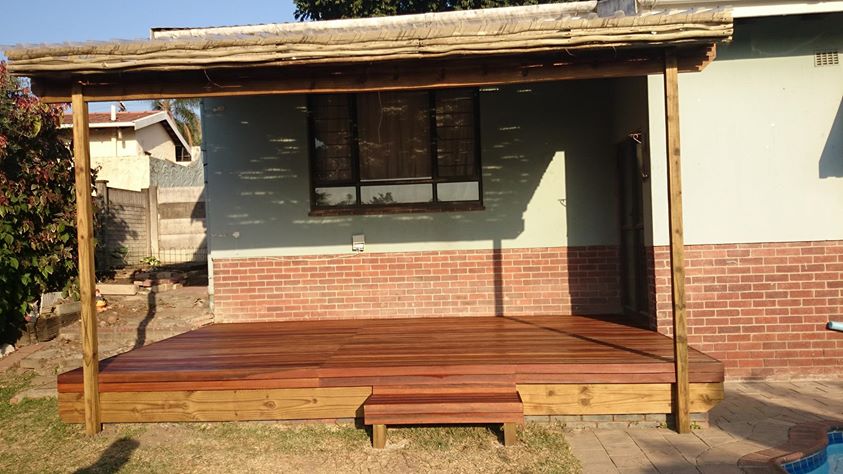
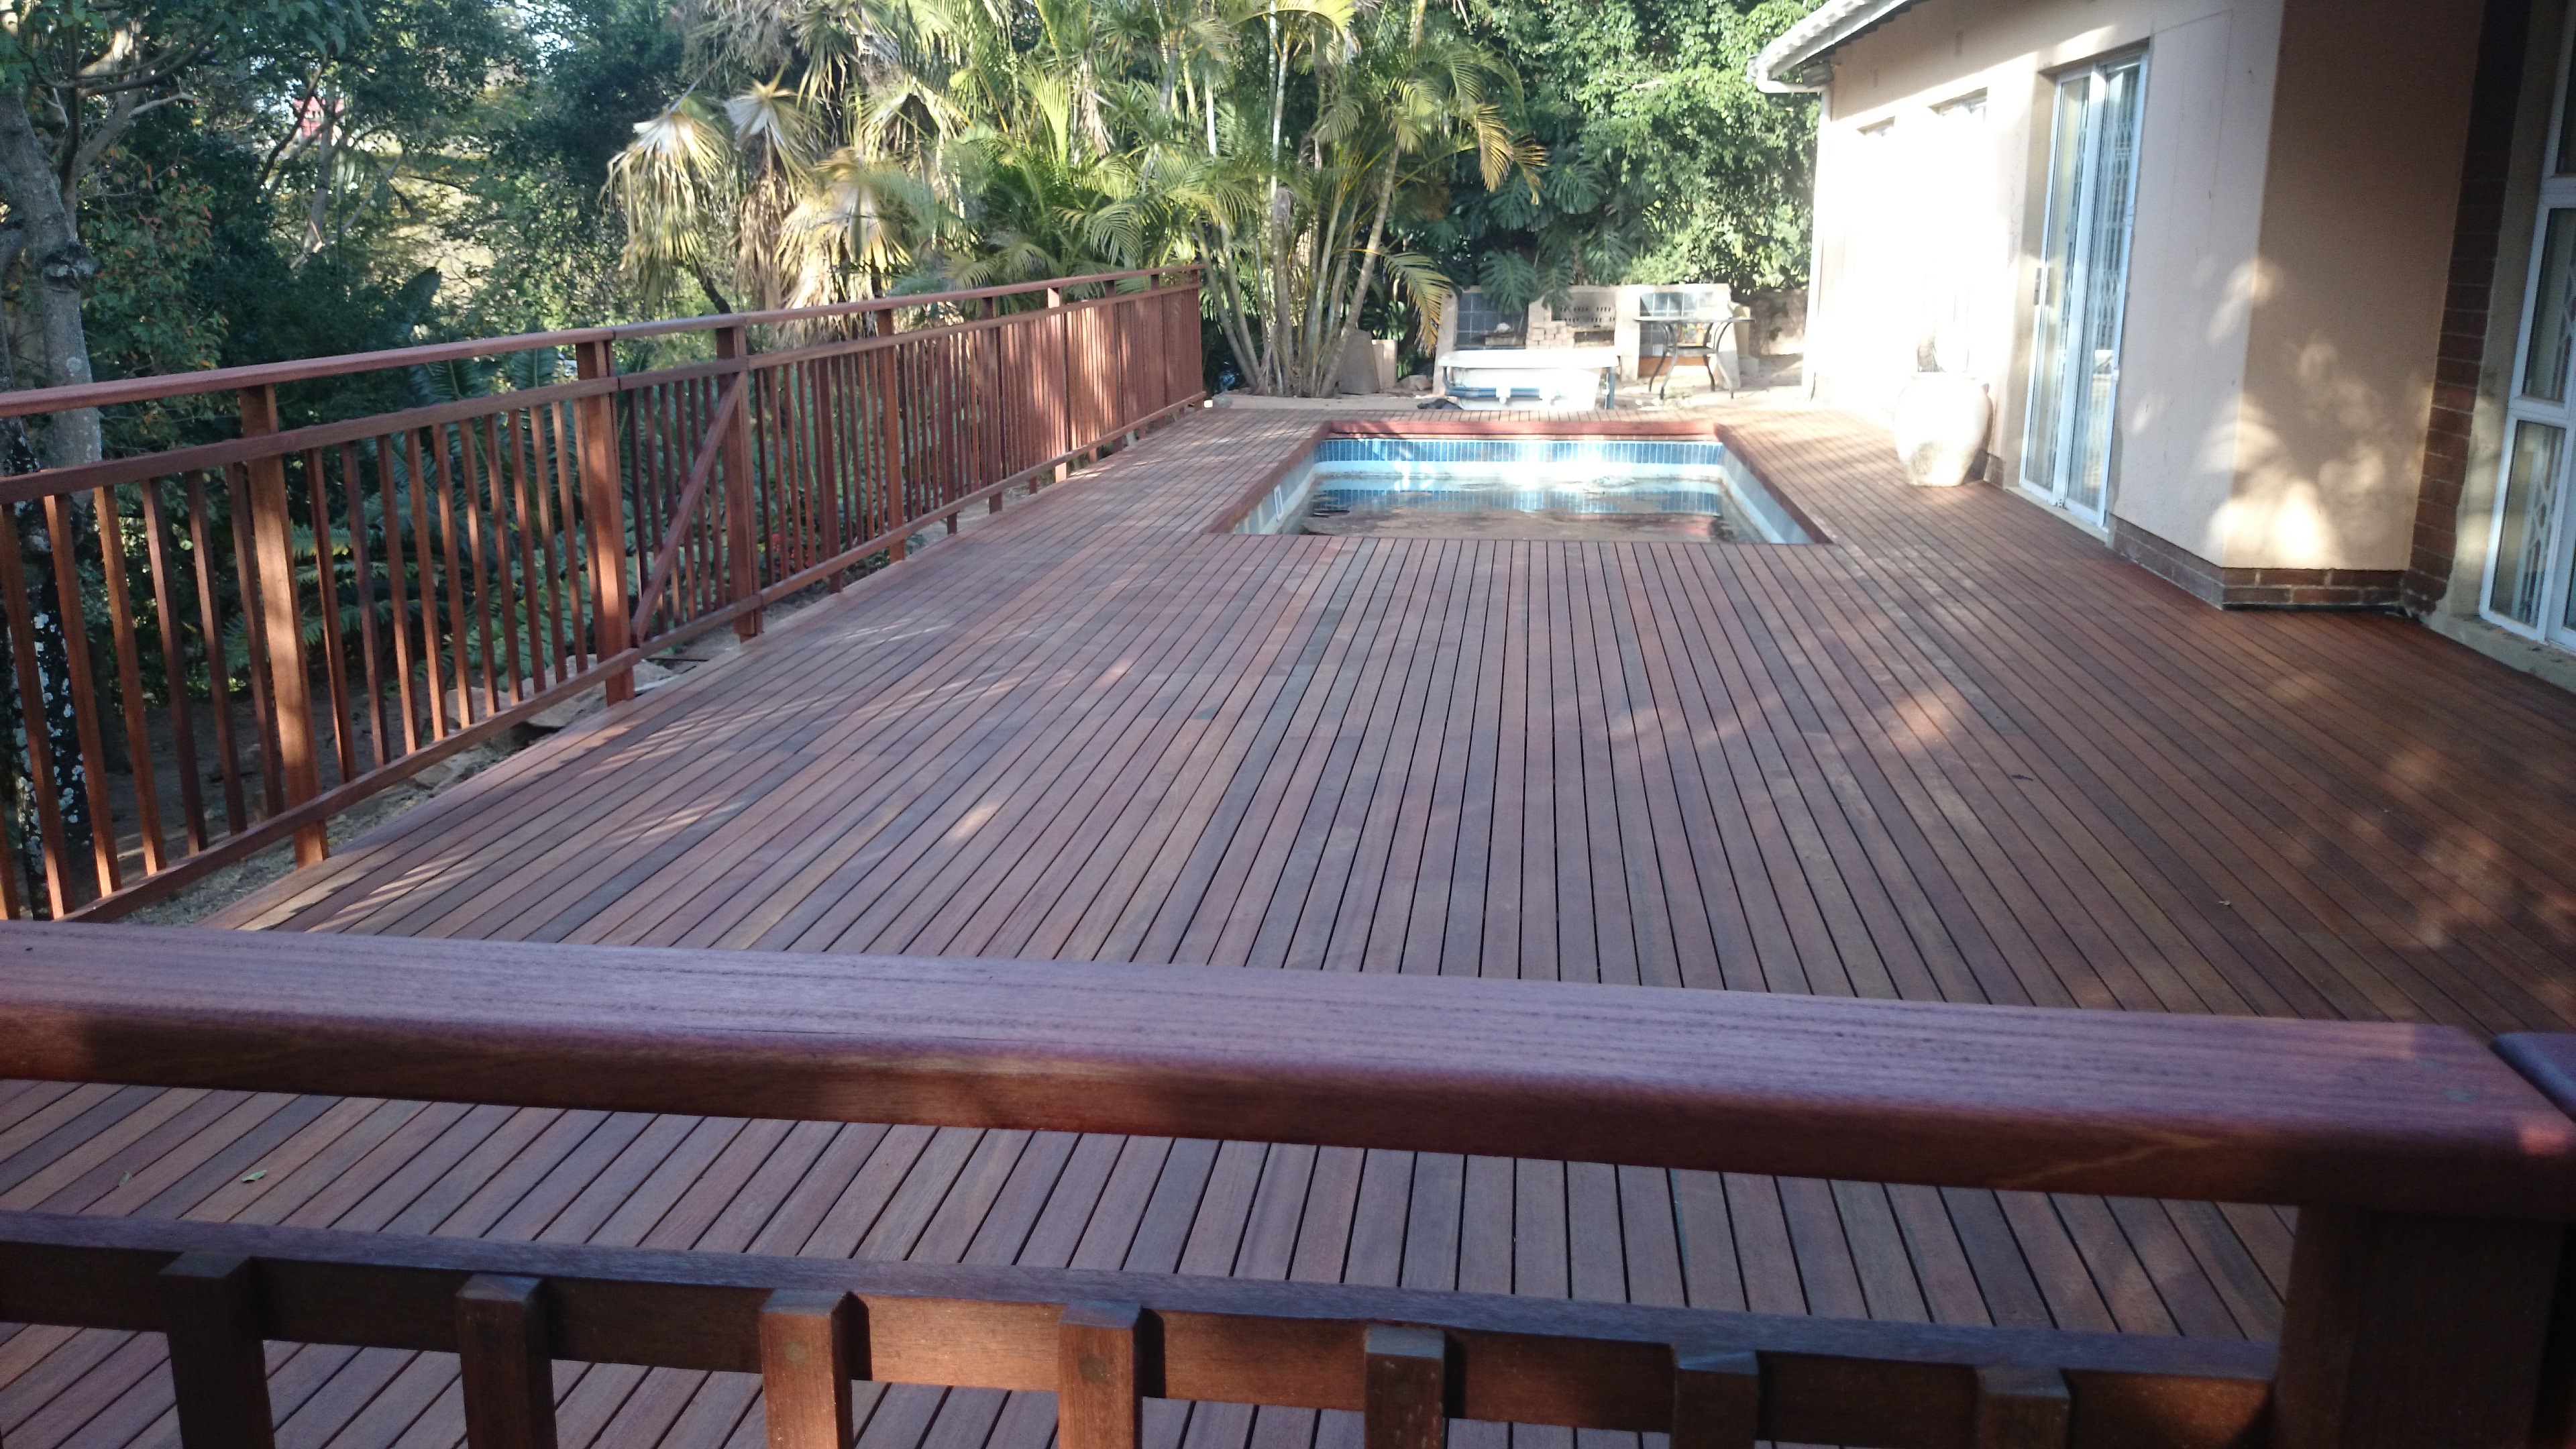
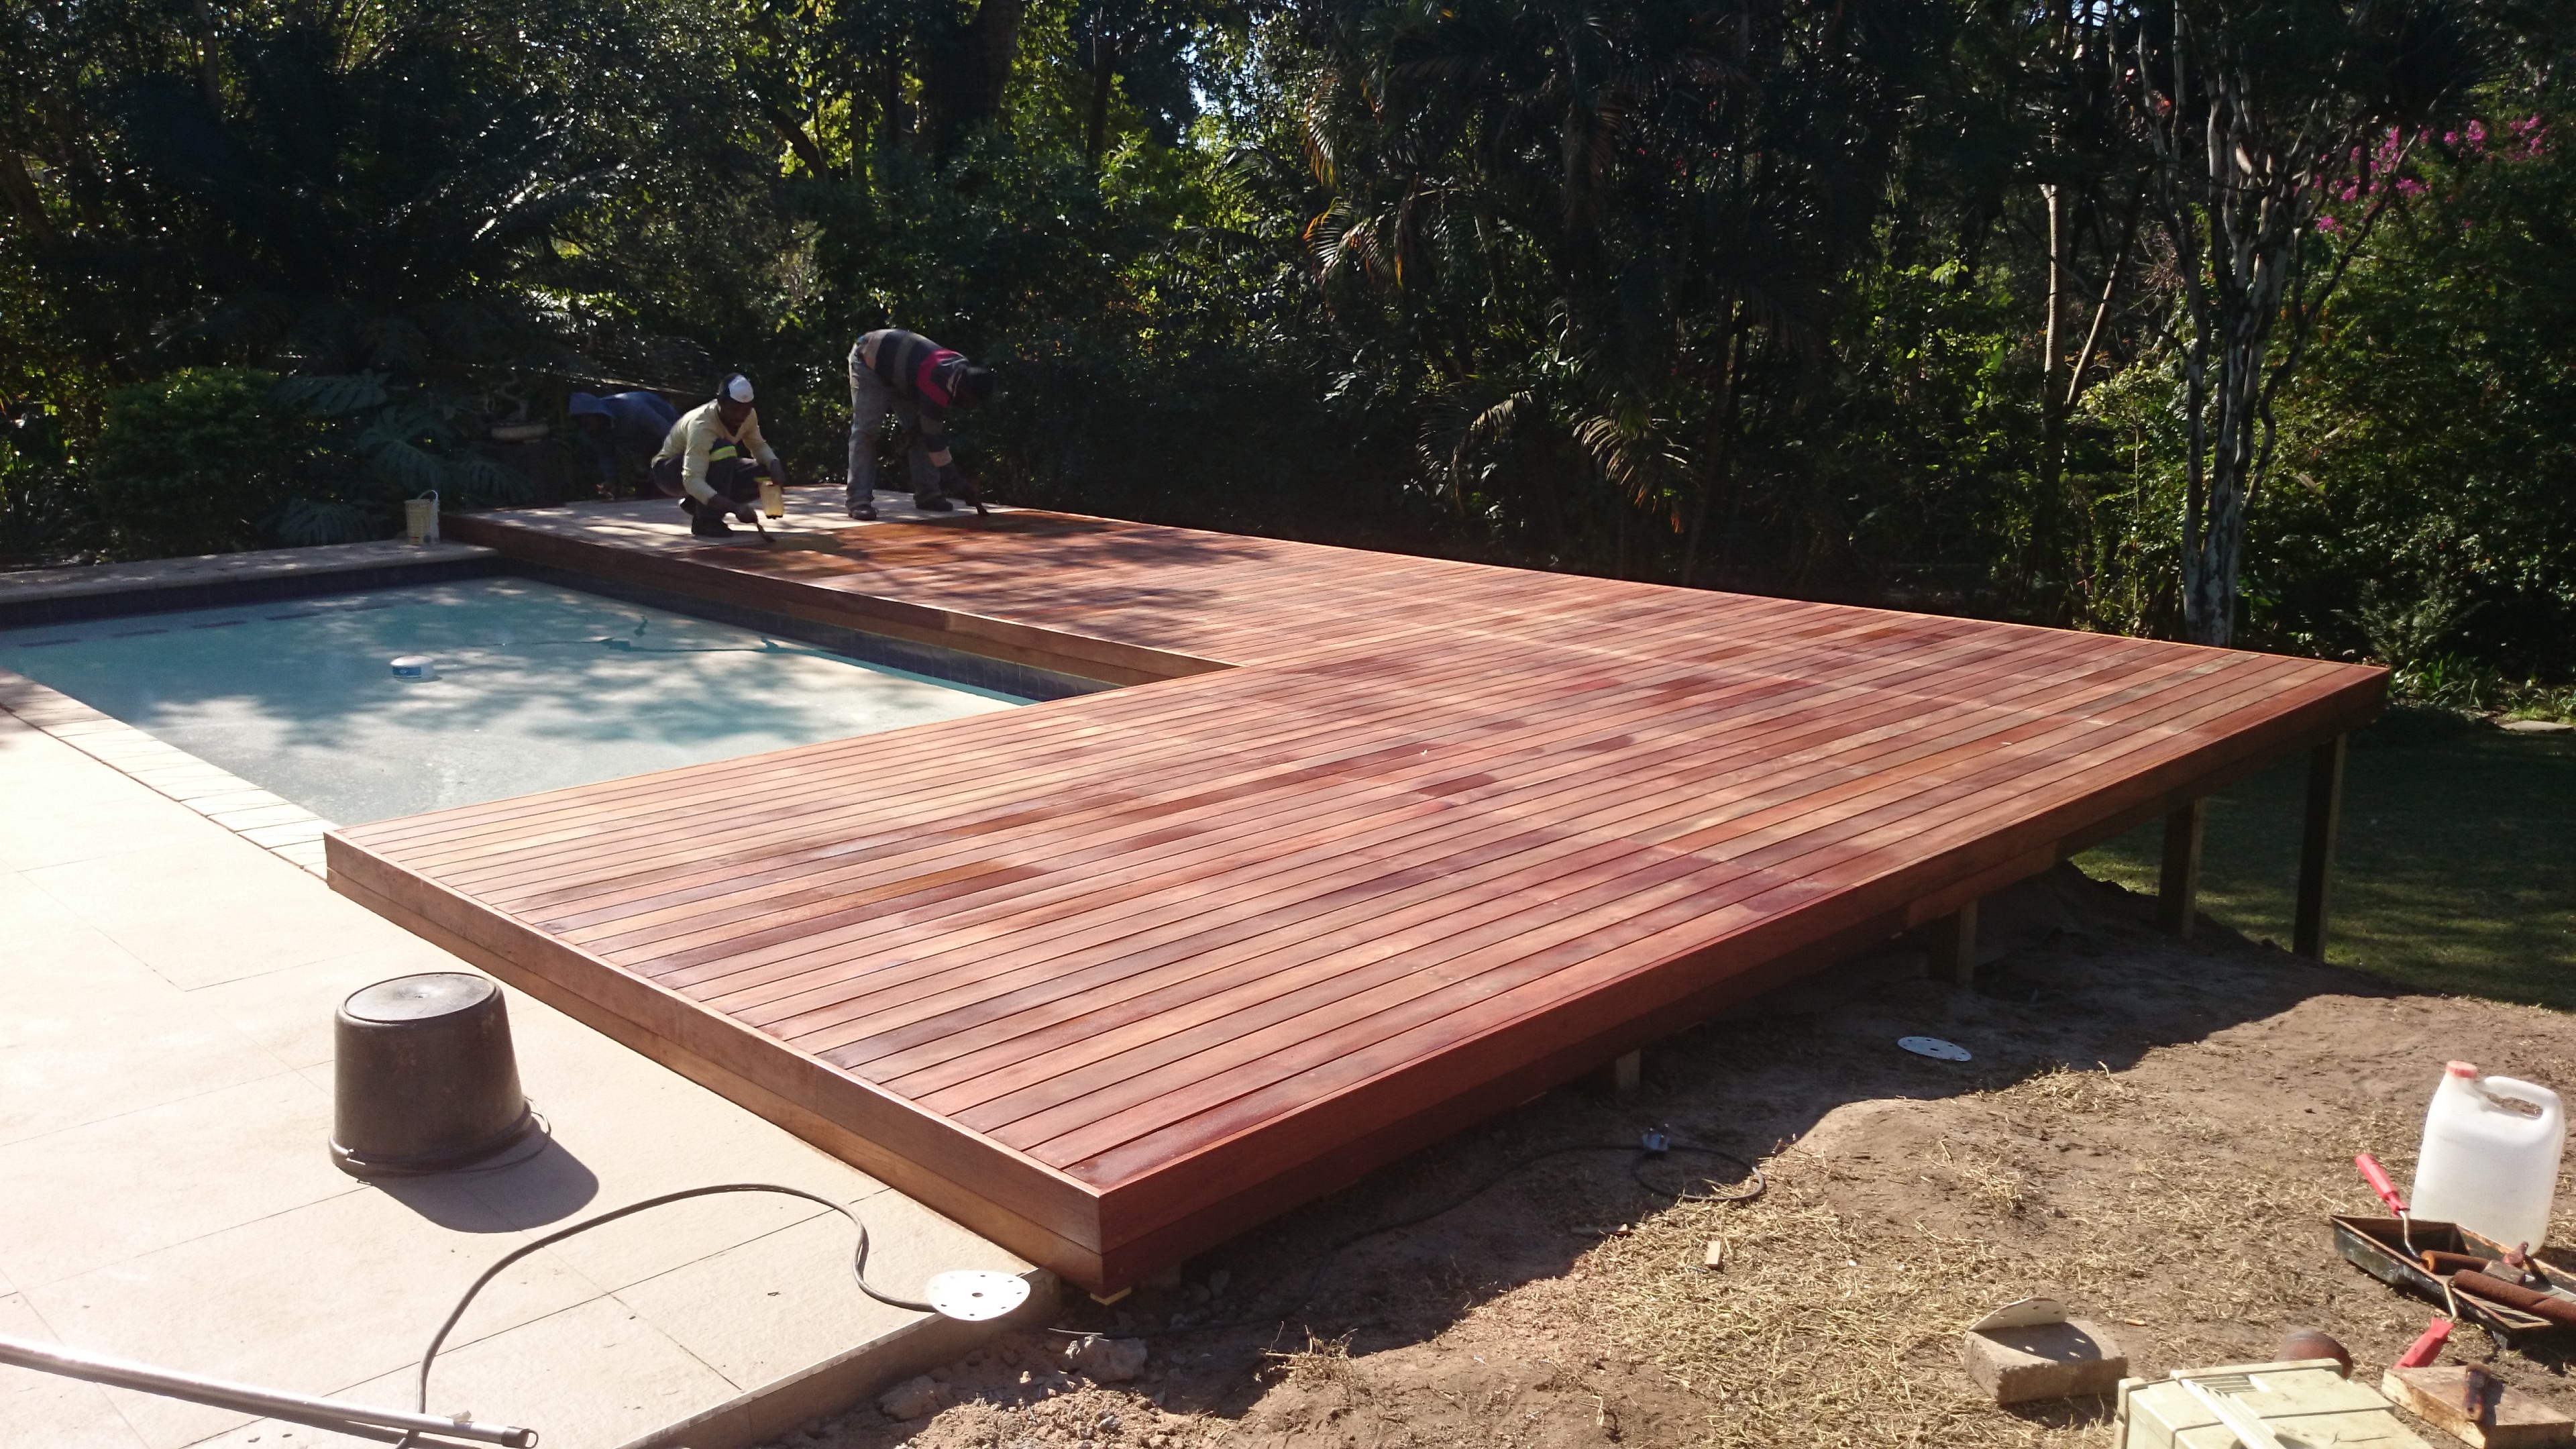
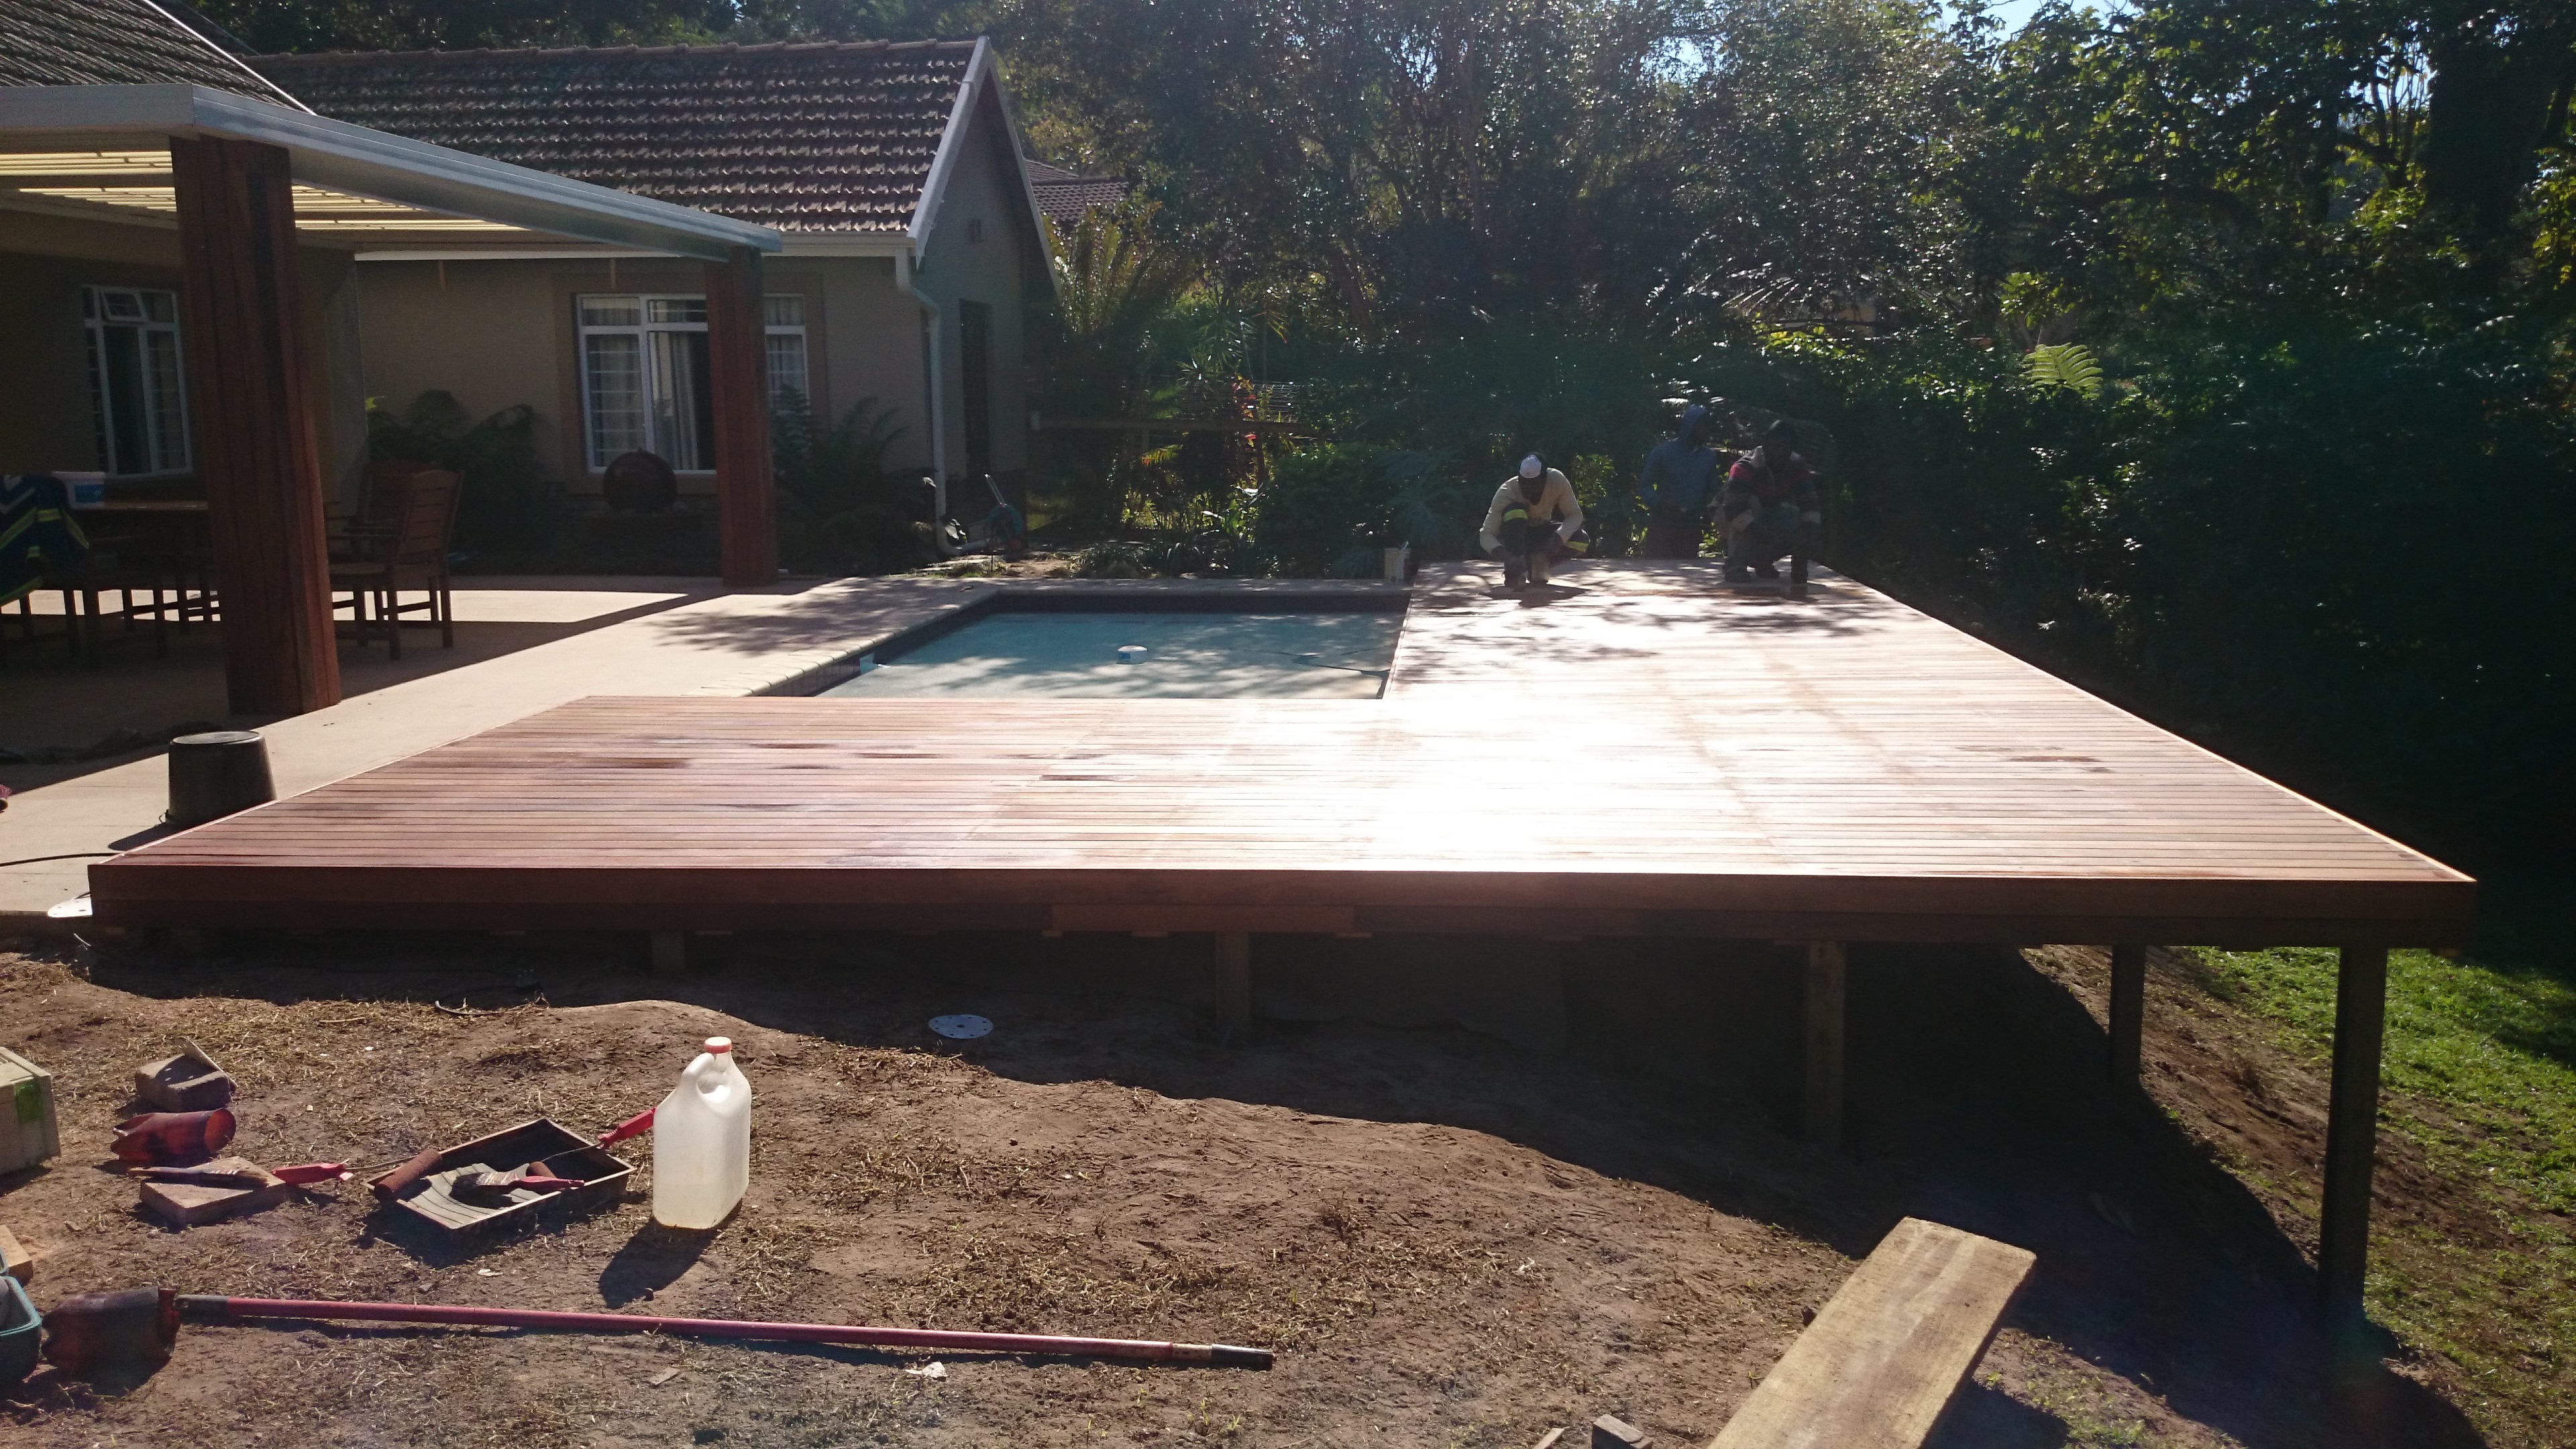
Once our structure was up we installed our joists and decked it using balau deck boards. The width was 1.5m so we installed 4 joists to give us joist centres of 500mm. This is about the maximum one can span a 19mm deck board without it bowing from the weight of a person. Anything bigger than 500mm will result in the deck surface being springy. One should aim for between 450mm and 500mm. This of course applies to a 19mm balau deck board. If another timber is being used, or the board is anything but 19mm thick, then this will vary.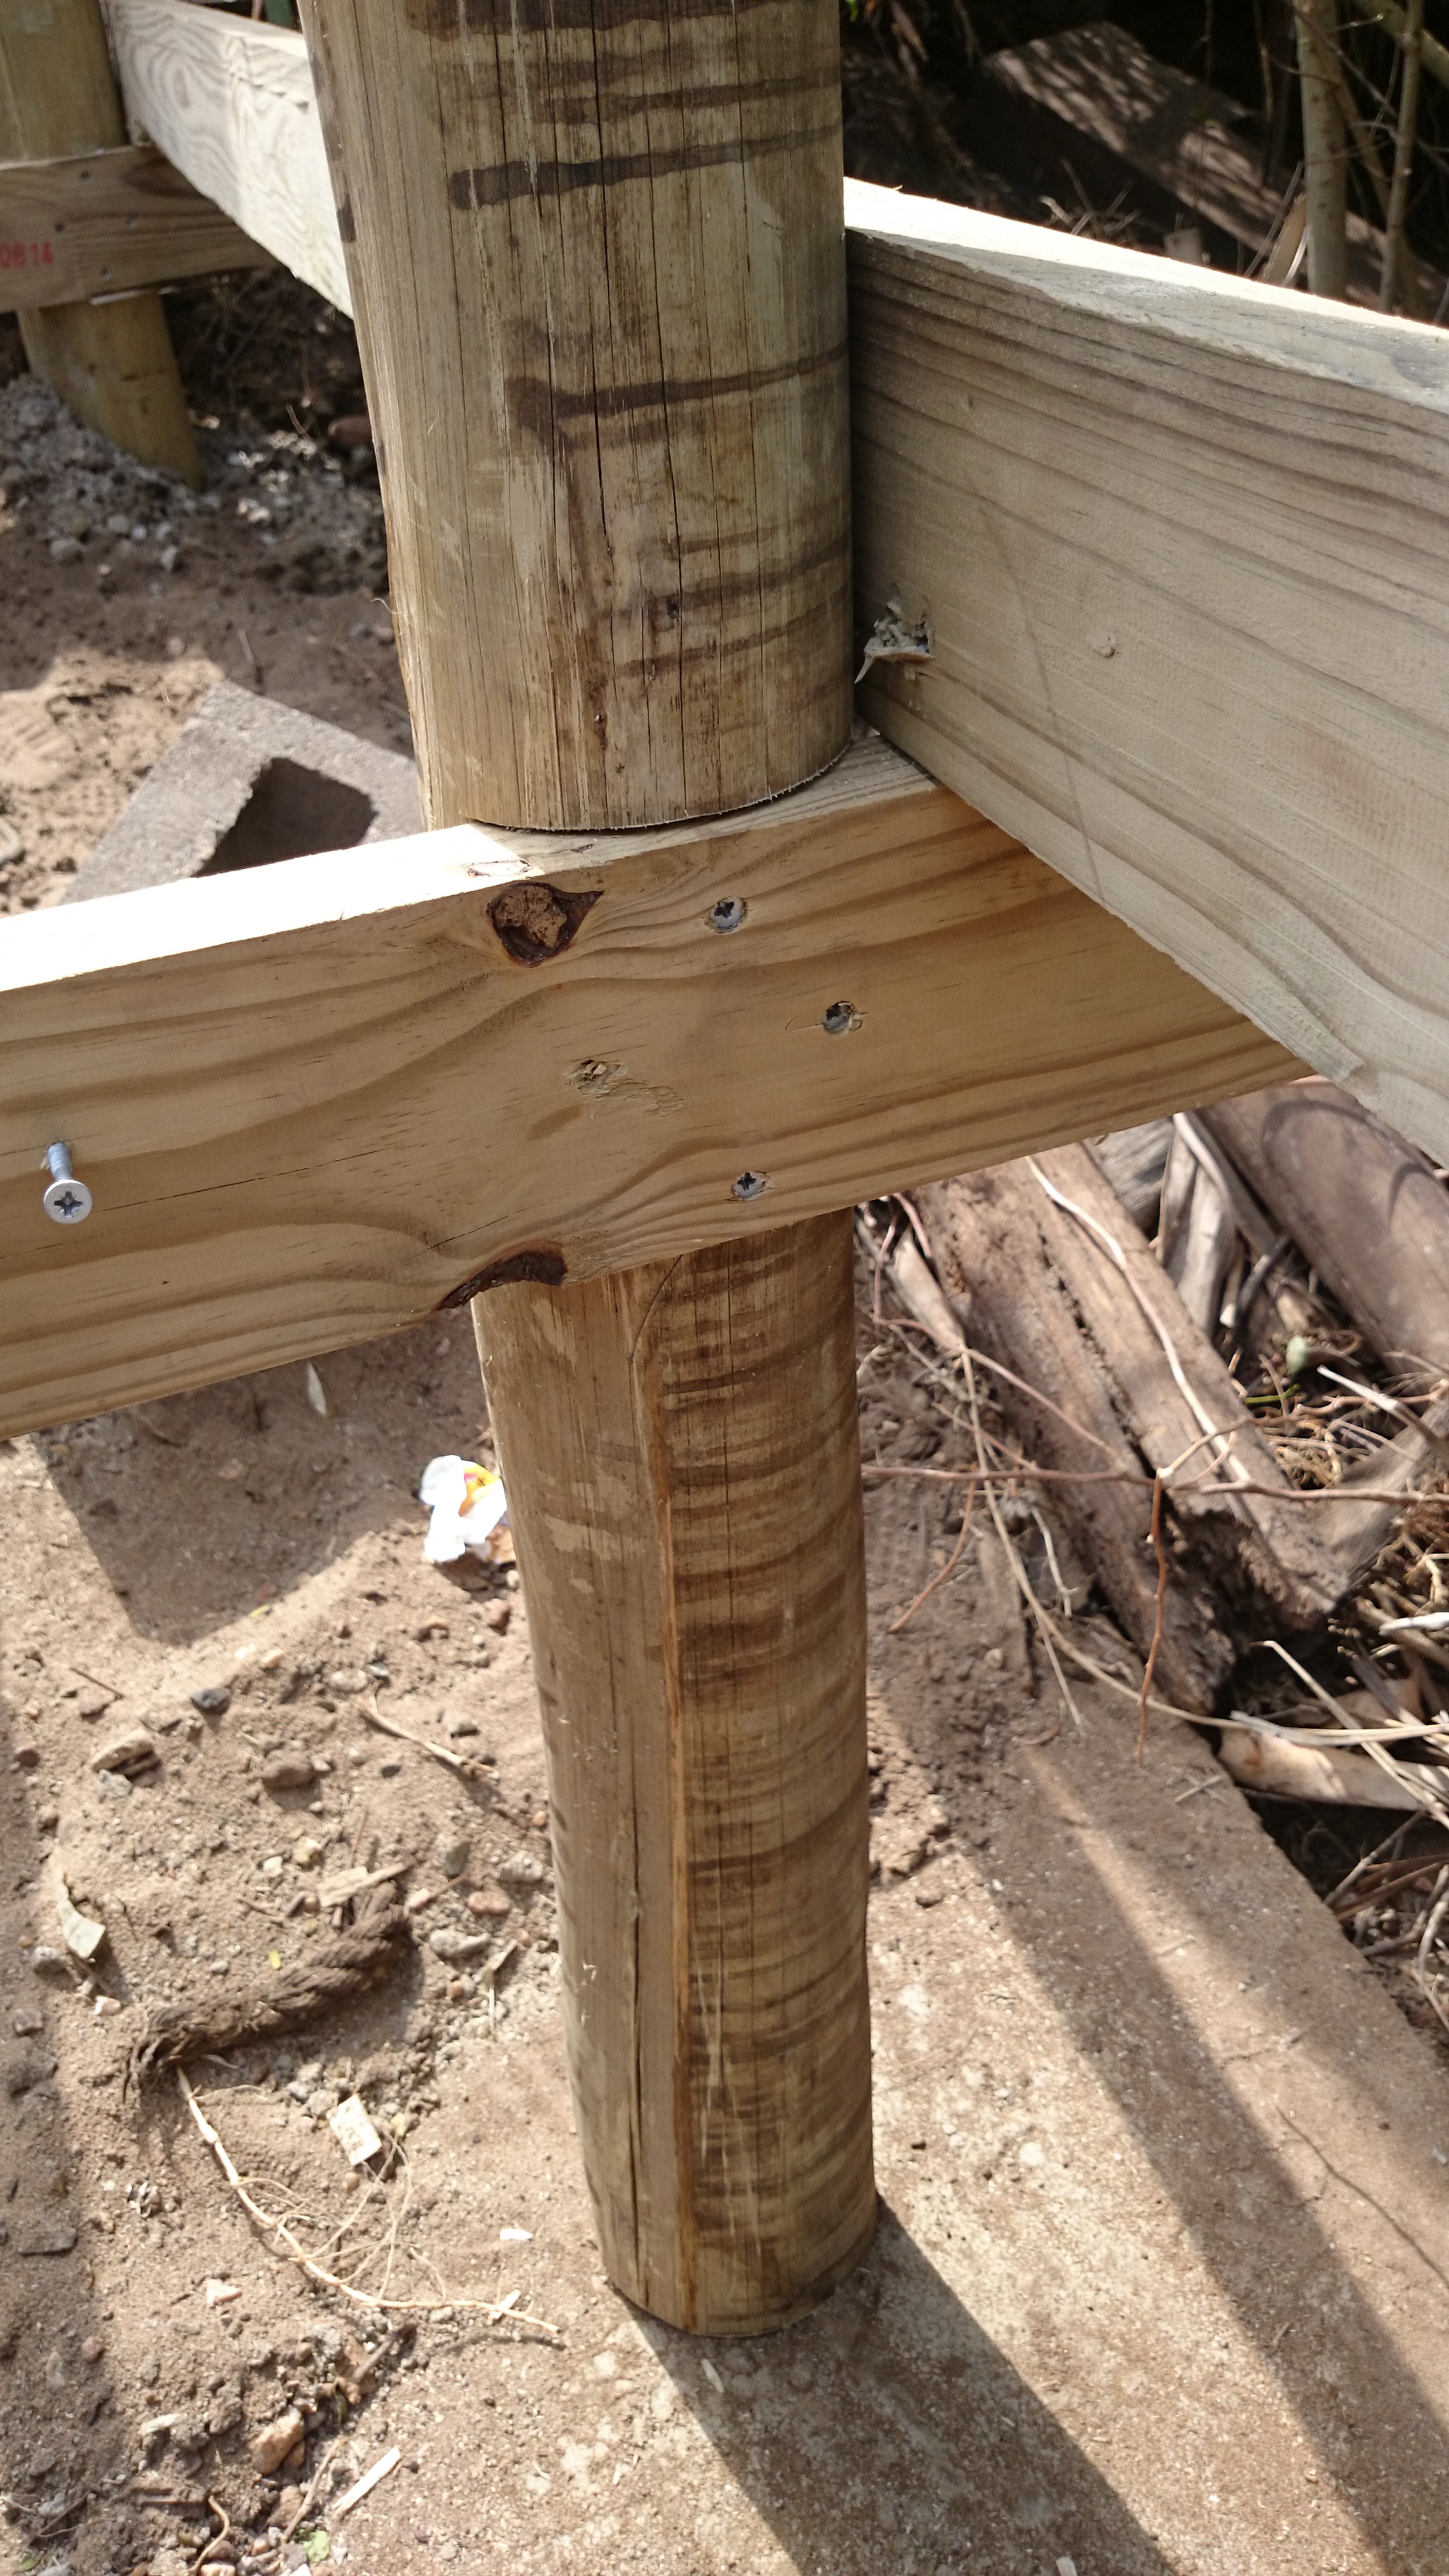
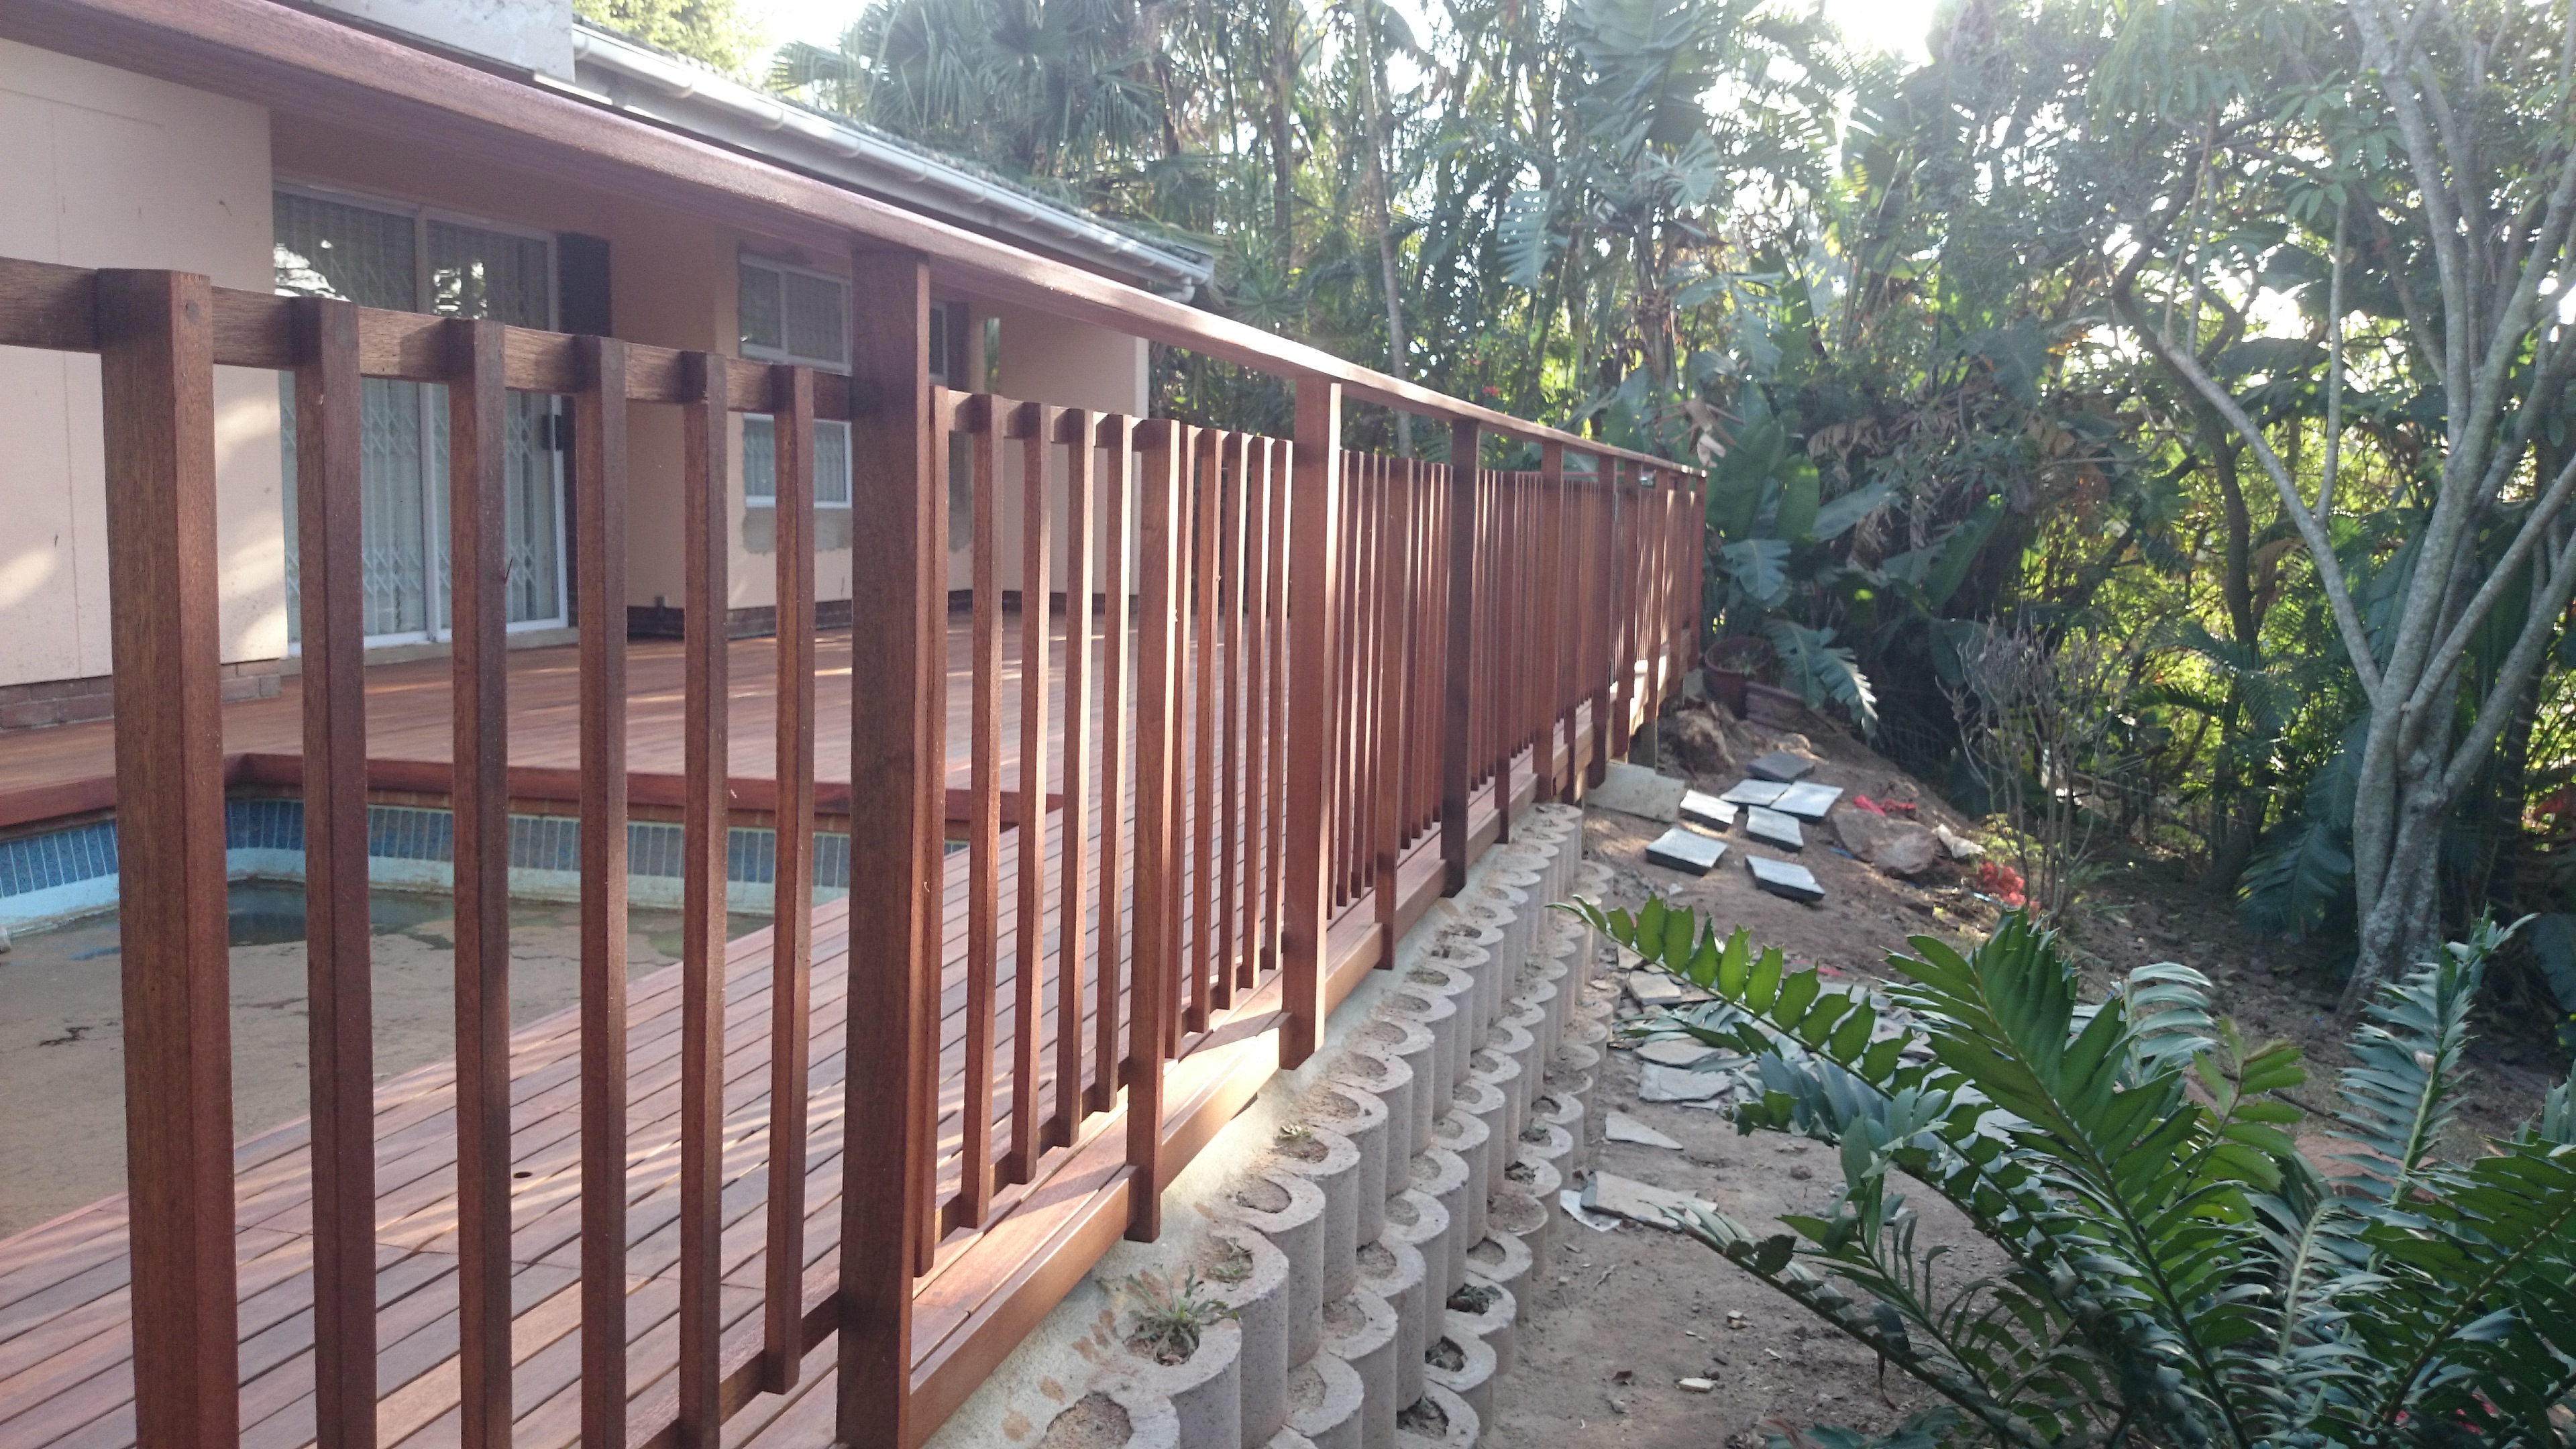
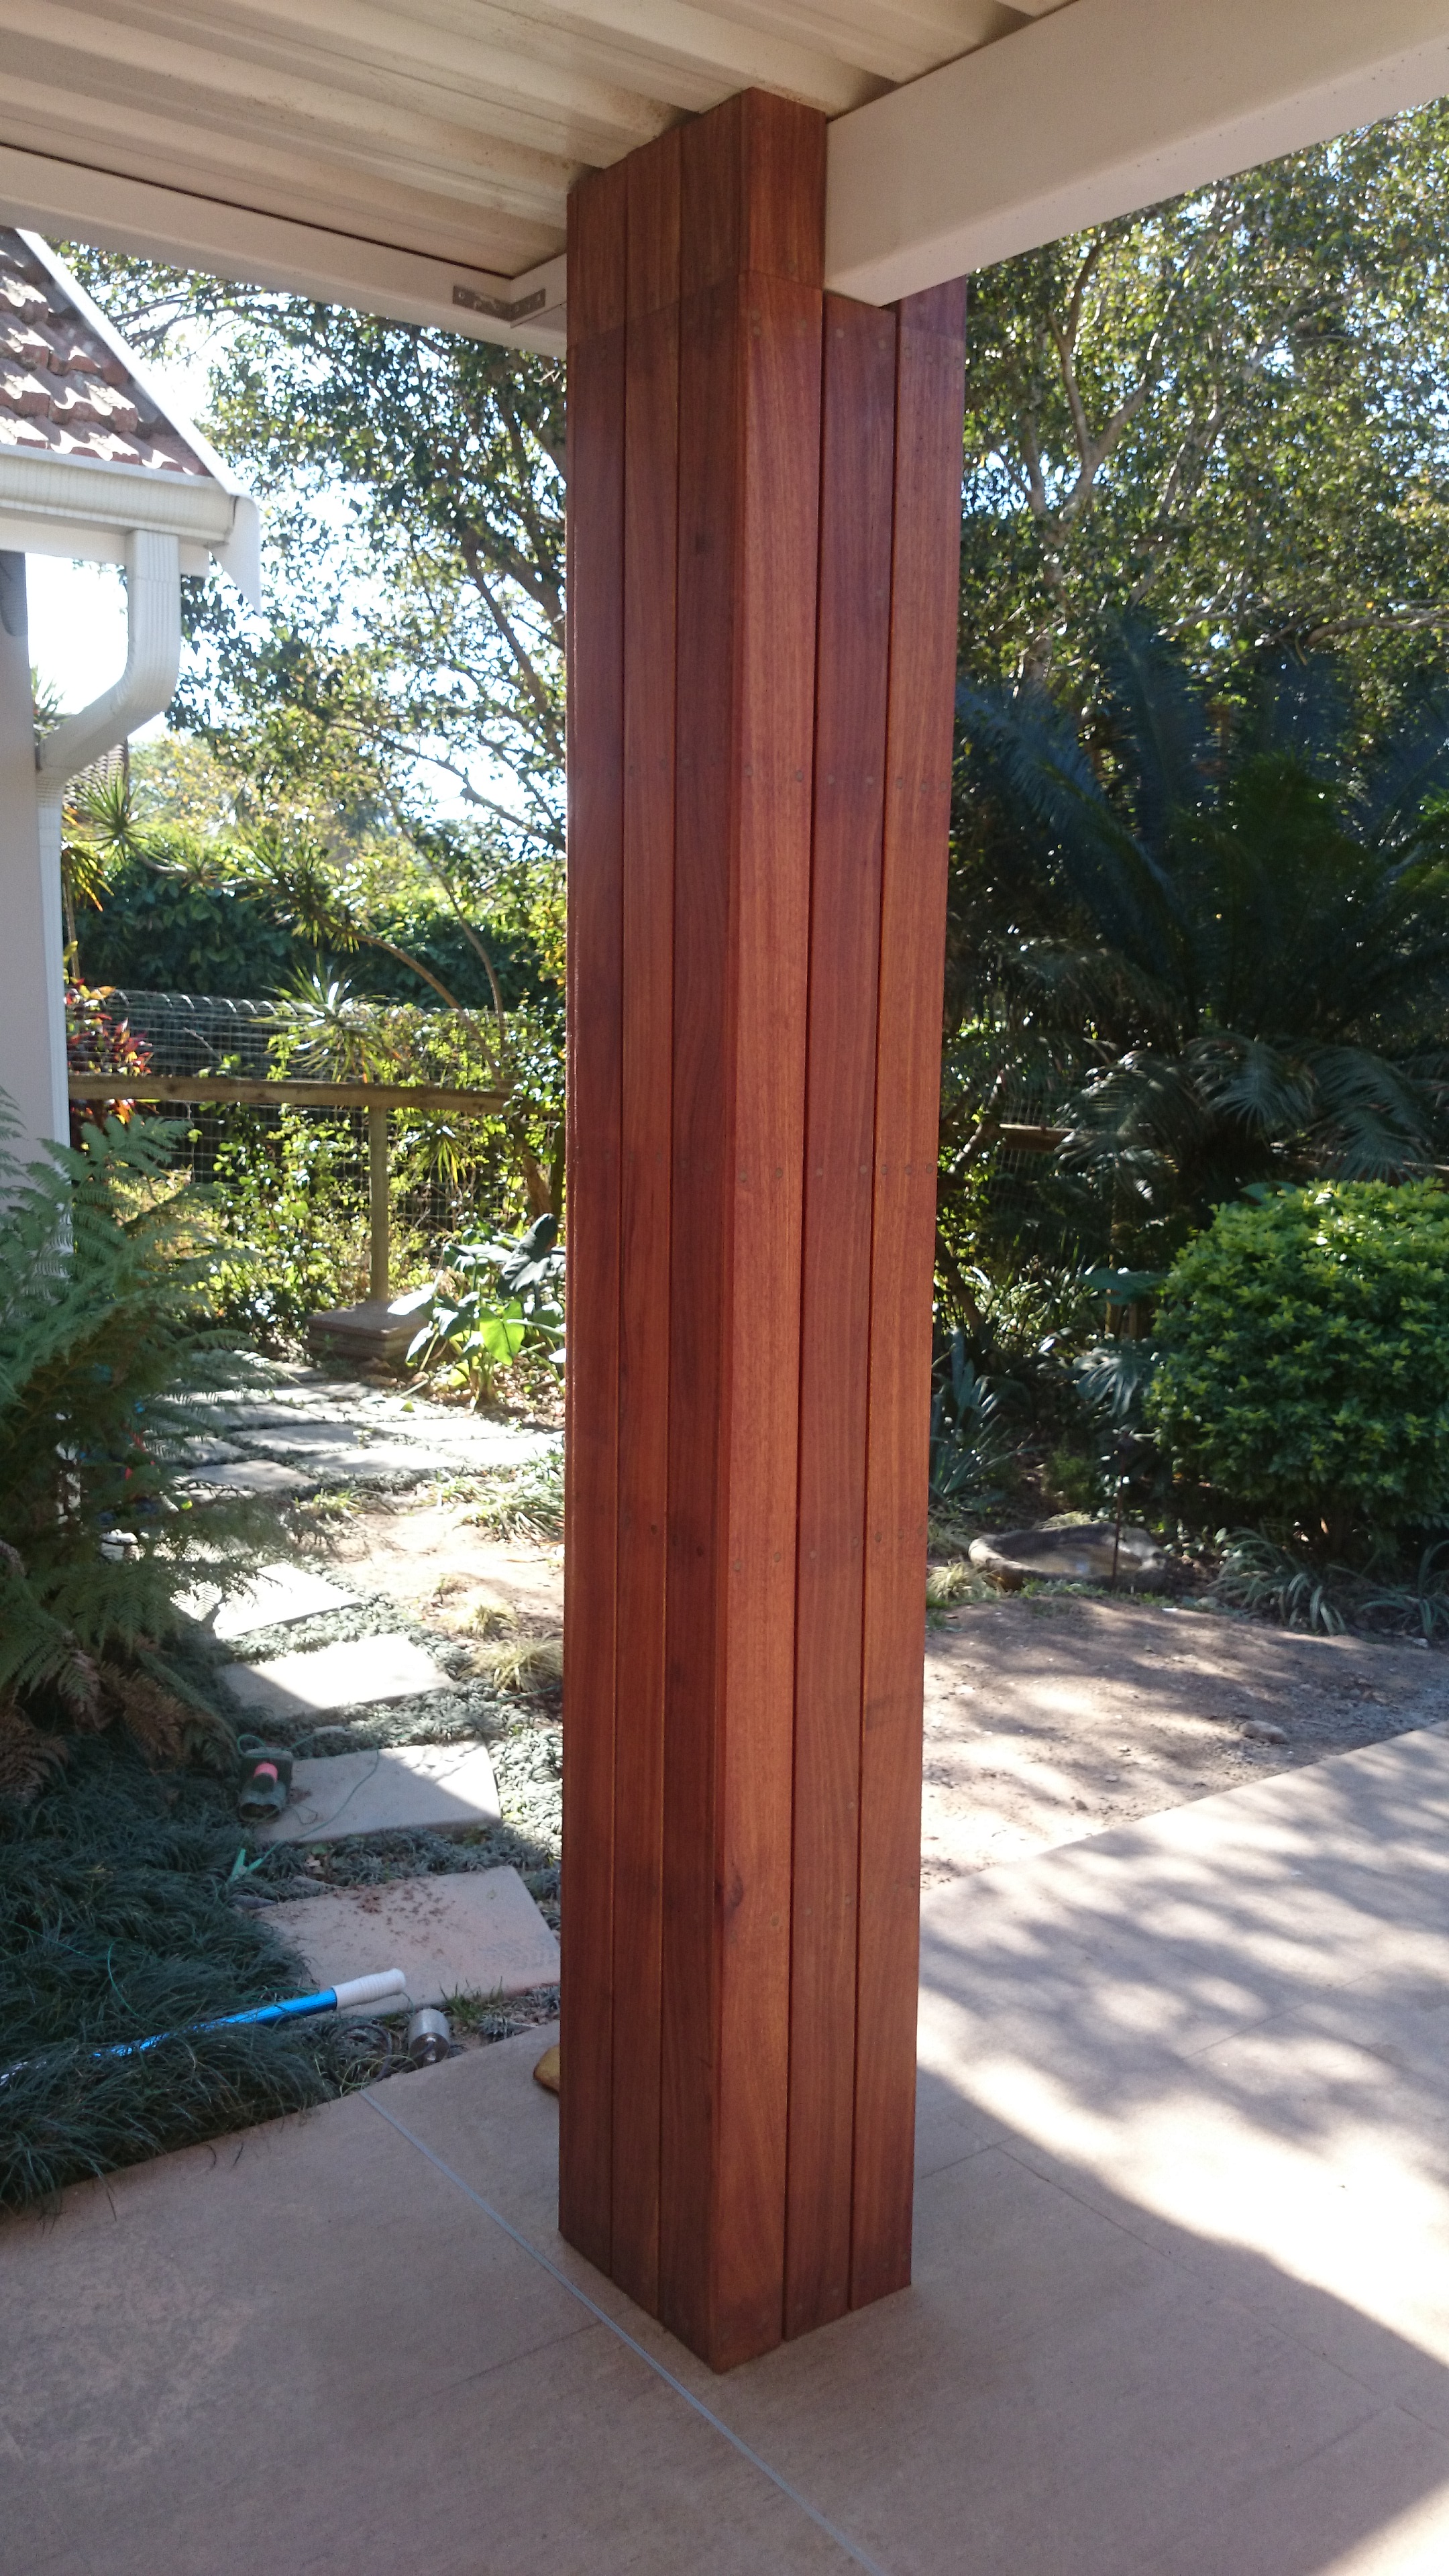
We used the uprights, which were 100 / 125, H4 CCA treated gum poles, as our uprights for our balustrade too so as to ensure that they were sturdy. Because our gum poles were between 100mm and 125mm in diameter, we had to use a 38 x 152 H3 CCA Treated pine capping; otherwise the capping would have been narrower than the upright which would have looked odd. We then installed droppers as our pickets and secured these through the top of the capping and from underneath the deck boards.
Our stairs leading from the last section of walkway to the beach were made using H3 CCA treated pine stringers and treads and we then clad the treads with balau to match the walkway surface.
For a free, no obligation quote, on your wooden decks, walkways, bridges, screens, pergolas and other outdoor timber construction, please call us on 082 496 5444 or use the contact us form below.