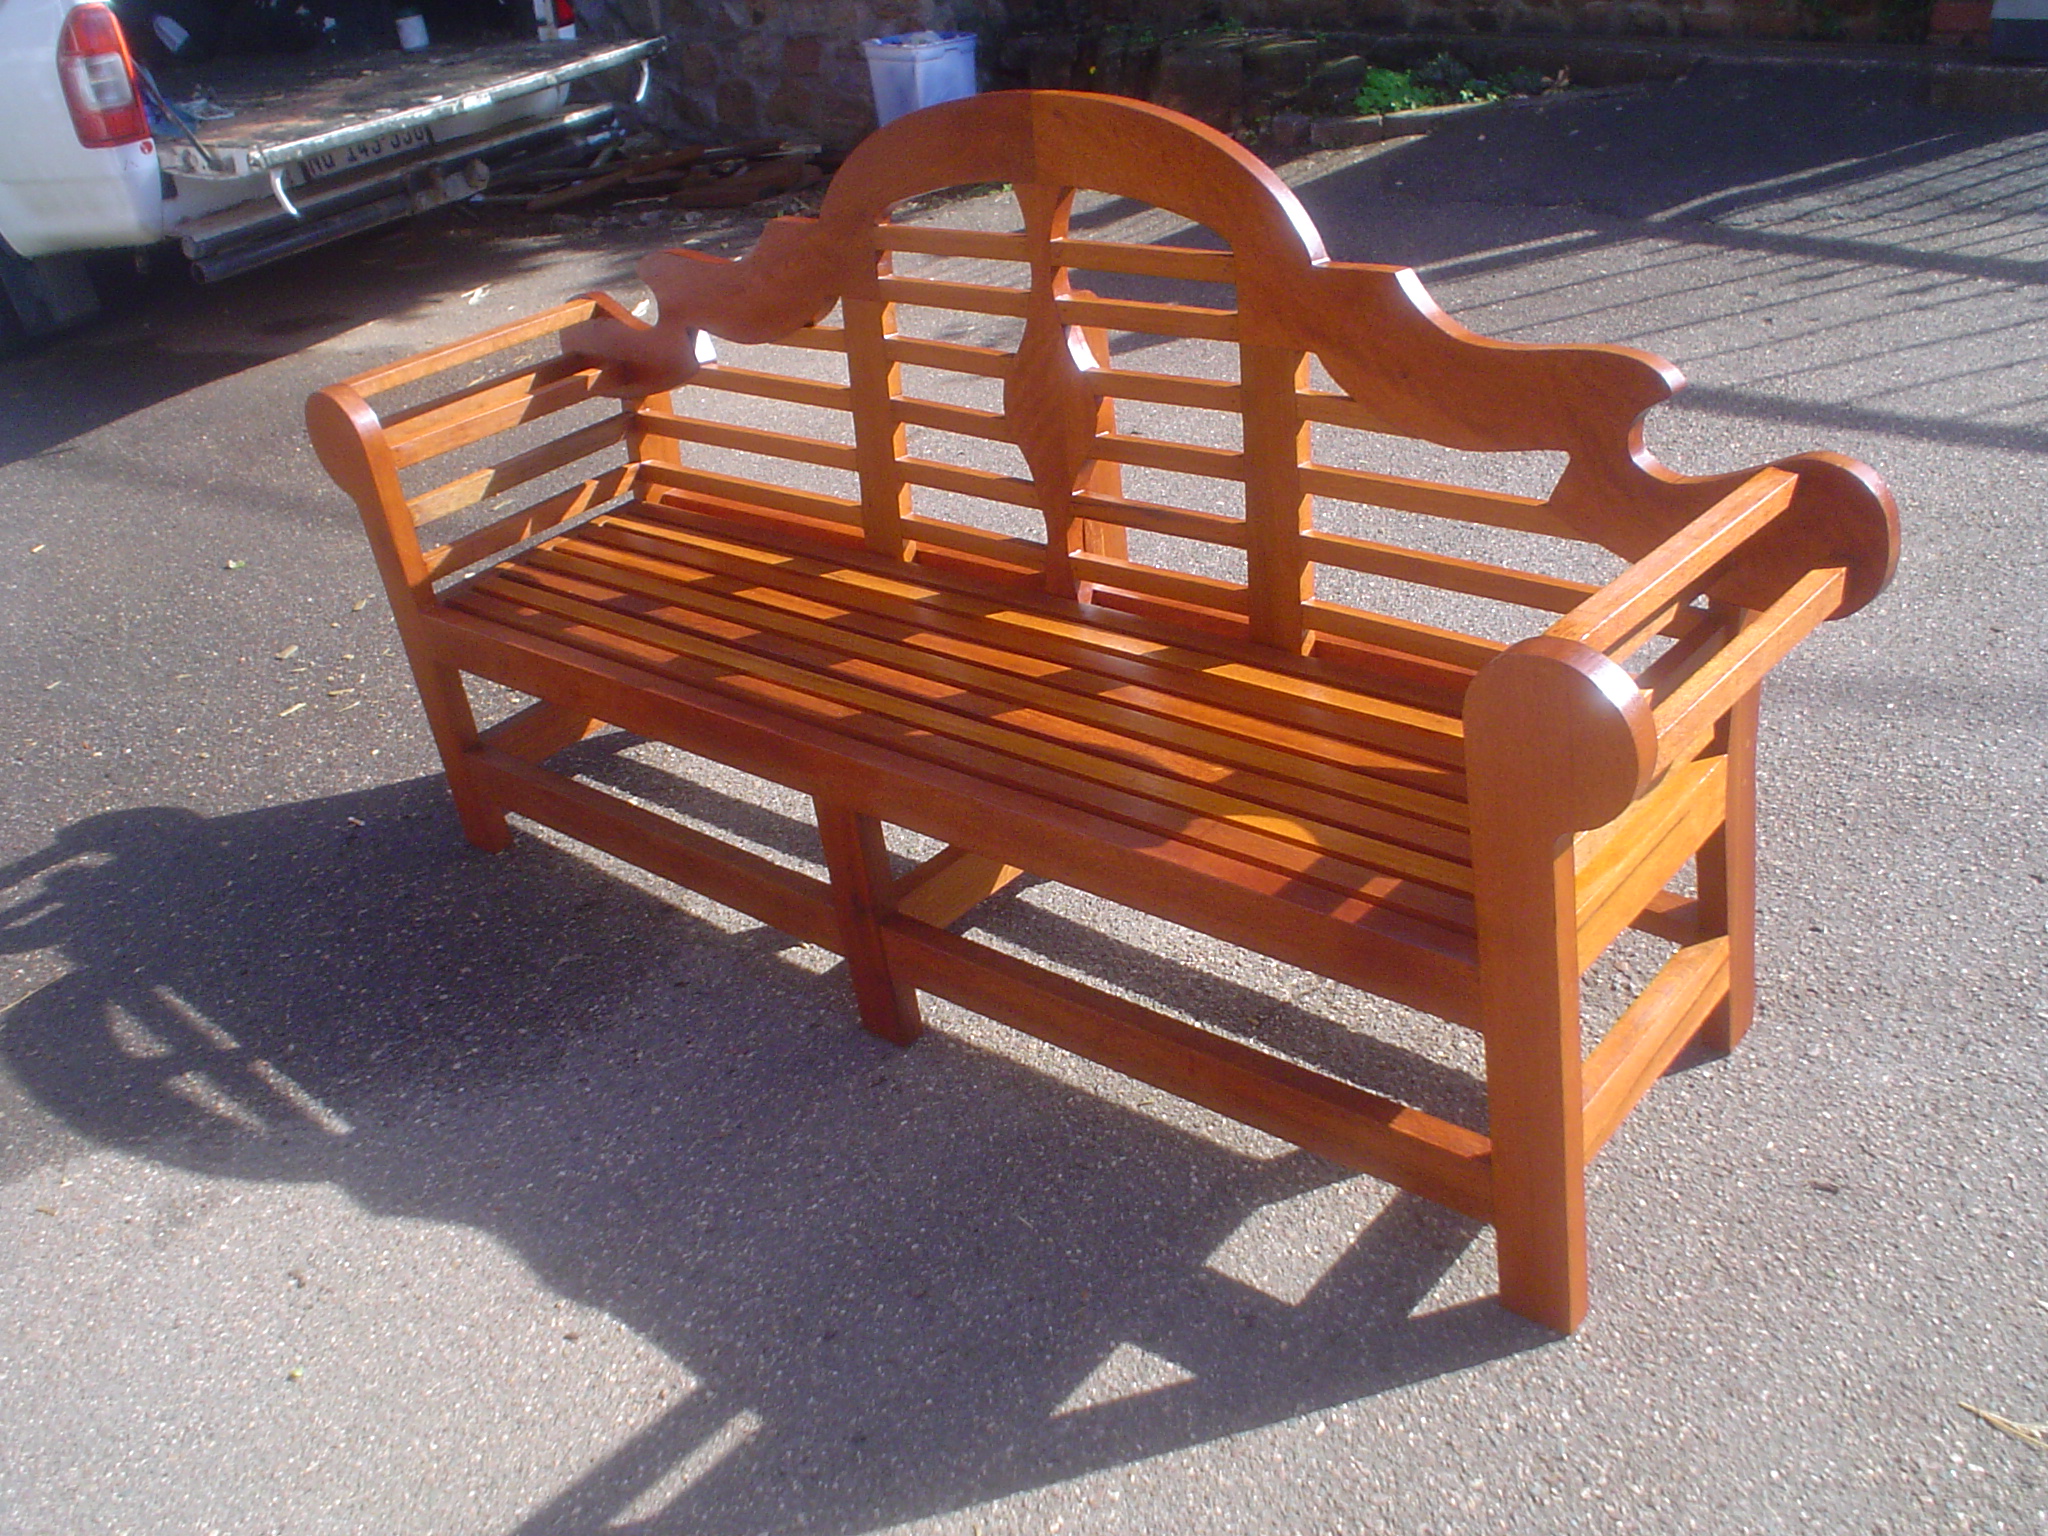
Pictured is a bench with a curved centre backrest. The benches we now make have a straight piece as the centre back rest. The curved top backrest remains as pictured.
Besides installing sundecks, wooden floors and wooden fencing we also produce a range of outdoor garden and patio furniture to compliment your outdoor wooden structures such as sun decks etc.
We’ve focused on top quality wooden outdoor and patio furniture. We don’t do flat pack. If you’re after that Makro or Game is your best bet. Our products are made to order, so taker a little longer, and are all manufactured with longevity in mind to give you many years of enjoyment.
Rain and sun always play a role in the decay of outdoor furniture and it is therefore very important to select the right timber for the product. The timber we use varies from H3 CCA Treated timber which is suitable, and guaranteed by the supplier, to last outdoors in the rain and sun for up to 50 years to balau in some of our pieces, although it is considerably more expensive than pine but it is a lot sturdier, stable and will also last many years in the sun and rain.
Depending on your budget and the product being manufactured we will advise the best timber and finish to use. We seal our products with an oil based sealer which penetrates the timber, leaving no waxy film or coating on the surface. Wax and coatings will always blotch, peel or flake and maintenance then becomes expensive due to the sanding or stripping that is required. With an oil based sealer it simply disappears as it degrades and cannot peel or flake because it is not a coating. Hence maintenance is inexpensive. You simply clean and re-apply.
From this page you can navigate on the menu bar to the left to view pics and details of our various outdoor furniture products. You can also search, using the search bar on the right, to search for specific items. You will find many articles on this blog of products we have made. From the info we provide you may even want to try it on your own, but if not you can contact us on 082 496 5444 or use the contact us form below.